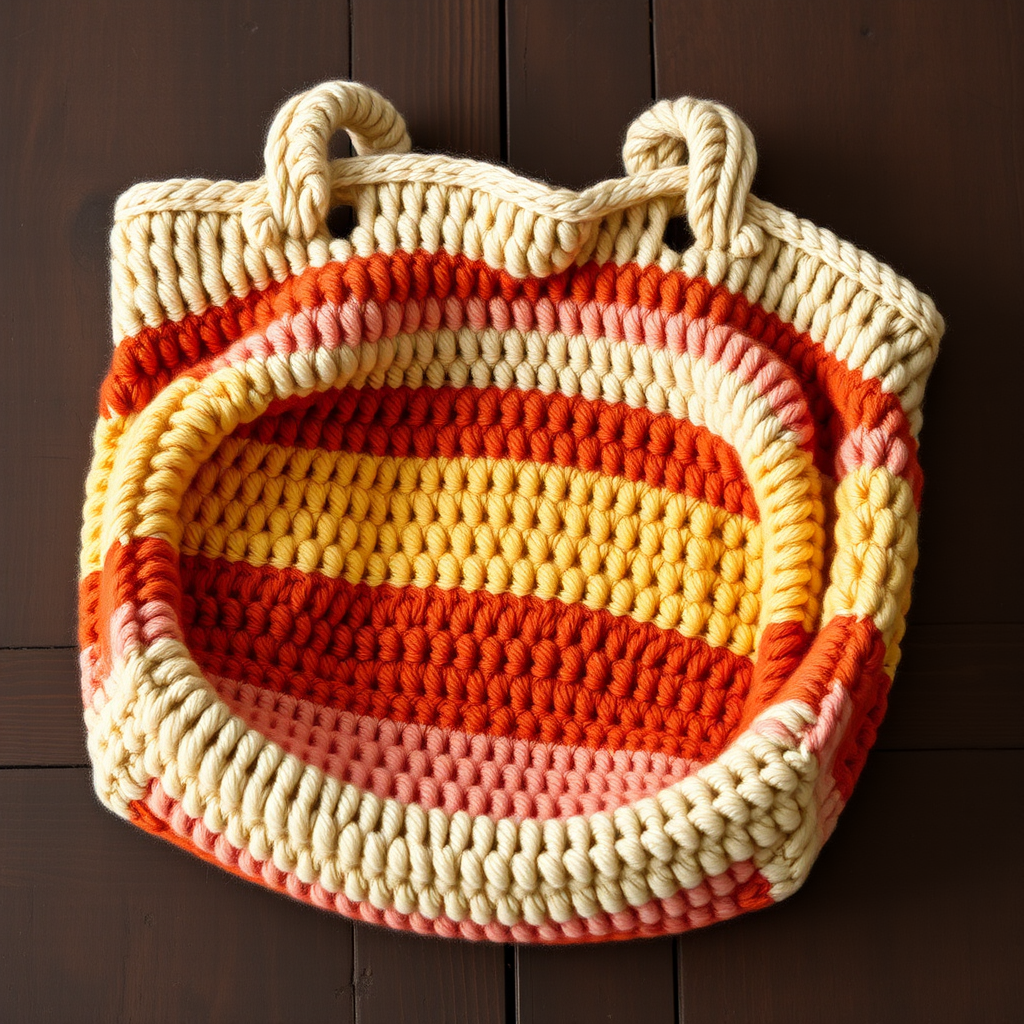
Crochet Bag Patterns
The Vintage Blossom Granny Square Bag Free Pattern
Anonymous
•
July 03, 2026

The Vintage Blossom Granny Square Bag Free Pattern
Introduction
Embrace the charm of yesteryear with this delightful granny square bag, perfect for adding a touch of vintage flair to any outfit. This project combines classic motifs with a modern twist, making it a must-have accessory for crochet enthusiasts. Whether you're heading out for a casual day or dressing up for an evening out, this bag is sure to complement your style!
Materials Needed
- Yarn: Worsted weight cotton yarn in pastel pink, mint green, and cream
- Crochet Hook: 5.0 mm crochet hook
- Gauge: 4 granny squares = 10 inches
- Scissors: For cutting yarn
- Tapestry Needle: For weaving in ends
- Optional: Lining fabric and magnetic snap/button for closure
Step-by-Step Instructions
1. Granny Square (Make 13)
Follow these steps to create each granny square:
- Round 1:
- With pastel pink, make a magic ring.
- Chain 3 (this counts as your first double crochet).
- Work 2 double crochets (dc) into the ring.
- Chain 2.
- Repeat the following 2 more times: *3 dc into the ring, chain 2;*
- Join with a slip stitch (sl st) to the top of the initial chain-3. (You should have 12 dc total)
- Round 2:
- Slip stitch to the next chain-2 space.
- Chain 3, then work 2 dc in the same space.
- Chain 2, then work 3 dc in the same space (corner made).
- Chain 1.
- Repeat the following 2 more times: *(3 dc, chain 2, 3 dc) in the next chain-2 space, chain 1;*
- Join with a slip stitch to the top of the initial chain-3.
- Round 3:
- Slip stitch to the next chain-2 space.
- Chain 3, then work 2 dc in the same space.
- Chain 2, then work 3 dc in the same space.
- Chain 1, then work 3 dc in the next chain-1 space.
- Chain 1.
- Repeat the following 2 more times: *(3 dc, chain 2, 3 dc) in the next chain-2 space, chain 1, 3 dc in the next chain-1 space, chain 1;*
- Join with a slip stitch to the top of the initial chain-3.
- Fasten off and weave in ends using a tapestry needle.
2. Assembly
Now that you have your granny squares, it's time to assemble the bag:
- Arrange 12 granny squares in a 3x4 rectangle.
- Using cream yarn, join the squares together using either a whip stitch or single crochet seam. Make sure to align the squares neatly.
- Once the squares are joined, fold the rectangle in half to form the bag shape.
- Join the sides of the bag using the same whip stitch or single crochet seam method.
3. Strap
To create the strap for your bag:
- With mint green yarn, chain 100 (or adjust for your desired strap length).
- Single crochet (sc) in the second chain from the hook and in each chain across.
- Fasten off and sew each end of the strap to the top corners of the bag, ensuring it is securely attached.
4. Finishing Touches
To complete your Vintage Blossom Granny Square Bag:
- If desired, add a lining to the bag for extra durability and a polished look.
- Attach a magnetic snap or button for closure to keep your belongings secure.
Congratulations! You have successfully created your very own Vintage Blossom Granny Square Bag. Enjoy showcasing your beautiful handmade accessory!