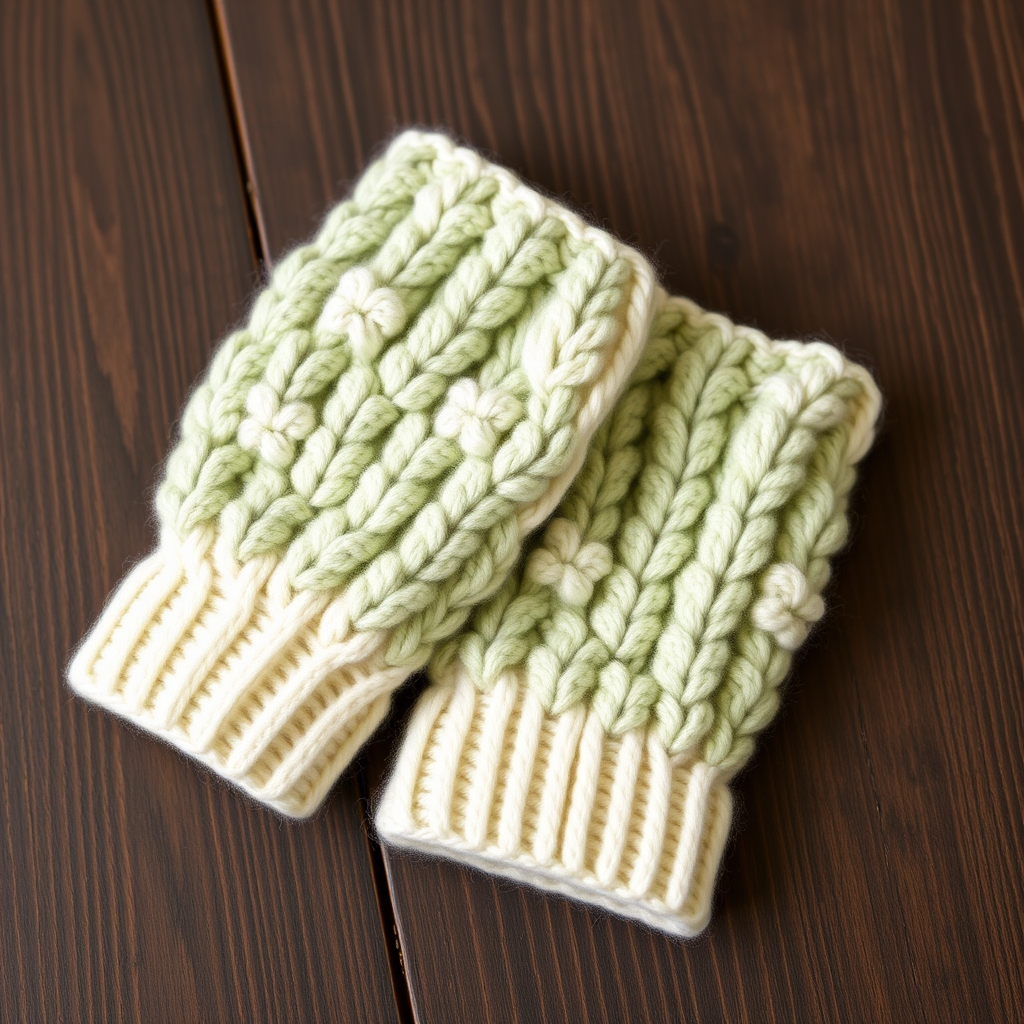
The Velvet Dusk Fingerless Gloves Free Pattern – Knit a Plush Ribbed Twilight Glove
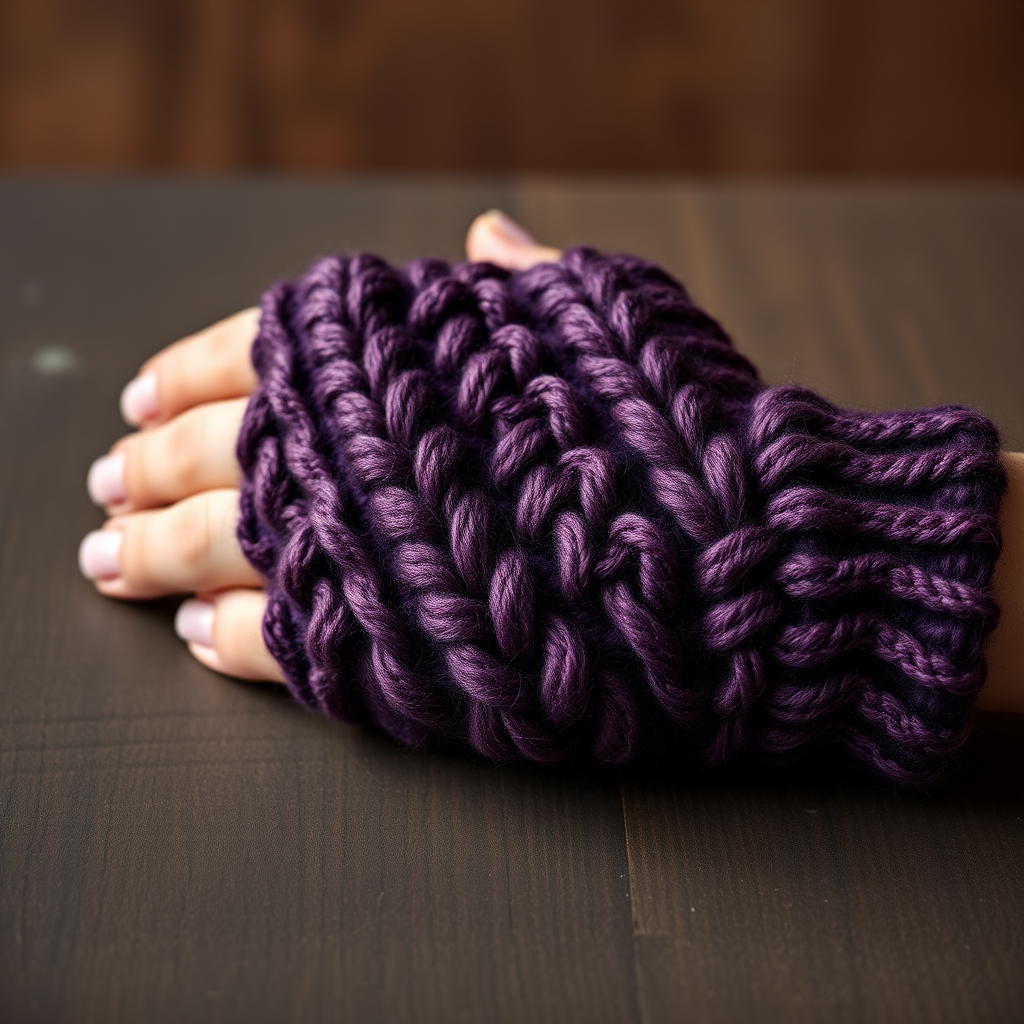
The Velvet Dusk Fingerless Gloves: A Plush Ribbed Twilight Knitting Pattern
Wrap your hands in the soft embrace of dusk with these luxuriously thick, ribbed fingerless gloves. The deep plum and charcoal gradient evokes a serene twilight sky, while the plush yarn and textured cables offer both warmth and elegance. This pattern is designed with beginners in mind—worked flat and seamed, it introduces you to beautiful cable techniques without the complexity of circular knitting. The result is a pair of cozy, stylish accessories that feel like a warm hug on a chilly evening.
Whether you're a seasoned knitter looking for a quick weekend project or a beginner ready to tackle your first cables, these gloves are the perfect choice. The super bulky yarn ensures fast progress, and the step-by-step instructions below are detailed enough to guide you through every stitch. Let's dive in and create something beautiful together.
Materials Needed
Before you begin, gather the following supplies. Having everything ready will make your knitting experience smooth and enjoyable.
Yarn
- 2 skeins of bulky weight yarn (e.g., Lion Brand Wool-Ease Thick & Quick) in Deep Plum (Color A) and Charcoal (Color B).
- Alternatively, any super bulky yarn will work beautifully for an extra plush feel. The key is to achieve the correct gauge.
Needles & Notions
- US 10.5 (6.5 mm) knitting needles (or size needed to obtain gauge).
- Cable needle for the cable twists.
- Stitch holder (or scrap yarn) to hold thumb stitches.
- Tapestry needle for weaving in ends and seaming.
- Scissors.
Gauge
14 stitches and 20 rows = 4 inches in stockinette stitch (knit one row, purl one row). Always knit a gauge swatch to ensure your gloves fit perfectly. If your gauge is off, adjust your needle size accordingly.
Step-by-Step Instructions
This pattern is worked flat and seamed, making it perfect for beginners. The gloves feature a beautiful cable panel on the back of the hand and a simple ribbed palm. Follow along carefully, and you'll have a stunning pair of gloves in no time.
Abbreviations
- CO: cast on
- K: knit
- P: purl
- M1: make one (increase) by knitting front and back of the next stitch
- C4F: slip 2 stitches to cable needle, hold in front, knit 2, then knit 2 from cable needle
- C4B: slip 2 stitches to cable needle, hold in back, knit 2, then knit 2 from cable needle
- St(s): stitch(es)
- Rep: repeat
- RS: right side
- WS: wrong side
GLOVE (Make 2 – one for each hand, they are identical)
Cuff
CO 30 sts with Color A.
- Row 1 (RS): *K2, P2* repeat to end.
- Row 2 (WS): *P2, K2* repeat to end.
Repeat Rows 1-2 until cuff measures 3 inches from cast-on edge, ending with a WS row.
Main Body
Now you'll begin the cable pattern. This section creates the beautiful braided texture on the back of your hand.
- Row 1 (RS): K6, P2, C4F, P2, C4B, P2, K6 (30 sts)
- Row 2 (WS): P6, K2, P4, K2, P4, K2, P6
- Row 3 (RS): K6, P2, K4, P2, K4, P2, K6
- Row 4 (WS): P6, K2, P4, K2, P4, K2, P6
- Row 5 (RS): K6, P2, C4B, P2, C4F, P2, K6
- Row 6 (WS): P6, K2, P4, K2, P4, K2, P6
- Row 7 (RS): K6, P2, K4, P2, K4, P2, K6
- Row 8 (WS): P6, K2, P4, K2, P4, K2, P6
Repeat Rows 1-8 until piece measures 6 inches from cast-on edge, ending with a WS row.
Thumb Gusset (Increase Section)
This section gradually increases stitches to create space for your thumb. Follow each row carefully, as the increases happen on the right side only.
- Row 1 (RS): K6, P2, K4, P2, K4, P2, K6, M1 – 31 sts
- Row 2 (WS): P7, K2, P4, K2, P4, K2, P6
- Row 3 (RS): K7, P2, K4, P2, K4, P2, K6, M1 – 32 sts
- Row 4 (WS): P8, K2, P4, K2, P4, K2, P6
- Row 5 (RS): K8, P2, K4, P2, K4, P2, K6, M1 – 33 sts
- Row 6 (WS): P9, K2, P4, K2, P4, K2, P6
- Row 7 (RS): K9, P2, K4, P2, K4, P2, K6, M1 – 34 sts
- Row 8 (WS): P10, K2, P4, K2, P4, K2, P6
- Row 9 (RS): K10, P2, K4, P2, K4, P2, K6, M1 – 35 sts
- Row 10 (WS): P11, K2, P4, K2, P4, K2, P6
- Row 11 (RS): K11, P2, K4, P2, K4, P2, K6, M1 – 36 sts
- Row 12 (WS): P12, K2, P4, K2, P4, K2, P6
- Row 13 (RS): K12, P2, K4, P2, K4, P2, K6, M1 – 37 sts
- Row 14 (WS): P13, K2, P4, K2, P4, K2, P6
- Row 15 (RS): K13, P2, K4, P2, K4, P2, K6, M1 – 38 sts
- Row 16 (WS): P14, K2, P4, K2, P4, K2, P6
- Row 17 (RS): K14, P2, K4, P2, K4, P2, K6, M1 – 39 sts
- Row 18 (WS): P15, K2, P4, K2, P4, K2, P6
- Row 19 (RS): K15, P2, K4, P2, K4, P2, K6, M1 – 40 sts
- Row 20 (WS): P16, K2, P4, K2, P4, K2, P6
- Row 21 (RS): K16, P2, K4, P2, K4, P2, K6, M1 – 41 sts
- Row 22 (WS): P17, K2, P4, K2, P4, K2, P6
- Row 23 (RS): K17, P2, K4, P2, K4, P2, K6, M1 – 42 sts
- Row 24 (WS): P18, K2, P4, K2, P4, K2, P6
- Row 25 (RS): K18, P2, K4, P2, K4, P2, K6, M1 – 43 sts
- Row 26 (WS): P19, K2, P4, K2, P4, K2, P6
- Row 27 (RS): K19, P2, K4, P2, K4, P2, K6, M1 – 44 sts
- Row 28 (WS): P20, K2, P4, K2, P4, K2, P6
- Row 29 (RS): K20, P2, K4, P2, K4, P2, K6, M1 – 45 sts
- Row 30 (WS): P21, K2, P4, K2, P4, K2, P6
- Row 31 (RS): K21, P2, K4, P2, K4, P2, K6, M1 – 46 sts
- Row 32 (WS): P22, K2, P4, K2, P4, K2, P6
- Row 33 (RS): K22, P2, K4, P2, K4, P2, K6, M1 – 47 sts
- Row 34 (WS): P23, K2, P4, K2, P4, K2, P6
- Row 35 (RS): K23, P2, K4, P2, K4, P2, K6, M1 – 48 sts
- Row 36 (WS): P24, K2, P4, K2, P4, K2, P6
- Row 37 (RS): K24, P2, K4, P2, K4, P2, K6, M1 – 49 sts
- Row 38 (WS): P25, K2, P4, K2, P4, K2, P6
- Row 39 (RS): K25, P2, K4, P2, K4, P2, K6, M1 – 50 sts
- Row 40 (WS): P26, K2, P4, K2, P4, K2, P6
Separate Thumb
Now you'll separate the thumb stitches from the main hand. The 10 stitches you place on the holder will become the thumb.
- Row 41 (RS): K26, place next 10 sts on a stitch holder (these are the thumb stitches), K14 (remaining sts) – 40 sts on needle
- Row 42 (WS): P14, K2, P4, K2, P4, K2, P6 (40 sts)
Hand Section (Continue with Cable Pattern)
Continue knitting the main body of the glove, now with the extra stitches for the palm.
- Row 43 (RS): K6, P2, K4, P2, K4, P2, K6, K14 (40 sts)
- Row 44 (WS): P14, K2, P4, K2, P4, K2, P6
- Row 45 (RS): K6, P2, C4F, P2, C4B, P2, K6, K14
- Row 46 (WS): P14, K2, P4, K2, P4, K2, P6
- Row 47 (RS): K6, P2, K4, P2, K4, P2, K6, K14
- Row 48 (WS): P14, K2, P4, K2, P4, K2, P6
Repeat Rows 45-48 until hand section measures 3 inches from thumb separation, ending with a WS row.
Top Ribbing
Finish the glove with a ribbed edge that matches the cuff.
- Row 1 (RS): *K2, P2* repeat to end (40 sts)
- Row 2 (WS): *P2, K2* repeat to end
Repeat Rows 1-2 for 1 inch. Bind off loosely in pattern.
Thumb
Now let's finish the thumb. Transfer the 10 thumb sts from holder to needle. With Color A, pick up and knit 2 sts from the gap at the base of the thumb – 12 sts.
Work in K2, P2 ribbing for 1 inch. Bind off loosely in pattern.
Finishing
Weave in all ends. Sew the side seam of the glove using mattress stitch, leaving a 2-inch opening at the thumb base for the thumb hole. Repeat for the second glove.
Optional Gradient Effect
For a stunning twilight gradient like the featured gloves, switch to Color B for the last 2 inches of the hand section and the top ribbing. This creates a beautiful transition from deep plum to charcoal, evoking the colors of a serene evening sky.
And there you have it—a gorgeous pair of Velvet Dusk Fingerless Gloves! These make wonderful gifts for loved ones (or a treat for yourself). The plush yarn and elegant cables are sure to become a favorite accessory. Happy knitting!