Emberwood Ridge Fingerless Gloves Free Pattern – A Knitted Textured Trail Wrap

Emberwood Ridge Fingerless Gloves: A Free Knitting Pattern for Cozy, Textured Hands
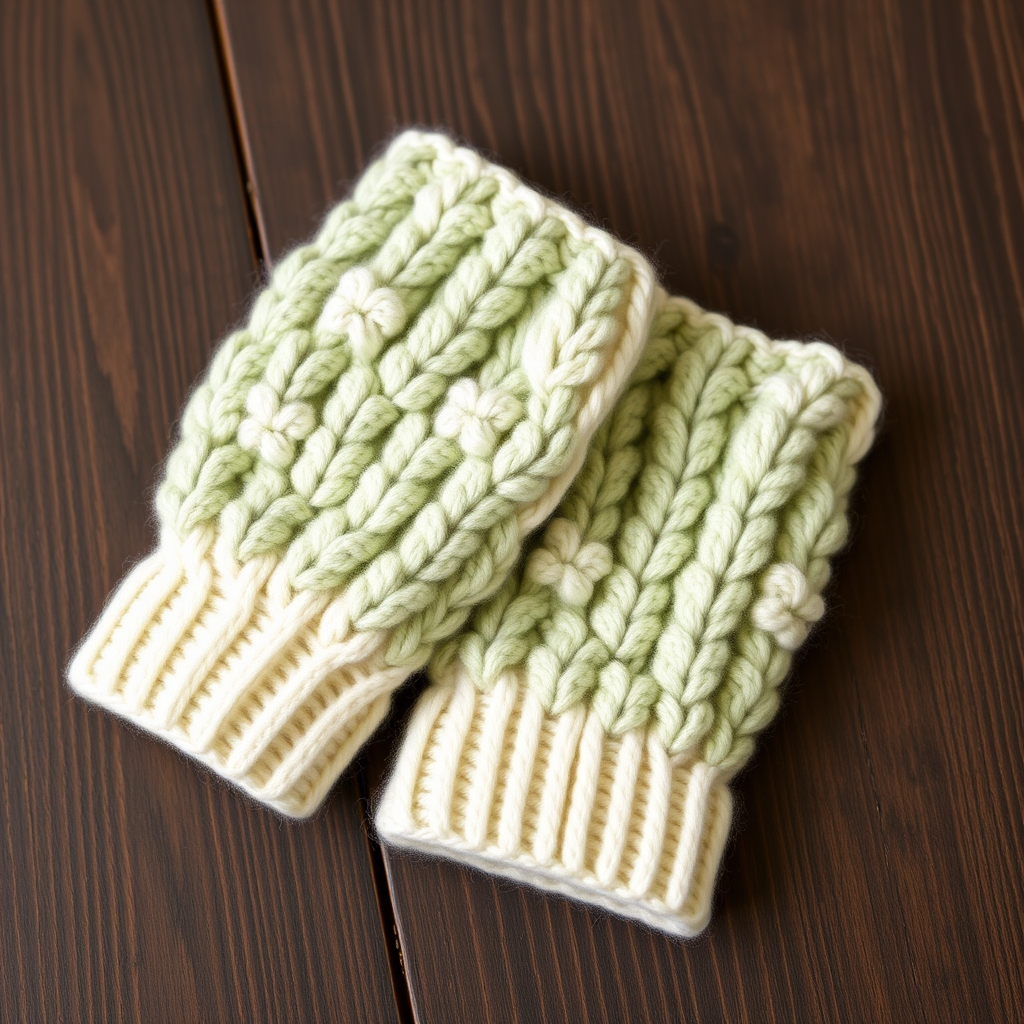
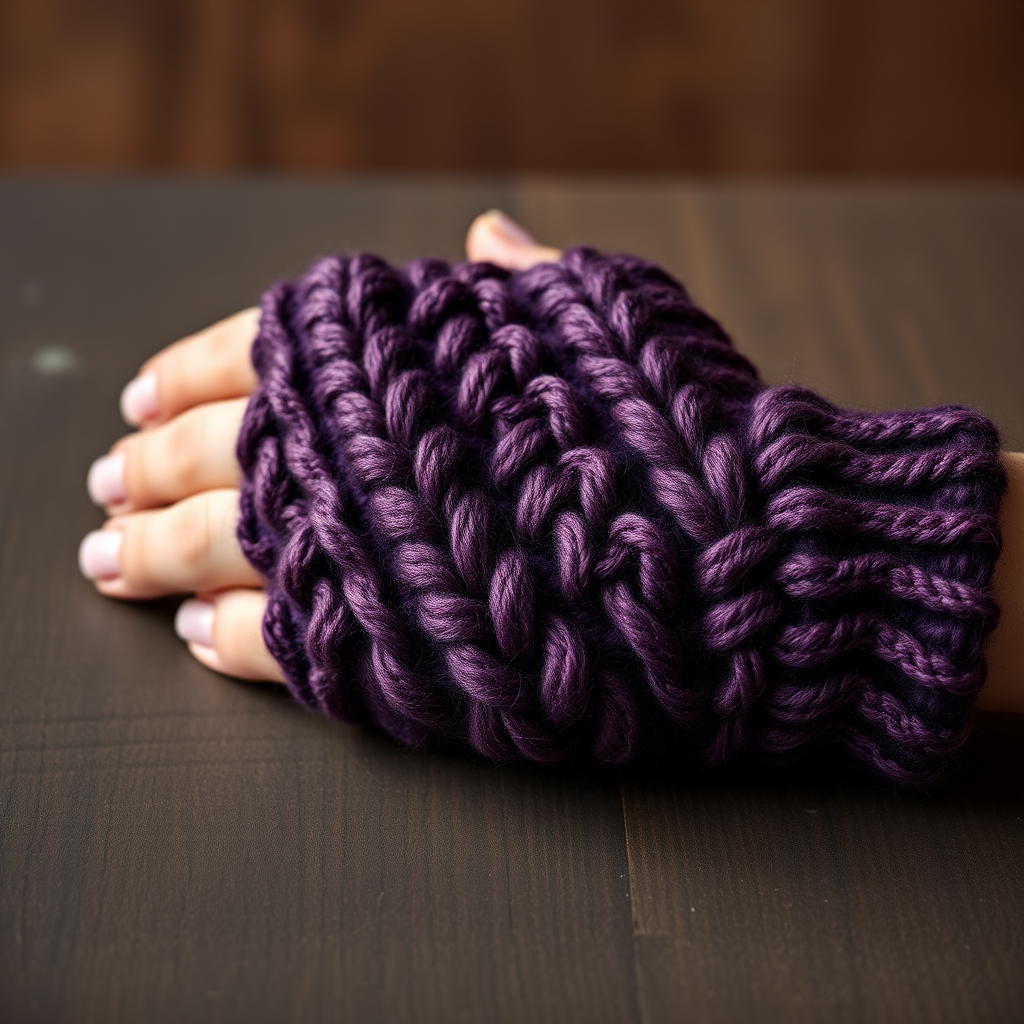
Wrap your hands in the rugged warmth of a forest trail with these richly textured fingerless gloves. The Emberwood Ridge Fingerless Gloves feature a cascading ridge pattern that mimics the bark of ancient trees and the stone of woodland paths. Knitted in earthy heathered tones with a striking fiery accent, these gloves offer both cozy comfort and a stunning, organic aesthetic. Perfect for crisp autumn days, campfire evenings, or simply adding a touch of rustic charm to your winter wardrobe, this beginner-friendly pattern is a joy to knit.
This free pattern is designed with clarity in mind, making it accessible for knitters who have mastered the basic knit and purl stitches. The combination of simple ribbing, a unique ridge texture, and a classic thumb gusset creates a professional-looking finished piece that you'll be proud to wear or gift. Let's gather our materials and begin this woodland-inspired crafting adventure!
Materials Needed
Before you begin, ensure you have all the necessary supplies. This project is portable and requires minimal equipment, making it perfect for knitting on the go.
Yarn
- Main Color (MC): Worsted weight yarn in Heathered Bark Brown (approx. 150g / 300 yards)
- Contrast Color (CC): Worsted weight yarn in Smoldering Ember Orange (approx. 50g / 100 yards)
Tip: Choose a soft, durable wool blend for warmth and stitch definition. The heathered tones in the yarn will enhance the organic, textured look of the pattern.
Needles & Notions
- US 7 (4.5 mm) knitting needles (or size needed to obtain gauge)
- Stitch markers (2)
- Stitch holder or waste yarn (for thumb stitches)
- Tapestry needle (for seaming and weaving in ends)
Gauge
20 stitches x 28 rows = 4 inches in stockinette stitch. Always knit a gauge swatch before starting to ensure your gloves fit perfectly. Adjust needle size if necessary to match this gauge.
Step-by-Step Instructions
This pattern is worked flat from the cuff up, then seamed. It uses a combination of knit and purl stitches to create a unique ridge texture. The thumb is added as a gusset. Follow these detailed instructions carefully, and you'll have a beautiful pair of gloves in no time.
Abbreviations
- K = knit
- P = purl
- K2tog = knit two stitches together (decrease)
- M1 = make one (increase by lifting the bar between stitches and knitting into the back of it)
- RS = right side
- WS = wrong side
Cuff (worked in MC)
- Cast on 40 stitches.
- Row 1 (RS): *K2, P2* repeat from * to end of row.
- Row 2 (WS): *P2, K2* repeat from * to end of row.
- Repeat Rows 1 and 2 until the cuff measures 3 inches from the cast-on edge. End with a WS row.
This classic ribbed cuff provides a snug, comfortable fit and prevents the gloves from slipping.
Main Body (worked in MC)
- Row 1 (RS): Knit all stitches.
- Row 2 (WS): Purl all stitches.
- Row 3 (RS): *K1, P1* repeat from * to end of row.
- Row 4 (WS): *P1, K1* repeat from * to end of row.
- Repeat Rows 1-4 until the body measures 2 inches from the cuff. End with a WS row.
This alternating pattern of stockinette and seed stitch creates the beautiful, bark-like ridge texture that defines the Emberwood design.
Thumb Gusset (worked in MC)
The thumb gusset is a series of increases that create a wedge shape, allowing room for your thumb. Follow these steps precisely:
- Row 1 (RS): K20, place marker, M1, K1, M1, place marker, K19. (42 stitches total)
- Row 2 (WS): Purl all stitches.
- Row 3 (RS): K20, M1, K3, M1, K19. (44 stitches total)
- Row 4 (WS): Purl all stitches.
- Row 5 (RS): K20, M1, K5, M1, K19. (46 stitches total)
- Continue in this manner: Increase 2 stitches every RS row (between the markers) until you have 13 stitches between the markers. (Total 52 stitches on needle)
- Next Row (WS): Purl all stitches.
- Next Row (RS): K20, place the 13 thumb stitches onto a stitch holder or waste yarn, K19. (40 stitches remain on needle)
Note: The increases are always made between the markers, creating a neat, symmetrical gusset. The number of stitches between markers increases by 2 on each RS row (1, 3, 5, 7, 9, 11, 13).
Upper Hand (worked in CC)
Now we switch to the Contrast Color for the fiery ember accent. This section covers the back of your hand and fingers.
- Switch to CC yarn.
- Row 1 (WS): Purl all stitches.
- Row 2 (RS): *K1, P1* repeat from * to end of row.
- Row 3 (WS): *P1, K1* repeat from * to end of row.
- Row 4 (RS): Knit all stitches.
- Row 5 (WS): Purl all stitches.
- Repeat Rows 2-5 until the upper hand measures 2.5 inches from the thumb separation. End with a WS row.
The transition from the earthy brown to the smoldering ember orange creates a beautiful visual contrast, echoing the warmth of a campfire against the forest floor.
Top Edging (worked in CC)
- Row 1 (RS): *K2, P2* repeat from * to end of row.
- Row 2 (WS): *P2, K2* repeat from * to end of row.
- Repeat Rows 1 and 2 for 1 inch.
- Bind off loosely in pattern (knit the knits and purl the purls as you bind off).
Binding off loosely is crucial here to ensure the top edge stretches comfortably over your hand.
Thumb (worked in CC)
- Transfer the 13 thumb stitches from the holder to your needle.
- With RS facing and using CC, pick up and knit 3 stitches from the base of the thumb (where it joins the hand). (16 stitches total)
- Work in stockinette stitch (Knit RS rows, Purl WS rows) for 1.5 inches.
- Bind off loosely.
Picking up stitches at the base of the thumb prevents holes and creates a clean, professional finish.
Finishing
- Seam the side of the glove using mattress stitch, carefully matching the ridge patterns to create an invisible seam.
- Seam the thumb closed using the same mattress stitch technique.
- Weave in all ends with your tapestry needle, being careful to secure them well.
- Repeat all steps for the second glove, but mirror the thumb gusset placement. Start with K19, place markers, M1, K1, M1, K20 (instead of K20, markers, M1, K1, M1, K19) so the thumbs face correctly when worn.
Tips for Perfect Results
- Gauge Matters: Take the time to knit a gauge swatch. The fit of fingerless gloves depends on accurate gauge.
- Count Your Stitches: After each increase row in the gusset, count your stitches to ensure you haven't missed an increase.
- Use Stitch Markers: They are essential for keeping track of the gusset increases and preventing mistakes.
- Blocking: After seaming, gently block your gloves to even out the stitches and enhance the texture. Lay them flat to dry.
Your Emberwood Ridge Fingerless Gloves are now complete! These cozy, textured accessories are perfect for keeping your hands warm while leaving your fingers free for typing, texting, or simply enjoying the crisp autumn air. The earthy brown and ember orange combination evokes the spirit of a woodland trail, making these gloves a beautiful addition to any cold-weather wardrobe. Happy knitting!