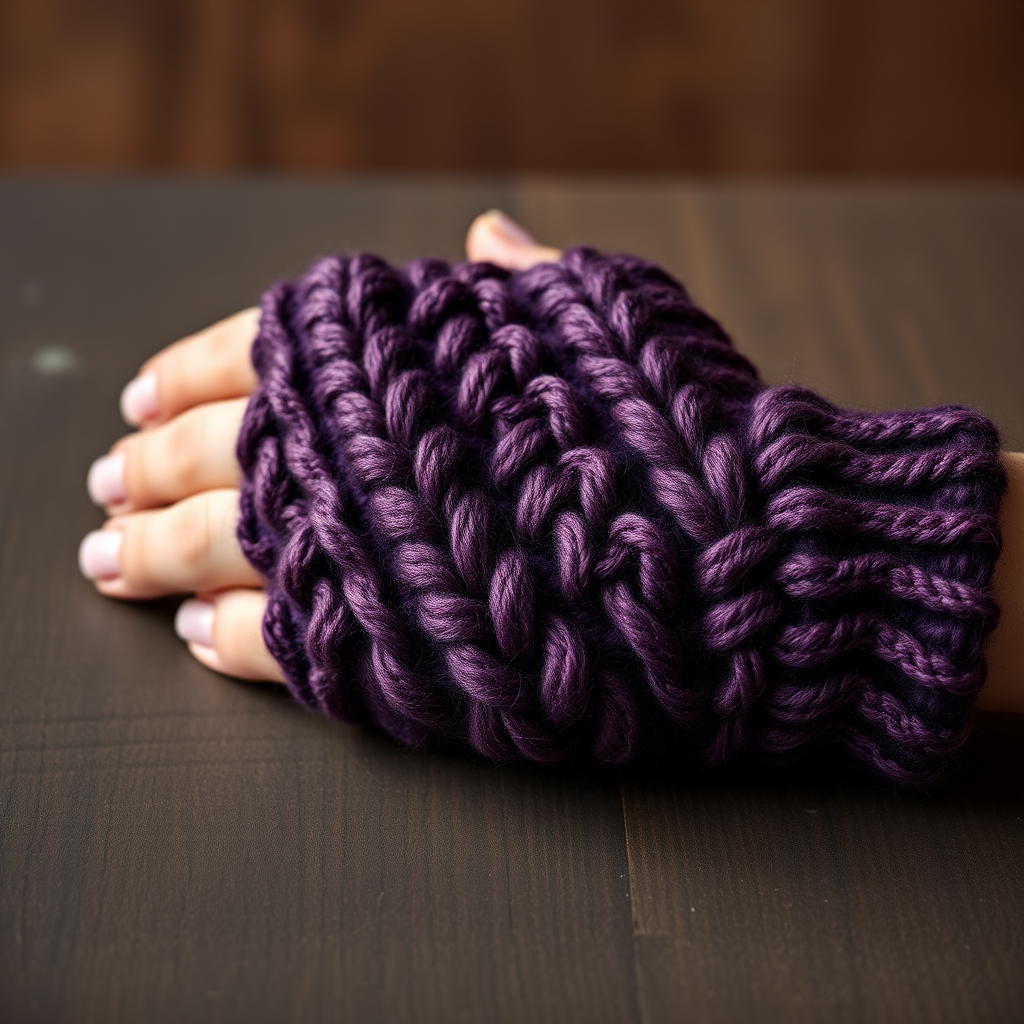
Clover Puff Fingerless Gloves Free Pattern – Knit Cozy Meadow Hand Warmers
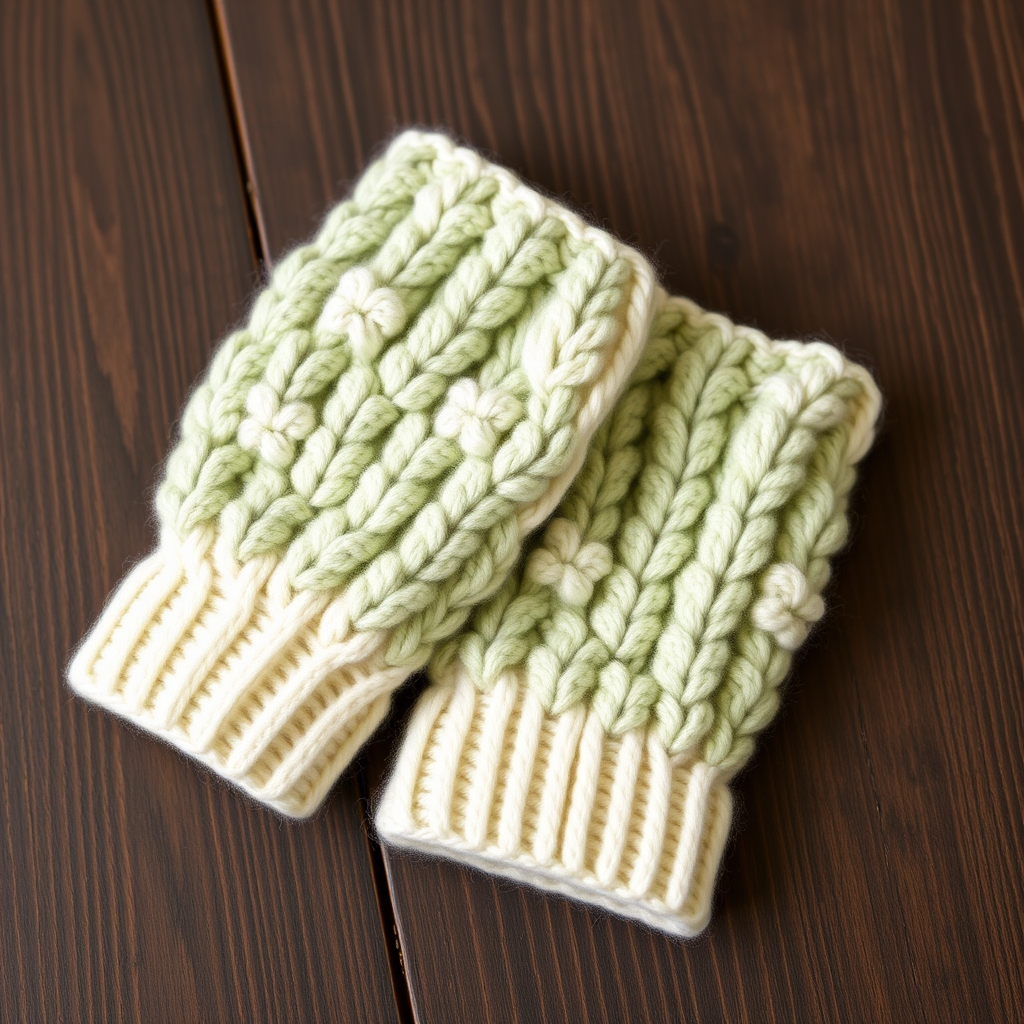
Knit the Clover Puff Fingerless Gloves: A Meadow-Inspired Hand Warmer
Wrap your hands in the soft charm of a spring meadow with these textured fingerless gloves. Featuring delicate puff stitches and a fresh clover-inspired palette, the Clover Puff Fingerless Gloves are the perfect project for cool mornings and creative afternoons. This free knitting pattern is beginner-friendly, works up quickly, and makes a thoughtful handmade gift for someone special. The finished gloves showcase a beautiful raised puff stitch pattern that resembles tiny clover blossoms, with a creamy white body and soft sage green accents for a fresh, rustic aesthetic.
Whether you're a new knitter looking to expand your skills or an experienced maker seeking a quick, satisfying project, these hand warmers are sure to delight. The pattern is worked flat and seamed, making it easy to follow and perfect for practicing yarn-over techniques. Let's dive into this charming project!
Materials Needed
Before you begin, gather the following materials to ensure a smooth knitting experience:
- Yarn: Worsted weight yarn in two colors:
- Main Color (MC): Soft sage green (approx. 150g)
- Contrast Color (CC): Creamy white (approx. 50g)
- Needles: US Size 7 (4.5 mm) knitting needles (or size needed to obtain gauge)
- Notions: Tapestry needle for weaving ends, stitch holder or waste yarn for thumb opening
Gauge: 20 stitches and 26 rows = 4 inches in stockinette stitch (knit one row, purl one row). Always check your gauge to ensure the gloves fit properly.
Step-by-Step Instructions
This pattern is worked flat and seamed, making it easy for beginners. The puff stitch is created with a simple yarn-over technique that adds beautiful texture. Below are the complete instructions for knitting one glove—repeat for the second glove.
Abbreviations
- K = knit
- P = purl
- YO = yarn over
- K2tog = knit two stitches together
- P2tog = purl two stitches together
- St(s) = stitch(es)
- MC = main color (sage green)
- CC = contrast color (creamy white)
Glove (Make 2)
Cuff
- With MC, cast on 36 stitches.
- Work in K1, P1 ribbing for 2 inches (approximately 12 rows). This creates a snug, stretchy cuff that will keep the gloves in place.
Main Body (Puff Stitch Pattern)
Now we'll create the beautiful puff stitch texture that gives these gloves their clover-like appearance. Follow these rows carefully:
- Switch to CC. Row 1 (Right Side): Knit all stitches.
- Row 2 (Wrong Side): Purl all stitches.
- Row 3 (Right Side): *K1, YO, K1 into the same stitch (this increases to 3 stitches on the needle), then pass the 2 extra stitches over the first stitch (this creates a puff). Repeat from * to the end of the row. (You will have 36 puffs)
- Row 4 (Wrong Side): Purl all stitches.
- Row 5 (Right Side): Knit all stitches.
- Row 6 (Wrong Side): Purl all stitches.
- Repeat rows 3-6 until the piece measures 4 inches from the cast-on edge, ending with a wrong side row. This will give you a lovely textured body for the glove.
Thumb Opening
Now we'll create the opening for your thumb. This is a simple technique that leaves a gap in the knitting:
- Next right side row: Work in pattern across the first 14 stitches, then place the next 8 stitches on a stitch holder or waste yarn. Continue in pattern across the remaining 14 stitches. (You will have 28 stitches on your needle)
- Continue working in the puff stitch pattern (rows 3-6) over these 28 stitches for another 2 inches, ending with a wrong side row. This section will cover the back of your hand and palm.
Top Edging
- Switch to MC. Work in K1, P1 ribbing for 1 inch (approximately 6 rows). This provides a neat, finished edge at the top of the glove.
- Bind off loosely in ribbing. Be careful not to bind off too tightly, as this could make the top edge uncomfortable.
Finishing
Now it's time to assemble your glove. Take your time with this step for a professional finish:
- Seam the side: Using mattress stitch or whip stitch, seam the side of the glove from the cuff up to the thumb opening, then from the thumb opening to the top edge. The mattress stitch creates an invisible seam that's perfect for this project.
- Thumb: Pick up the 8 stitches from the holder, plus 2 stitches from the edge of the opening (total 10 stitches). Work in K1, P1 ribbing for 1 inch. Bind off loosely. This creates a comfortable thumb opening that won't stretch out of shape.
- Weave in all ends using your tapestry needle. Make sure to weave in ends securely so they don't come loose with wear.
- Repeat the entire process for the second glove.
Optional Embellishment
For extra charm, consider adding a small crochet flower or leaf motif to the cuff of each glove. This simple addition enhances the meadow-inspired aesthetic and makes the gloves even more special as a gift.
Tips for Success
- Check your gauge: Before starting, knit a small swatch to ensure your tension matches the pattern. This ensures the gloves fit properly.
- Count your stitches: After completing Row 3 of the puff stitch pattern, count your stitches to ensure you still have 36. It's easy to accidentally add or drop stitches with yarn overs.
- Keep tension even: When working the puff stitches, keep your tension consistent so the puffs are uniform in size.
- Use stitch markers: Place markers at the thumb opening edges to help you pick up stitches evenly later.
Care Instructions
To keep your Clover Puff Fingerless Gloves looking their best, hand wash them in cool water with a gentle wool wash. Lay flat to dry, reshaping as needed. Avoid wringing or twisting, as this can distort the puff stitches. Store flat or folded to maintain their shape.
These gloves make a wonderful gift for friends, family, or yourself! The combination of the creamy white body with sage green puff stitches creates a fresh, meadow-inspired look that's both cozy and stylish. Happy knitting!