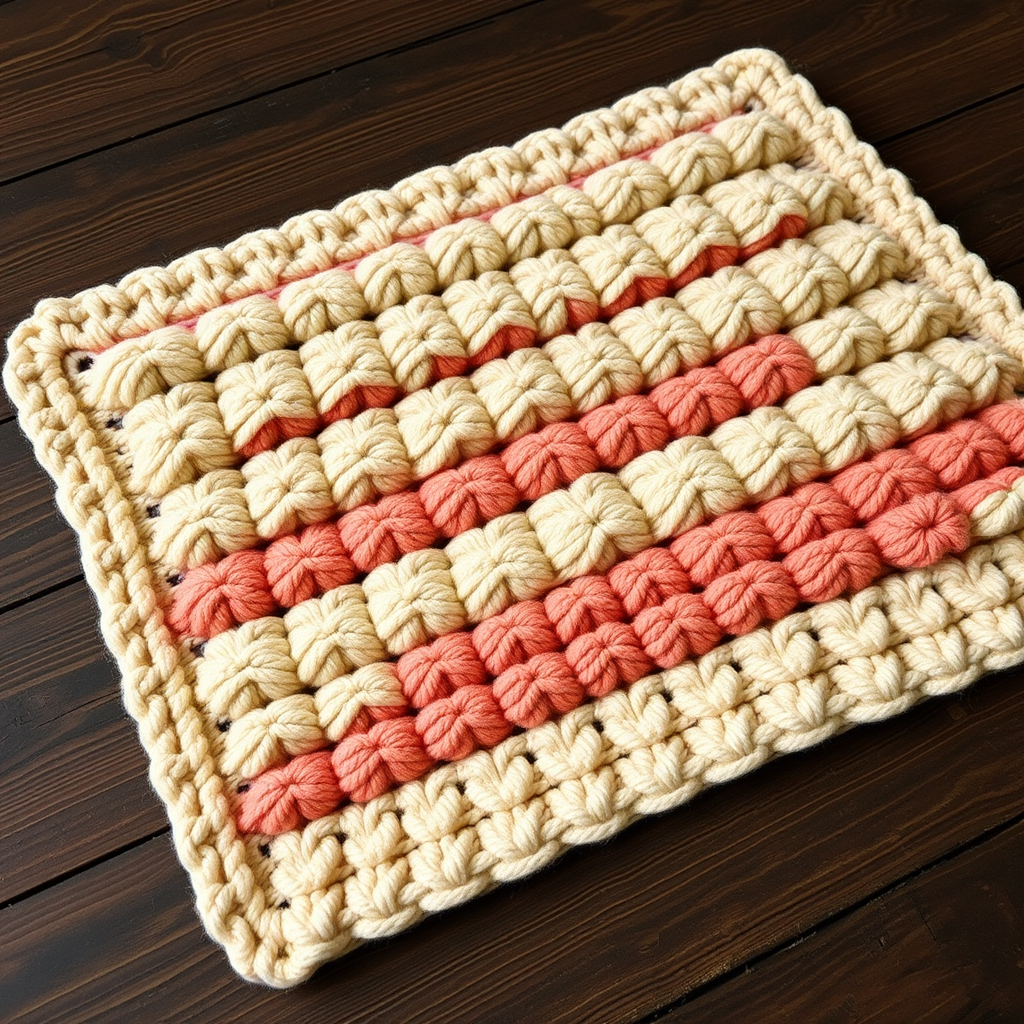
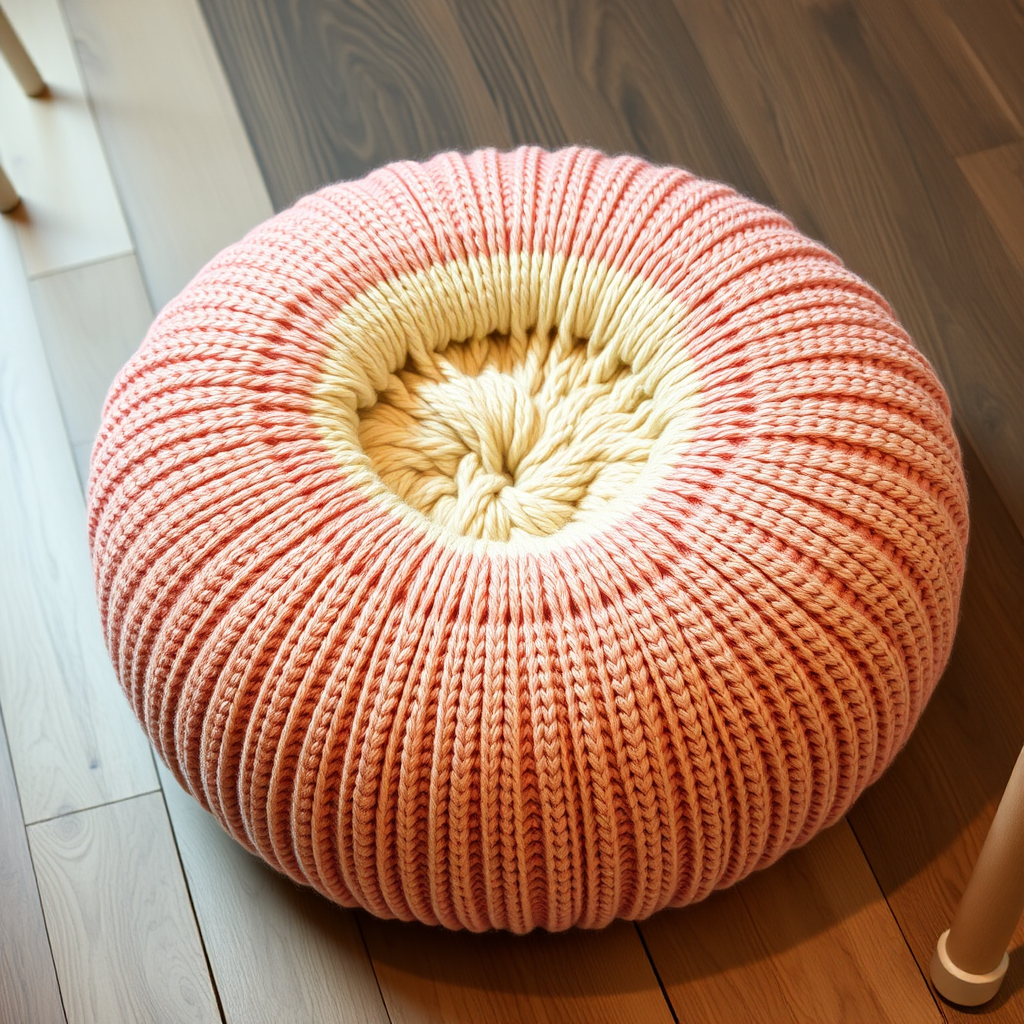
The Velvet Dune Cushion Free Pattern – A Knitted Cloud-Like Pillow with Woven Ribbed Texture

Introducing the Velvet Dune Cushion: A Knitted Cloud of Comfort
Imagine sinking into a pillow that feels like a warm, sculptural sand dune—soft, plush, and utterly inviting. That's the magic of the Velvet Dune Cushion, a free knitting pattern designed to bring modern, organic texture into your living space. This project combines the soothing rhythm of garter stitch with a clever woven accent technique, resulting in a dimensional, ribbed surface that catches light beautifully. Whether you're a seasoned knitter looking for a quick weekend project or a confident beginner ready for a new challenge, this cushion is the perfect way to add a handmade, cozy touch to any room.
What makes this pattern truly special is its simplicity paired with a striking visual payoff. You'll knit two identical flat panels using super bulky yarn—meaning it works up fast—then join them with a warm terracotta woven detail that echoes the rolling contours of desert sands. The result is a square, plush cushion with subtle fringe details that feels both modern and timeless. Let's dive into everything you need to create this cloud-like pillow for your own cozy corner.
Materials Needed for Your Velvet Dune Cushion
Before you begin, gather these supplies. The pattern is designed to be approachable, so you won't need any fancy equipment—just the basics and a little patience.
Yarn Requirements
- Main Color (Sand/Cream): Approximately 200g of super bulky weight yarn. This forms the base fabric of both panels. Look for a soft, plush yarn that holds its shape well—wool blends or acrylics with a bit of bounce work beautifully.
- Contrast Color (Warm Terracotta): Approximately 100g of the same super bulky weight yarn. This is used for the woven accent strips that create the dune-like ribs. Choose a shade that complements your main color—think burnt orange, rust, or a rich clay tone.
Tools and Notions
- Knitting Needles: US 15 (10mm) straight needles. These large needles make the knitting quick and the fabric airy and soft.
- Tapestry Needle: A large-eye tapestry needle is essential for weaving the accent strips and seaming the panels together. Make sure the eye is big enough to accommodate your bulky yarn.
- Scissors: For cutting yarn strips and trimming fringe.
- Measuring Tape: To check your gauge and ensure your panels are the correct size.
- Cushion Form or Stuffing: A 16-inch square cushion insert, or approximately 1-2 bags of polyfill stuffing for a firmer, custom shape.
Gauge Information
For best results, match this gauge: 8 stitches and 12 rows = 4 inches in garter stitch (knitting every row). This ensures your cushion panels are the right size and your fabric has the intended plushness. If your gauge is off, simply adjust your needle size—larger needles for a looser fabric, smaller for a tighter one.
Step-by-Step Instructions for the Velvet Dune Cushion
This pattern is worked flat in two identical panels, then seamed together with a woven accent strip. The texture comes from alternating garter stitch sections with woven yarn strips that create a ribbed, dimensional effect. Follow these detailed instructions carefully, and you'll have a beautiful cushion in no time.
Knitting Panel 1 (Make Two Identical Panels)
Step 1: Cast On
With your sand/cream yarn, cast on 40 stitches loosely. A loose cast-on is crucial here—it keeps the edges flexible and makes the final seaming easier. If you're unsure, try using a needle one size larger for the cast-on row only, then switch to your US 15 needles.
Step 2: Knit the Base Fabric (Rows 1–20)
Knit every row for 20 rows. This creates the garter stitch base—a squishy, ridged fabric that forms the foundation of your cushion. Remember, in garter stitch, you knit every row, so there's no purling involved. This is the most relaxing part of the project!
Step 3: Create the First Eyelet Row (Row 21)
This row creates the openings where you'll weave your terracotta strips later. Work as follows:
K2, *yo (yarn over), k2tog (knit two together); repeat from * until you have 2 stitches left, then k2.
Let's break this down: You'll knit 2 stitches, then wrap the yarn over the needle (yo) to create an extra loop, then knit the next two stitches together (k2tog) to bring the stitch count back to normal. This creates a small hole. Repeat this pattern across the row, ending with 2 plain knit stitches. You should have 40 stitches total at the end of this row.
Step 4: Knit the Middle Section (Rows 22–40)
Knit every row for 19 more rows. This solid garter section gives the cushion its body and ensures the eyelet holes are well-spaced.
Step 5: Create the Second Eyelet Row (Row 41)
Repeat Row 21 exactly: K2, *yo, k2tog; repeat from * to last 2 stitches, k2. This creates a second set of openings parallel to the first.
Step 6: Knit the Final Section (Rows 42–60)
Knit every row for 19 rows. This completes the panel's length.
Step 7: Bind Off
Bind off loosely in knit. To do this, knit the first two stitches, then use your left needle to lift the first stitch over the second and off the needle. Knit one more stitch, lift the previous stitch over, and repeat until one stitch remains. Cut your yarn, leaving a 6-inch tail, and pull it through the last loop to secure. Weave in this end and the cast-on tail using your tapestry needle.
Step 8: Repeat for the Second Panel
Follow Steps 1–7 exactly to create a second identical panel. Take your time—consistency between panels ensures a neat, symmetrical cushion.
Weaving the Accent Strips
Now comes the fun part—adding the terracotta texture that gives the Velvet Dune its signature look.
Step 9: Prepare Your Strips
Cut 6 strips of terracotta yarn, each about 24 inches long. You'll use 3 strips per panel (one for each eyelet row, plus one extra for the top or bottom edge if desired—but for this pattern, we'll use 2 per panel as specified, with the third as a spare or for a decorative edge). For the classic look, use 2 strips per panel, one for each eyelet row.
Step 10: Weave the First Strip
Thread one terracotta strip onto your tapestry needle. Starting at the bottom eyelet row of your first panel, insert the needle from the back to the front through the first eyelet hole. Then, weave the strip over and under the vertical bars between the eyelets. Think of it like lacing a shoe: go over one bar, under the next, over the next, and so on, moving horizontally across the row. This creates a ribbed, dimensional line that contrasts beautifully with the garter stitch.
Step 11: Weave the Second Strip
Repeat the same process on the second eyelet row of the same panel. Leave the ends of both strips loose for now—you'll tie them off later.
Step 12: Repeat for the Second Panel
Weave 2 terracotta strips into the eyelet rows of your second panel, following the same over-under technique. Ensure the strips are aligned with the first panel's strips so the ribs match up when you seam the panels together.
Assembling the Cushion
Step 13: Position the Panels
Place the two panels together with wrong sides facing (the inside of the cushion). The right sides—where the woven strips are most visible—should be facing outward. Align the edges carefully, matching the corners and the woven rows.
Step 14: Whip Stitch the Sides
Thread a long piece of sand yarn onto your tapestry needle. Starting at one corner, whip stitch around three sides of the cushion. To whip stitch, insert the needle through both layers from back to front, then bring it over the edge and insert again, creating a diagonal stitch. Keep your stitches even and snug, about 1/4 inch apart. Leave one side completely open for inserting the cushion form.
Step 15: Insert the Cushion Form
Carefully turn the cushion right side out through the open side. Insert your 16-inch square cushion form, or stuff firmly with polyfill. For a plump, cloud-like feel, don't overstuff—you want it soft and squishy, not rock hard. Adjust the filling until the cushion looks evenly rounded.
Step 16: Close the Final Side
Whip stitch the remaining side closed using the same technique. Weave in all loose ends from the seaming with your tapestry needle, hiding them inside the cushion.
Finishing the Woven Accents
Step 17: Tie the Fringe
Now, take the loose terracotta ends from your woven strips. On the outside edge of the cushion, tie each pair of ends into a small, neat knot. You'll have knots at both ends of each woven strip, on both sides of the cushion. This creates a subtle, decorative fringe detail that echoes the dune theme.
Step 18: Trim the Tails
Using sharp scissors, trim the terracotta tails to about 1 inch long. This keeps the fringe tidy and prevents it from looking messy. If you prefer a cleaner look, you can weave the ends in instead, but the fringe adds a lovely organic touch that fits the desert inspiration.
Step 19: Final Fluff
Give your cushion a gentle shake and fluff to distribute the filling evenly. Admire your work—you've just created a stunning, textured piece of knitted home decor that looks like a soft, sculptural sand dune!
Tips for Perfect Results
- Keep your tension consistent throughout the garter stitch sections. This ensures your panels are the same size and the fabric is even.
- Don't pull the woven strips too tight. You want them to sit gently on the surface, creating a ribbed effect without puckering the fabric.
- Use a stitch marker to keep track of your rows if you're easily distracted—it's easy to lose count when you're in the rhythm of knitting.
- Block your panels lightly before seaming if they curl at the edges. A gentle steam or wet block will flatten them and make assembly easier.
The Velvet Dune Cushion is more than just a pillow—it's a statement piece that brings warmth, texture, and a touch of nature's beauty into your home. Whether you place it on a reading chair, a cozy sofa, or your bed, it invites you to slow down and sink into comfort. Happy knitting, and enjoy your new cloud-like companion!