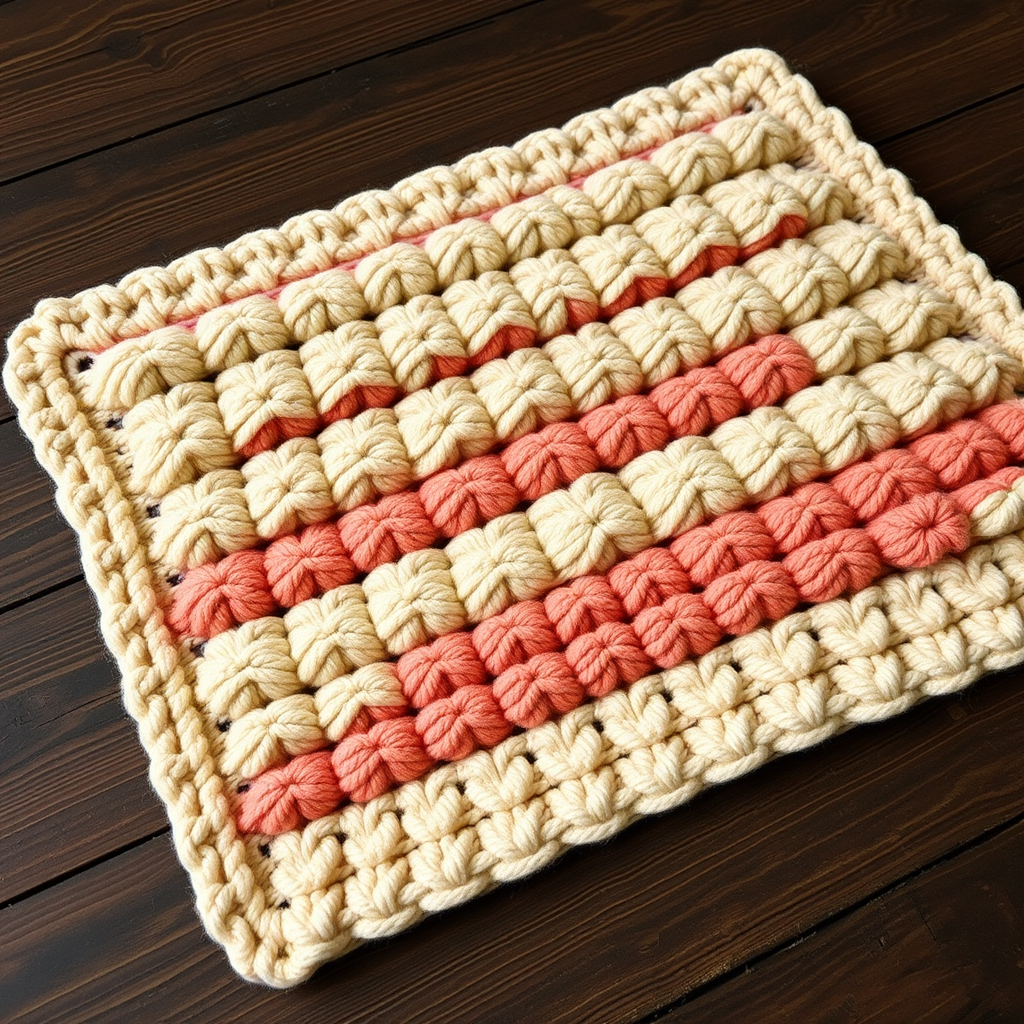
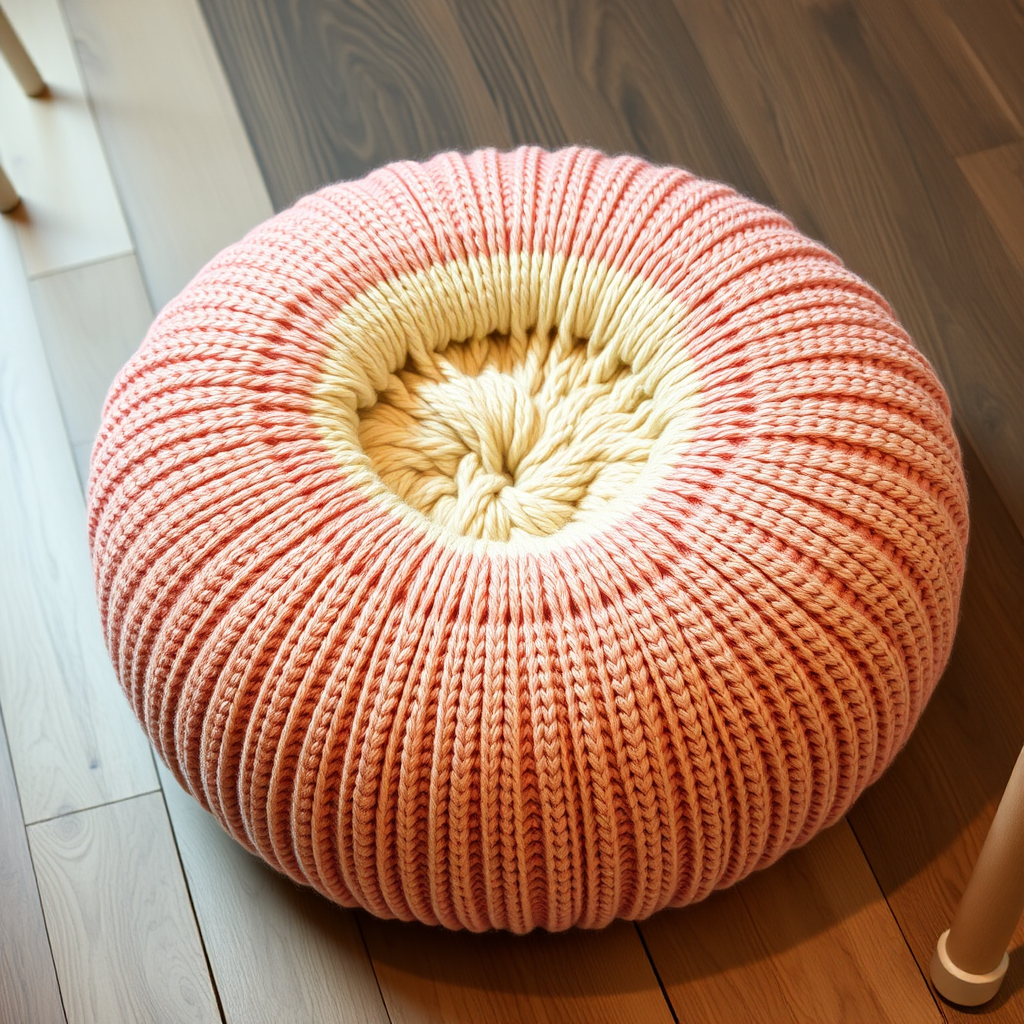
The Retro Ripple Sunburst Rug Free Pattern – A Knitted Bohemian Floor Accent with Woven Fringe
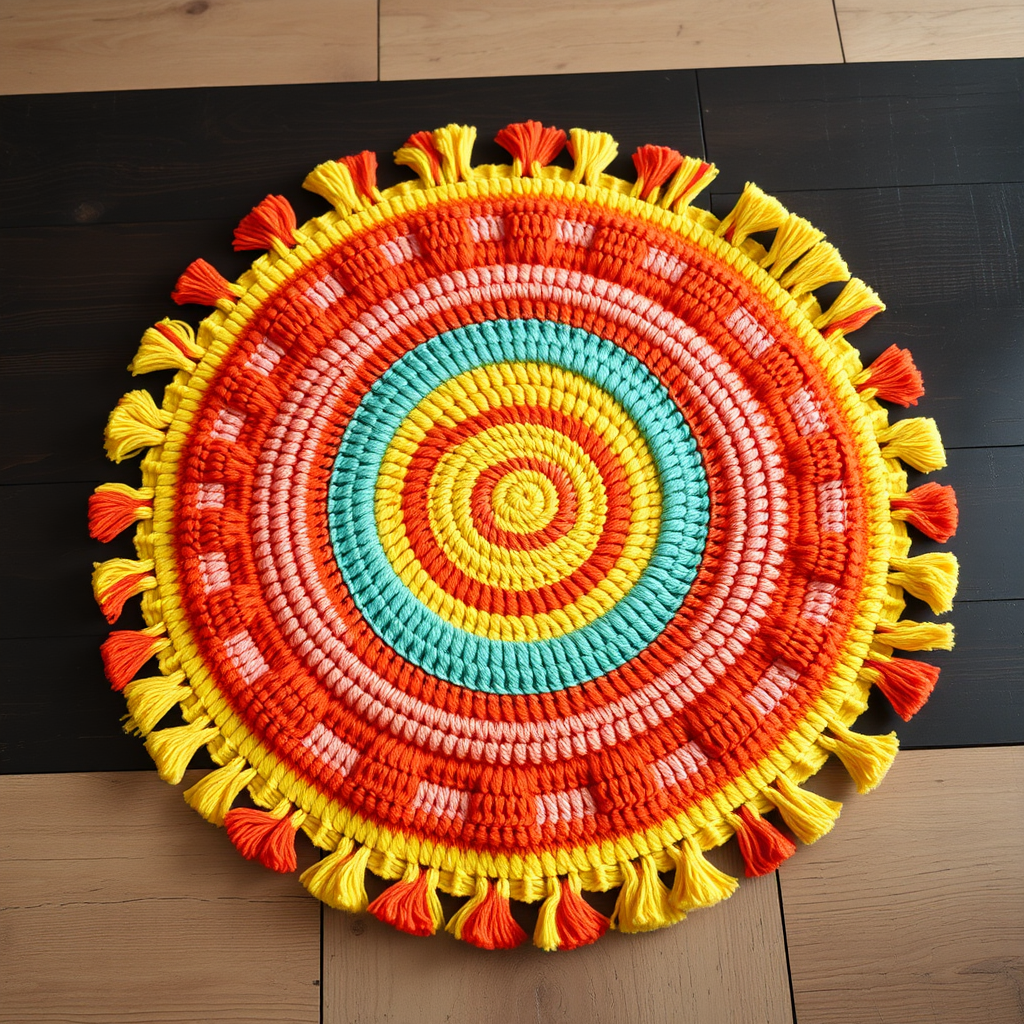
The Retro Ripple Sunburst Rug: A Free Knitted Bohemian Floor Accent
Bring a splash of 70s sunshine into your home with this groovy knitted rug, featuring a vibrant sunburst motif and plush, textured loops. This free pattern guides you through creating a durable, washable floor piece that adds instant retro charm to any room. Whether you're a seasoned knitter looking for a quick weekend project or a brave beginner ready for a circular adventure, this pattern is designed to be your new favorite statement piece. The combination of bold, warm colors and a soft, chunky texture makes it perfect for a boho living room, a cozy reading nook, or a playful child's bedroom.
This rug is knitted in the round from the center out, creating a seamless sunburst design. The technique is simple—mostly knit stitches and yarn overs—making it an excellent project for practicing circular knitting while producing a professional-looking result. The double-stranded yarn ensures the rug is thick, plush, and durable enough for daily use, while the crochet fringe adds a playful, handcrafted finish that elevates the entire design.
Materials Needed
Before you begin, gather the following materials. Using the specified yarn weight and needle sizes is crucial for achieving the correct gauge and the rug's signature chunky, dense texture.
Yarn
- Super bulky weight yarn in 5 colors (approximately 1200 yards total):
- Color A (Sunburst Yellow): For the center and edging
- Color B (Tangerine Orange): For the first sunburst ring
- Color C (Coral Pink): For the second sunburst ring
- Color D (Teal): For the third sunburst ring
- Color E (Cream): For the outer ring and main body
Note: You will be holding two strands of yarn together throughout the entire project. This doubles the thickness and creates the plush, durable fabric. Ensure you have enough yardage of each color to work with two strands simultaneously.
Needles and Hooks
- US Size 15 (10.0 mm) circular knitting needle, 36 inches long (for the magic loop method or working in the round)
- US Size P/16 (11.5 mm) crochet hook (for the edging and fringe)
Additional Supplies
- Tapestry needle for weaving in ends
- Scissors
- Stitch markers (optional but helpful)
- Steam iron for blocking
Gauge
8 stitches and 10 rows = 4 inches in stockinette stitch with two strands held together. Always knit a gauge swatch before starting to ensure your rug turns out the correct size. If your gauge is off, adjust your needle size accordingly.
Step-by-Step Instructions
Follow these detailed instructions carefully. The rug is worked in continuous rounds from the center outward. The yarn overs (yo) create the increases that form the flat, circular shape. Remember to knit the yarn overs through the back loop (k tbl) on the following round to prevent holes and keep the fabric dense.
Center Circle
With Color A (Yellow) and two strands held together, cast on 8 stitches using the long-tail method. Distribute the stitches evenly on your circular needle using the magic loop method, or divide them onto double-pointed needles if you prefer. Join in the round, being careful not to twist your stitches. Place a stitch marker to indicate the beginning of the round.
- Round 1: Knit all stitches. (8 stitches)
- Round 2: *K1, yarn over (yo)* repeat around. (16 stitches)
- Round 3: Knit all stitches, knitting the yarn overs through the back loop (k tbl) to avoid holes. (16 stitches)
- Round 4: *K2, yo* repeat around. (24 stitches)
- Round 5: Knit all stitches, knitting yarn overs through back loop (k tbl). (24 stitches)
- Round 6: *K3, yo* repeat around. (32 stitches)
- Round 7: Knit all stitches. (32 stitches)
Your center circle should now measure approximately 4 inches in diameter. The increases are evenly spaced, creating a flat, round base.
Sunburst Rays
Now you will begin the colorful sunburst rings. Each color section increases the stitch count, expanding the circle outward. When switching colors, simply drop the old color and pick up the new one, leaving a tail to weave in later. Do not cut the old yarn until the end, as you may need it for the edging.
Switch to Color B (Orange).
- Round 8: *K4, yo* repeat around. (40 stitches)
- Round 9: Knit all stitches, knitting yarn overs through back loop (k tbl). (40 stitches)
- Round 10: *K5, yo* repeat around. (48 stitches)
- Round 11: Knit all stitches. (48 stitches)
Switch to Color C (Pink).
- Round 12: *K6, yo* repeat around. (56 stitches)
- Round 13: Knit all stitches, knitting yarn overs through back loop (k tbl). (56 stitches)
- Round 14: *K7, yo* repeat around. (64 stitches)
- Round 15: Knit all stitches. (64 stitches)
Switch to Color D (Teal).
- Round 16: *K8, yo* repeat around. (72 stitches)
- Round 17: Knit all stitches, knitting yarn overs through back loop (k tbl). (72 stitches)
- Round 18: *K9, yo* repeat around. (80 stitches)
- Round 19: Knit all stitches. (80 stitches)
Switch to Color E (Cream).
- Round 20: *K10, yo* repeat around. (88 stitches)
- Round 21: Knit all stitches, knitting yarn overs through back loop (k tbl). (88 stitches)
- Round 22: *K11, yo* repeat around. (96 stitches)
- Round 23: Knit all stitches. (96 stitches)
At this point, your rug should measure approximately 18 inches in diameter. The concentric rings of color create the beautiful sunburst effect.
Body of Rug
Continue with Color E (Cream) for the main body of the rug. This section is worked without increases to create a smooth, flat border.
- Rounds 24-30: Knit all stitches. (96 stitches)
Knit these 7 rounds evenly. The fabric will begin to curl slightly at the edges, which is normal and will be corrected during blocking.
Edging
Switch to Color A (Yellow). This final increase round adds a decorative border and prepares the edge for the crochet fringe.
- Round 31: *K12, yo* repeat around. (104 stitches)
- Round 32: Knit all stitches, knitting yarn overs through back loop (k tbl). (104 stitches)
- Round 33: Bind off loosely in knit. Cut yarn, leaving a long tail (at least 12 inches) for weaving in.
When binding off, be careful not to pull too tightly. A loose bind-off ensures the edge remains stretchy and lies flat.
Finishing
Weave in all ends securely using a tapestry needle. Take your time with this step—secure ends prevent the rug from unraveling with use. Weave each end through the wrong side of the fabric, going back and forth through the stitches to lock it in place.
Crochet Fringe Edging
Now you'll add the playful, multicolored fringe that gives this rug its bohemian character.
Using the crochet hook and Color A (Yellow), attach yarn to any stitch along the bound-off edge with a slip stitch. Work a round of single crochet (sc) evenly around the entire circumference, placing 2 sc in each corner stitch to keep it flat. Join with a slip stitch to the first sc.
Tip: Work the single crochet loosely to maintain the stretch of the bind-off edge. If the edge starts to pucker, add an extra sc in some stitches to keep it flat.
Fringe
Cut strands of Color B (Orange), Color C (Pink), and Color D (Teal) yarn, each 12 inches long. You will need enough strands to place fringe in every other single crochet stitch around the entire circumference.
For every other sc stitch around the edge, follow these steps:
- Fold a group of 3 strands (one of each color) in half.
- Insert your crochet hook through the sc stitch from front to back.
- Catch the folded loop of the yarn group and pull it through the stitch.
- Pull the loose ends through the folded loop and tighten gently.
- Repeat this process around the entire edge.
Once all the fringe is attached, trim the ends evenly to about 5 inches. Use sharp scissors and work carefully to create a uniform, polished look.
Blocking
Blocking is essential for this rug to lay perfectly flat and achieve its final shape.
- Lay the rug flat on a clean, padded surface (like a carpet or a towel-covered table).
- Gently steam block with an iron held a few inches above the surface. Do not touch the yarn with the iron—the steam alone will relax the fibers.
- Move the iron in slow circles over the entire surface, allowing the steam to penetrate the fibers.
- Use your hands to gently shape the rug into a perfect circle while it's still warm and damp.
- Allow the rug to dry completely before moving or using it. This may take several hours or overnight.
Once dry, your Retro Ripple Sunburst Rug is ready to grace your floor. The vibrant colors and plush texture will bring a smile to your face every time you see it. Enjoy your handmade creation!