Crochet Bag Patterns
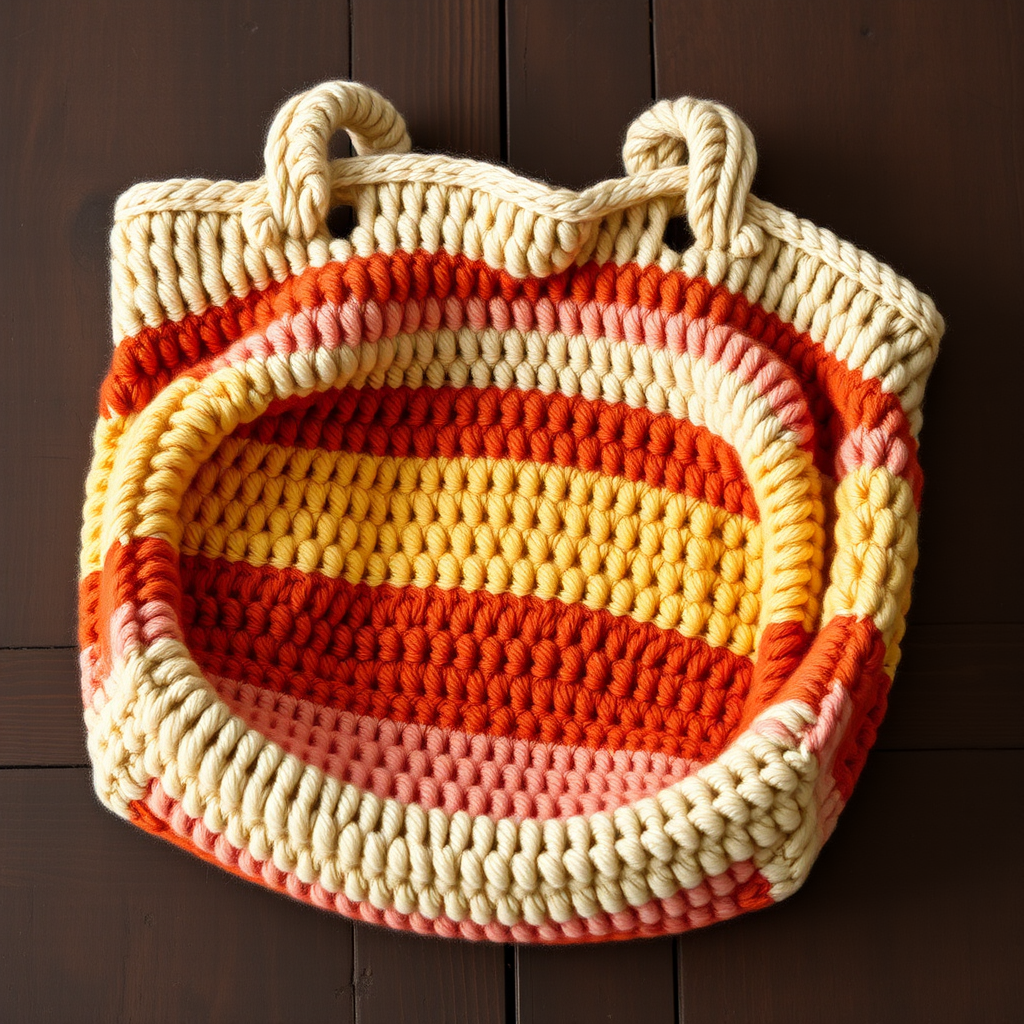
The Retro Granny Square Tote Free Pattern
Anonymous
•
July 02, 2026

The Retro Granny Square Tote Free Pattern
Introduction
Step back into the vibrant era of the 70s with this Retro Granny Square Tote. Perfect for carrying your essentials with a touch of vintage flair, this bag combines classic motifs with modern functionality. With its colorful granny squares and sturdy handles, this tote is not only stylish but also practical for everyday use. Let’s dive into the materials and step-by-step instructions to help you create your very own Retro Granny Square Tote!
Materials Needed
- Yarn: Worsted weight cotton yarn in multiple colors (e.g., mustard yellow, burnt orange, olive green, and cream)
- Hook: 5.0 mm crochet hook
- Gauge: Each granny square measures approximately 4 inches x 4 inches
- Scissors: For cutting yarn
- Tapestry Needle: For weaving in ends
Step-by-Step Instructions
Granny Square (Make 13)
- Start with a magic ring. To create a magic ring, wrap the yarn around your fingers to form a loop, then pull the working yarn through the loop to create your first stitch.
- Round 1: Chain 3 (this counts as your first double crochet). In the magic ring, make 2 double crochets (dc), chain 2, then repeat the following sequence two more times: *3 dc in the ring, chain 2; repeat from * until you have a total of 12 dc. Join with a slip stitch (sl st) to the top of the beginning chain-3.
- Round 2: Slip stitch in the next 2 dc and into the chain-2 space. Chain 3, then make 2 dc in the same space, chain 2, and make 3 dc in the same space. Now, chain 1, and in the next chain-2 space, make (3 dc, chain 2, 3 dc). Repeat this for the next two chain-2 spaces, chain 1, and join with a slip stitch to the top of the beginning chain-3.
- Round 3: Slip stitch in the next 2 dc and into the chain-2 space. Chain 3, then make 2 dc in the same space, chain 2, and make 3 dc in the same space. Now, chain 1, make 3 dc in the next chain-1 space, chain 1, and in the next chain-2 space, make (3 dc, chain 2, 3 dc). Repeat this for the next two chain-2 spaces, chain 1, make 3 dc in the next chain-1 space, chain 1, and join with a slip stitch to the top of the beginning chain-3.
- Fasten off and weave in ends using a tapestry needle.
Assembly
- Arrange the granny squares in a 3x3 grid for the front and back panels, and a 1x1 configuration for the sides and bottom.
- Using a whip stitch, join the squares together, ensuring the colors are arranged in a harmonious pattern.
- Once the panels are complete, join the sides and bottom to the front and back panels using a whip stitch.
Handles
- With the bag right side out, attach yarn to the top edge of the bag.
- Chain 80 for the handle, then attach it to the opposite side of the bag, ensuring there are no twists in the chain.
- Slip stitch back along the chain to reinforce the handle.
- Repeat for the second handle on the opposite side of the bag.
Finishing
- Weave in all ends securely using a tapestry needle.
- If necessary, block the bag to shape by lightly steaming or wetting it and laying it flat to dry.
Congratulations! You have now completed your Retro Granny Square Tote. This vibrant bag is perfect for everyday use and adds a nostalgic touch to any outfit. Enjoy your new creation!