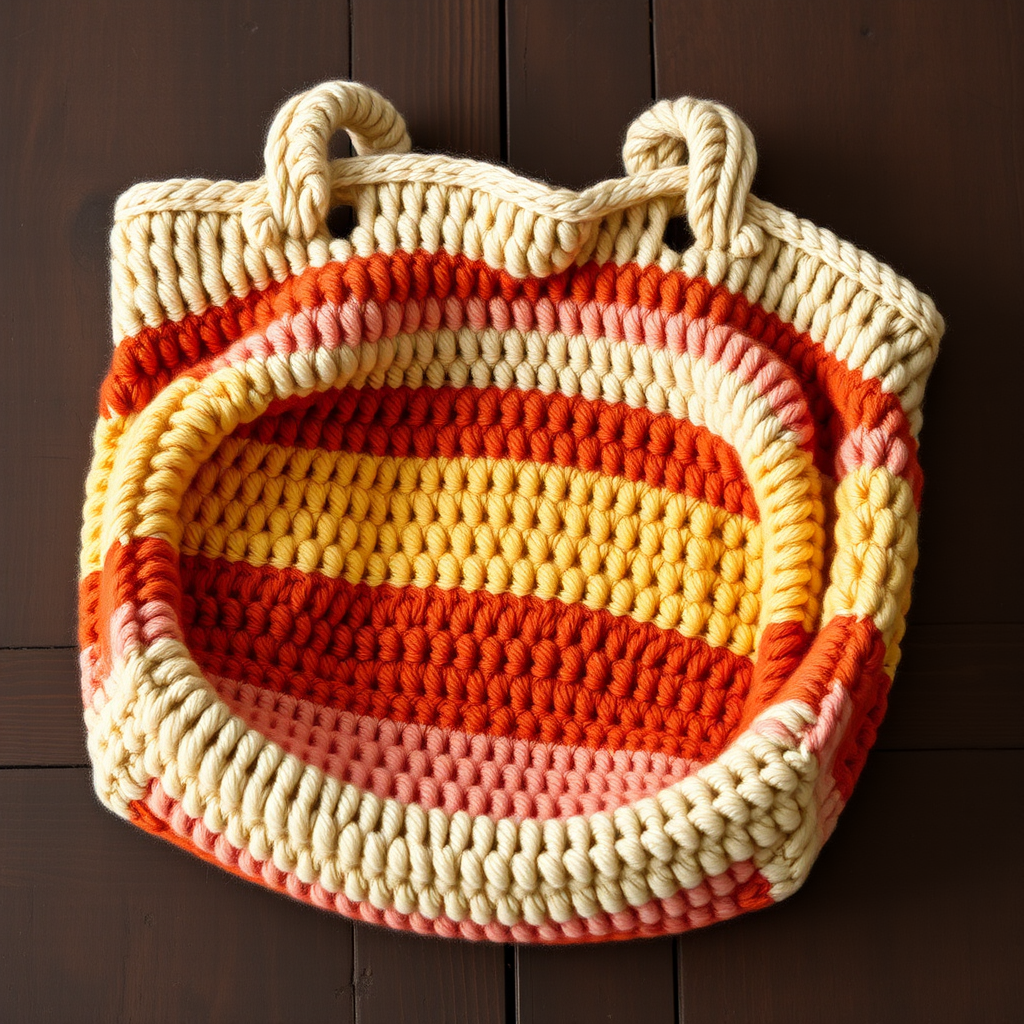
The Retro Granny Square Tote Free Pattern
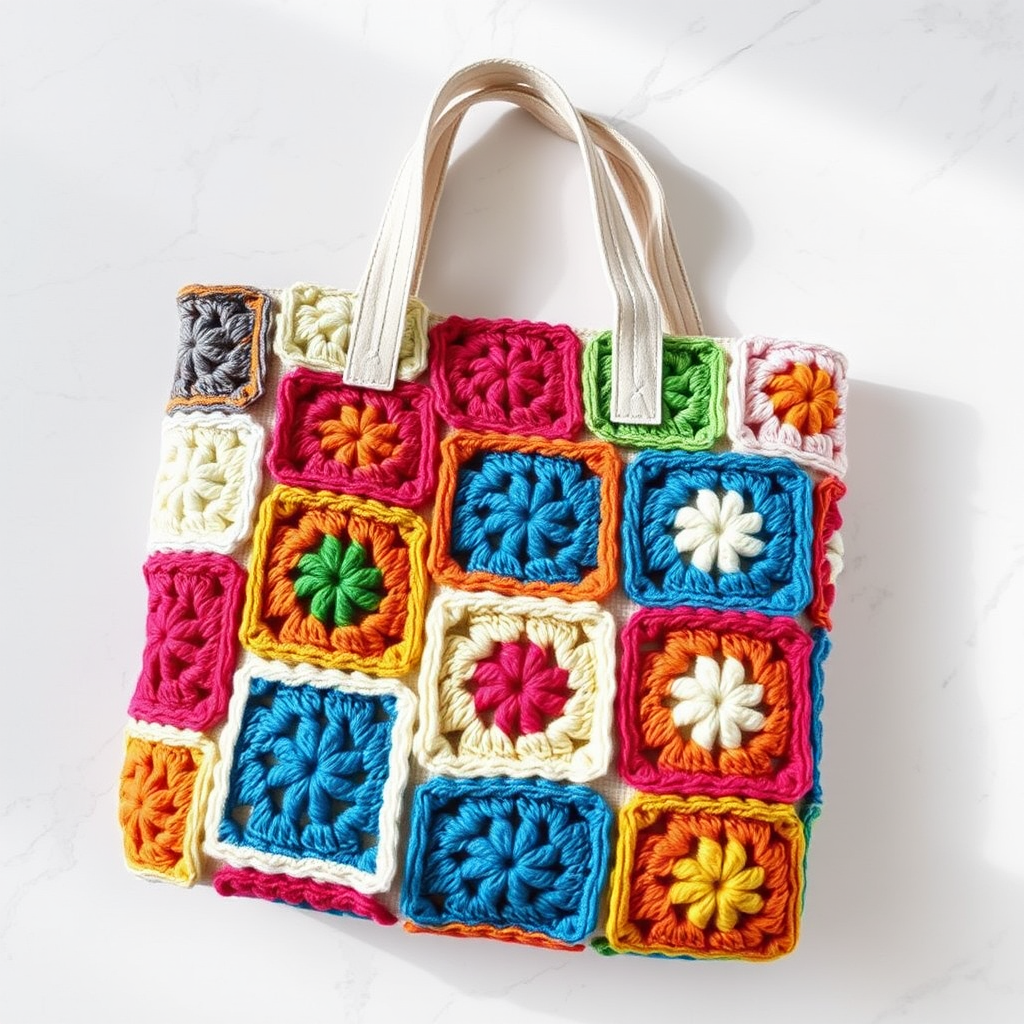
The Retro Granny Square Tote Free Pattern
Introduction
Embrace the nostalgia of the Y2K era with this vibrant and stylish granny square tote. Perfect for carrying your essentials, this bag combines vintage charm with modern flair. Whether you're heading to the market or a casual outing, this tote is not only functional but also a delightful expression of your creativity. Let's dive into the world of crochet and create your very own Retro Granny Square Tote!
Materials Needed
- Yarn: Worsted weight cotton yarn in assorted colors (e.g., pink, orange, yellow, green, blue, purple)
- Hook: 5.0 mm crochet hook
- Gauge: 4 granny squares = 10 cm x 10 cm
Step-by-Step Instructions
Step 1: Crochet the Granny Squares
Begin by crocheting 13 granny squares using your 5.0 mm hook and assorted colors of worsted weight cotton yarn. Each square should measure approximately 10 cm x 10 cm.
Step 2: Create Each Granny Square
For each granny square, follow these rounds:
- Round 1:
- Start with a magic ring.
- Chain 3 (this counts as your first double crochet).
- Work 2 double crochets (dc) into the ring.
- Chain 2.
- Repeat the following sequence 3 more times: *3 dc into the ring, chain 2*.
- Join the round with a slip stitch (sl st) to the top of the initial chain 3. You should have 4 sets of 3 dc clusters.
- Round 2:
- Slip stitch to the next chain-2 space.
- Chain 3, then work 2 dc in the same space.
- Chain 2, then work 3 dc in the same space.
- Repeat the following sequence 3 more times: *chain 1, (3 dc, chain 2, 3 dc) in the next chain-2 space*.
- Chain 1, then join with a slip stitch to the top of the initial chain 3.
- Round 3:
- Slip stitch to the next chain-2 space.
- Chain 3, then work 2 dc in the same space.
- Chain 2, then work 3 dc in the same space.
- Repeat the following sequence 3 more times: *chain 1, 3 dc in the next chain-1 space, chain 1, (3 dc, chain 2, 3 dc) in the next chain-2 space*.
- Chain 1, work 3 dc in the next chain-1 space, chain 1, then join with a slip stitch to the top of the initial chain 3.
Step 3: Join the Squares
Arrange 9 squares in a 3x3 grid for the front and back panels, and 4 squares in a 1x4 strip for the sides and bottom. Use a whip stitch or single crochet to join the squares together. Ensure that the right sides of the squares are facing outward for a neat finish.
Step 4: Assemble the Bag
Fold the side strip in half and attach it to the front and back panels using single crochet stitches. Make sure the right sides are facing out, creating a sturdy structure for your tote.
Step 5: Add Handles
Crochet two straps by chaining 80 stitches. Then, work 3 rows of single crochet on each strap. Once completed, securely attach the straps to the top edges of the bag, ensuring they are evenly spaced for comfort and style.
Step 6: Finishing Touches
Weave in all ends using a yarn needle to give your tote a polished look. Finally, block the bag to shape, ensuring it retains its form and is ready for use.
Conclusion
Congratulations on creating your very own Retro Granny Square Tote! This vibrant bag not only showcases your crochet skills but also serves as a functional accessory for your everyday needs. Enjoy your new creation and the compliments that are sure to follow!