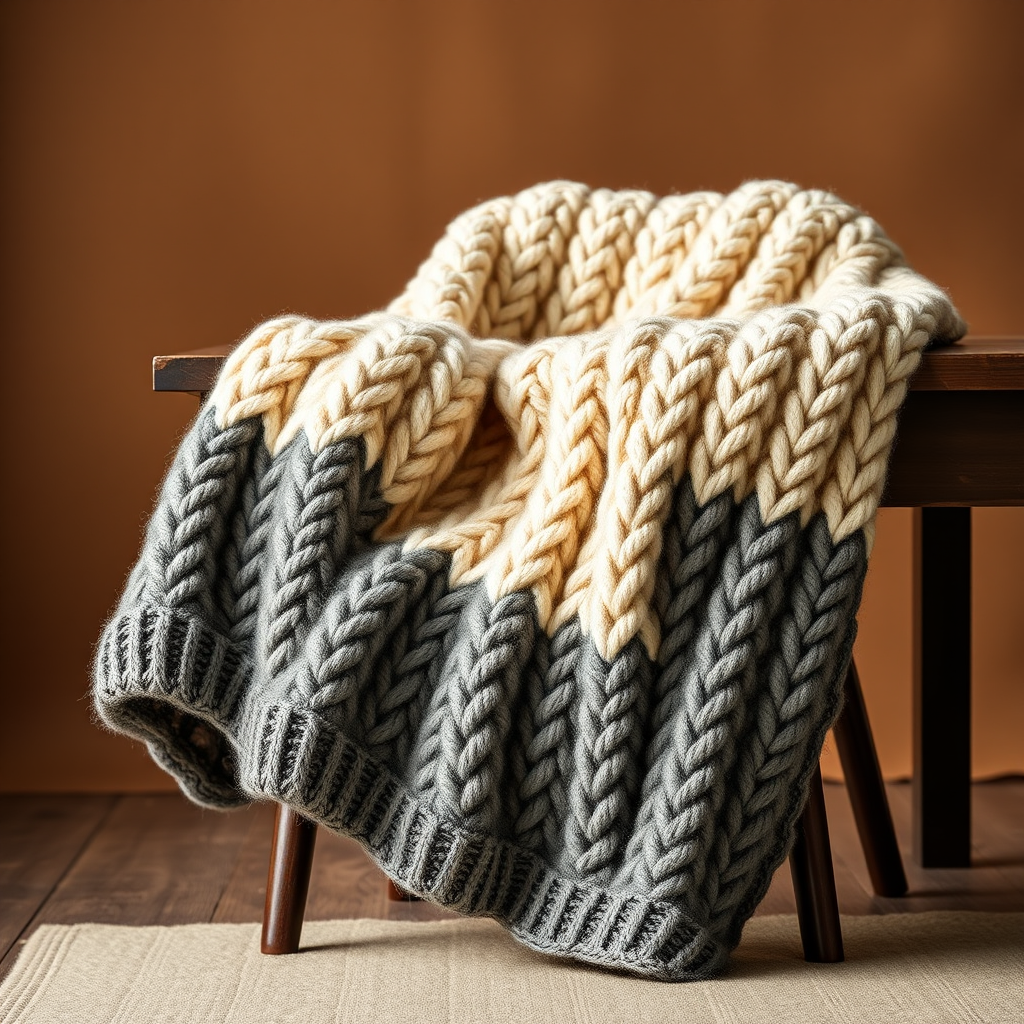
The Nordic Hearth Throw: A Free Knitting Pattern for a Textured, Fair Isle-Inspired Blanket

Wrap Yourself in Nordic Warmth: The Nordic Hearth Throw
There's nothing quite like the feeling of wrapping yourself in a handmade blanket that combines timeless techniques with modern design. The Nordic Hearth Throw is more than just a cozy accessory—it's a labor of love that brings together the best of knitting: textured cables and stunning Fair Isle colorwork. Inspired by Scandinavian winter traditions, this throw features a modern, pixelated heart motif in deep forest green and rust red against a creamy off-white background. The result is an heirloom-quality piece that will keep you warm for years to come. Whether you're an adventurous beginner or an experienced knitter looking for a rewarding project, this pattern is designed to guide you every step of the way.
Materials Needed
Before you begin, gather the following materials. Using the exact yarn weight and needle sizes will ensure your blanket matches the intended size and gauge.
- Yarn: Worsted weight wool or wool-blend yarn in 3 colors:
- Main Color (MC) - Cream: approx 1200 yards
- Contrast Color 1 (CC1) - Deep Forest Green: approx 600 yards
- Contrast Color 2 (CC2) - Rust Red: approx 400 yards
- Needles:
- US 8 (5 mm) circular needles, 32 inches or longer (for main body)
- US 7 (4.5 mm) circular needles, 32 inches or longer (for ribbing borders)
- Other: Cable needle, stitch markers (optional), tapestry needle for weaving ends, blocking mats and pins.
Gauge & Size
- Gauge: 18 stitches and 24 rows = 4 inches in stockinette stitch on larger needles (US 8). Always check your gauge before starting.
- Finished Size: Approximately 50 inches wide by 60 inches long.
Abbreviations
- CO: Cast on
- K: Knit
- P: Purl
- St(s): Stitch(es)
- MC: Main Color (Cream)
- CC1: Contrast Color 1 (Green)
- CC2: Contrast Color 2 (Rust)
- C4F: Cable 4 Front (slip 2 stitches to cable needle, hold in front, knit 2, then knit 2 from cable needle)
- C4B: Cable 4 Back (slip 2 stitches to cable needle, hold in back, knit 2, then knit 2 from cable needle)
- M1: Make 1 (increase)
- K2tog: Knit 2 together
- SSK: Slip, slip, knit (decrease)
Step-by-Step Instructions
Border (Bottom Ribbing)
- With smaller needles (US 7) and MC, cast on 180 stitches.
- Work in K1, P1 ribbing for 10 rows. This creates a neat, stretchy edge.
- Switch to larger needles (US 8). Do not cut the yarn; you will continue with the main body.
Main Body (Worked Flat in Rows)
The blanket is worked flat from the bottom up. The pattern is built on a 24-row repeat. The center of each panel features a 10-stitch Fair Isle heart motif, flanked by cable panels on both sides. The blanket has four cable panels and four heart motif panels, arranged as follows: Cable, Heart, Cable, Heart, Cable, Heart, Cable, Heart, Cable.
Row 1 (Right Side): With MC, K10, P1, K10 (cable panel), P1, K10, P1, K10 (cable panel), P1, K10, P1, K10 (cable panel), P1, K10, P1, K10 (cable panel), P1, K10. (Total 180 stitches)
Row 2 (Wrong Side): With MC, P10, K1, P10, K1, P10, K1, P10, K1, P10, K1, P10, K1, P10, K1, P10, K1, P10.
Row 3: With MC, K10, P1, C4F, K2, P1, K10, P1, C4B, K2, P1, K10, P1, C4F, K2, P1, K10, P1, C4B, K2, P1, K10.
Row 4: Repeat Row 2.
Row 5: With MC, K10, P1, K2, C4B, P1, K10, P1, K2, C4F, P1, K10, P1, K2, C4B, P1, K10, P1, K2, C4F, P1, K10.
Row 6: Repeat Row 2.
Row 7: With MC, K10, P1, K10, P1, K10, P1, K10, P1, K10, P1, K10, P1, K10, P1, K10, P1, K10.
Row 8: Repeat Row 2.
Rows 9-24: Repeat Rows 1-8 twice more. However, on Rows 9, 11, 13, 15, 17, 19, 21, and 23, work the center 10 stitches of each cable panel as follows: For the first and third cable panels, work C4F, K2 on RS rows; for the second and fourth cable panels, work K2, C4B on RS rows. This creates a mirrored cable effect, making the cables twist in opposite directions for a balanced, professional look.
Fair Isle Heart Motif (Center Panel)
The center panel is the 10 stitches between the cable panels. On the right side rows, work the heart motif using stranded colorwork. Carry the unused colors loosely across the back of the work, twisting yarns every few stitches to prevent long floats.
Heart Chart (Worked over 10 stitches, 24 rows):
- Rows 1-4: All stitches with MC.
- Row 5 (RS): K2 MC, K1 CC1, K4 MC, K1 CC1, K2 MC.
- Row 6 (WS): P2 MC, P1 CC1, P4 MC, P1 CC1, P2 MC.
- Row 7: K1 MC, K2 CC1, K4 MC, K2 CC1, K1 MC.
- Row 8: P1 MC, P2 CC1, P4 MC, P2 CC1, P1 MC.
- Row 9: K1 MC, K1 CC1, K1 CC2, K4 MC, K1 CC2, K1 CC1, K1 MC.
- Row 10: P1 MC, P1 CC1, P1 CC2, P4 MC, P1 CC2, P1 CC1, P1 MC.
- Row 11: K2 MC, K1 CC1, K1 CC2, K2 MC, K1 CC2, K1 CC1, K2 MC.
- Row 12: P2 MC, P1 CC1, P1 CC2, P2 MC, P1 CC2, P1 CC1, P2 MC.
- Row 13: K3 MC, K1 CC1, K2 MC, K1 CC1, K3 MC.
- Row 14: P3 MC, P1 CC1, P2 MC, P1 CC1, P3 MC.
- Row 15: K4 MC, K2 CC1, K4 MC.
- Row 16: P4 MC, P2 CC1, P4 MC.
- Row 17: K5 MC, K1 CC1, K4 MC.
- Row 18: P5 MC, P1 CC1, P4 MC.
- Row 19: K6 MC, K1 CC1, K3 MC.
- Row 20: P6 MC, P1 CC1, P3 MC.
- Row 21: K7 MC, K1 CC1, K2 MC.
- Row 22: P7 MC, P1 CC1, P2 MC.
- Row 23: K8 MC, K1 CC1, K1 MC.
- Row 24: P8 MC, P1 CC1, P1 MC.
Repeat the 24-row pattern (Rows 1-24 of the main body and the heart chart) until the blanket measures approximately 58 inches from the cast-on edge, ending with a wrong side row. This ensures the next row you work will be a right side row for the top border.
Top Border (Ribbing)
- Switch to smaller needles (US 7).
- Work in K1, P1 ribbing for 10 rows.
- Bind off loosely in pattern (knit the knits and purl the purls as you bind off). A loose bind-off is essential to prevent the top edge from being too tight.
Finishing
- Weave in ends: Use a tapestry needle to weave in all yarn tails securely on the wrong side of the blanket. Take care to weave in ends from the colorwork neatly so they don't show on the right side.
- Blocking: Block the blanket to the finished size (50" x 60"). Gently stretch the blanket while damp, pinning the edges to shape. Pay special attention to the cable panels—blocking will open up the cables and even out the stranded colorwork, giving the blanket a polished, professional look. Allow to dry completely before removing pins.
Your Nordic Hearth Throw is now complete! Snuggle up and enjoy the warmth of your handmade creation. This blanket makes a thoughtful gift or a cherished addition to your own home. Happy knitting!