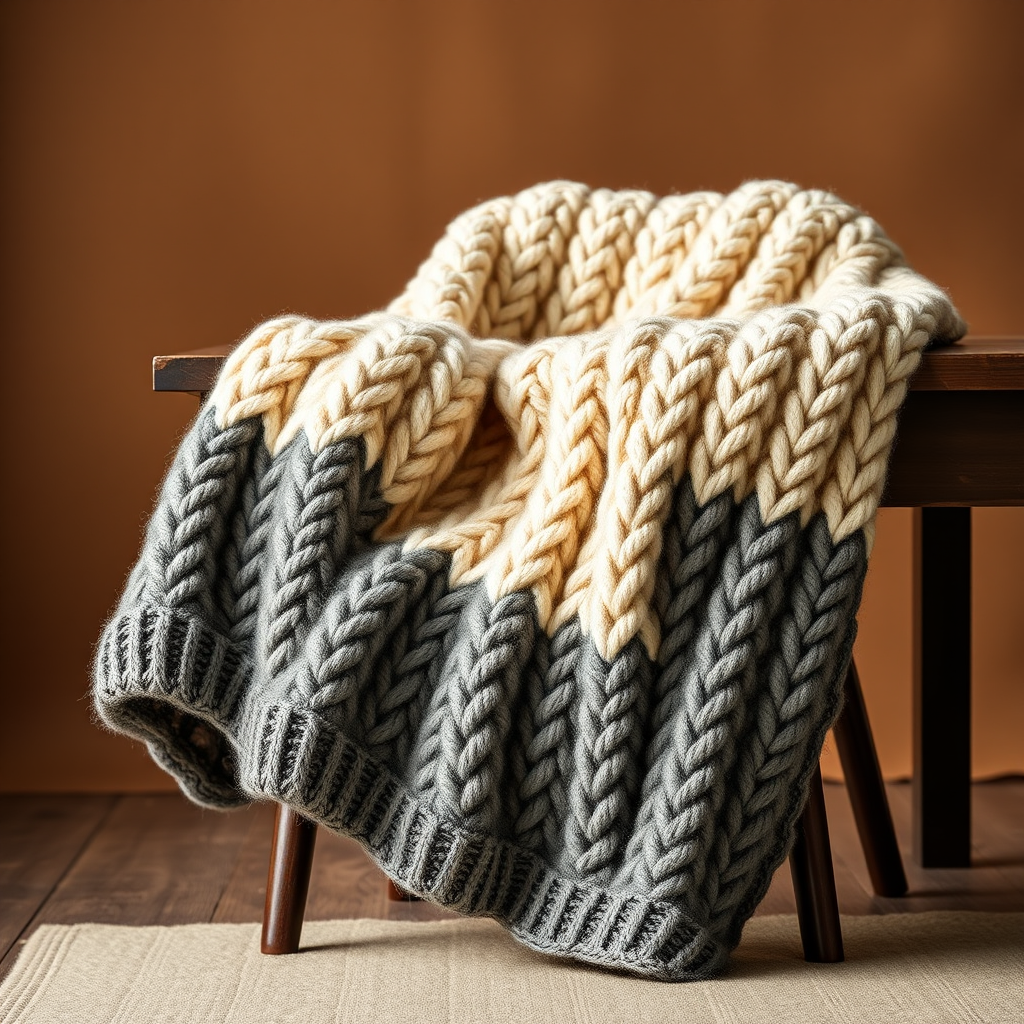
Ember Glow Striped Thicket Blanket Free Knitting Pattern – Cozy Textured Throw

Ember Glow Striped Thicket Blanket: A Cozy Knitting Project for Beginners
There's something deeply satisfying about wrapping yourself in a hand-knitted blanket, especially one that carries the warm, earthy tones of autumn. The Ember Glow Striped Thicket Blanket is more than just a throw—it's a statement piece that brings rustic charm and tactile comfort to any room. With its rich burnt orange, deep teal, and soft cream stripes, this textured blanket evokes images of crackling fires and crisp fall evenings.
What makes this pattern truly special is the Thicket Stitch—a simple 4-row repeat that creates a dense, nubby texture reminiscent of woven leaves and underbrush. Despite its intricate appearance, this stitch is surprisingly beginner-friendly, making this project perfect for those looking to expand their knitting skills while creating something beautiful and functional.
In this comprehensive guide, I'll walk you through every step, from gathering your materials to binding off that final edge. By the end, you'll have a stunning 50x60-inch throw that will become a cherished heirloom in your home.
Materials Needed
Before you begin, gather the following supplies. Having everything ready will make your knitting experience smooth and enjoyable.
Yarn
- Worsted weight yarn in 3 colors (approximately 1200g total):
- Color A (Burnt Orange): 3 skeins (approximately 600g)
- Color B (Deep Teal): 2 skeins (approximately 400g)
- Color C (Cream): 1 skein (approximately 200g)
Tip: Choose a soft, machine-washable wool blend for easy care. The yarn should have good stitch definition to showcase the Thicket Stitch texture.
Needles
- US 9 (5.5mm) circular knitting needles with a 32-inch cable
The circular needle is essential here—it will comfortably hold all your stitches when working on the wide strips and later for picking up the border.
Additional Supplies
- Stitch holders or waste yarn (to hold completed strips)
- Tapestry needle (for seaming and weaving in ends)
- Stitch markers (optional, but helpful for tracking pattern repeats)
- Scissors
- Measuring tape
Gauge
18 stitches and 24 rows = 4 inches in Thicket Stitch pattern. Always knit a gauge swatch before starting to ensure your blanket matches the finished dimensions. If your gauge is off, adjust your needle size accordingly.
Step-by-Step Instructions
This blanket is constructed in five vertical strips that are seamed together, then finished with a clean garter stitch border. Follow these instructions carefully, and you'll have a beautiful, professional-looking throw.
Understanding the Thicket Stitch
The Thicket Stitch is a 4-row repeat that creates a dense, textured fabric. Here's the pattern:
- Row 1 (RS): Knit all stitches
- Row 2 (WS): Purl all stitches
- Row 3: K1, *K2tog, yo, K1; repeat from * to end
- Row 4: Purl all stitches
This pattern creates small, raised bumps and ridges that give the blanket its characteristic "thicket" texture. The yarn overs and knit-2-togethers balance each other out, so your stitch count remains consistent throughout.
Abbreviations Used
- CO: Cast on
- K: Knit
- P: Purl
- K2tog: Knit two stitches together (decrease)
- Yo: Yarn over (increase)
- Sl: Slip stitch
- WYIF: With yarn in front
- Rep: Repeat
Finished Size
Approximately 50 inches wide x 60 inches long
Pattern Notes
- Each strip is worked separately and measures 10 inches wide (approximately 45 stitches)
- Use a long-tail cast on for a stretchy, professional edge
- Work all strips to the same length (60 inches) for a uniform blanket
Strip 1 (Color A - Burnt Orange)
Cast On: Using the long-tail method, CO 45 stitches with Color A.
Row 1 (RS): Knit all stitches.
Row 2 (WS): Purl all stitches.
Row 3: K1, *K2tog, yo, K1; repeat from * to end of row.
Row 4: Purl all stitches.
Repeat Rows 1-4 until the piece measures 60 inches from the cast-on edge. Place these stitches on a holder or leave them on the needle while you work the next strip.
Pro Tip: Count your stitches at the end of each pattern repeat to ensure you haven't accidentally added or dropped any. You should always have 45 stitches.
Strip 2 (Color B - Deep Teal)
Cast On: With Color B, CO 45 stitches using the long-tail method.
Work the same 4-row Thicket Stitch pattern as Strip 1 until this piece also measures 60 inches. Place on a holder.
Strip 3 (Color C - Cream)
Cast On: With Color C, CO 45 stitches.
Work the Thicket Stitch pattern until the piece measures 60 inches. Place on a holder.
Strip 4 (Color A - Burnt Orange)
Repeat the instructions for Strip 1 exactly. You'll have a second orange strip.
Strip 5 (Color B - Deep Teal)
Repeat the instructions for Strip 2 exactly. You'll have a second teal strip.
Joining the Strips
Now comes the satisfying part—bringing your blanket together. You'll use the mattress stitch to create an invisible, professional seam.
Step 1: Lay your strips flat in the correct order: Strip 1 (Orange), Strip 2 (Teal), Strip 3 (Cream), Strip 4 (Orange), Strip 5 (Teal).
Step 2: Thread a tapestry needle with a length of matching yarn (use the color of one of the strips being joined).
Step 3: With right sides facing up, place the two strips edge-to-edge. Starting at the bottom, insert the needle under the horizontal bar between the first and second stitches on one strip, then under the corresponding bar on the other strip. Continue alternating sides, pulling the yarn gently to close the seam.
Step 4: Work your way up the entire length of the strips, keeping the tension even. The seam should disappear into the fabric.
Step 5: Repeat for all four seams. Weave in all loose ends with your tapestry needle.
Tip: Take your time with the seaming—this is what gives your blanket a polished, store-bought look.
Adding the Border
The garter stitch border frames your blanket beautifully and prevents the edges from curling.
Step 1: With Color C (Cream), pick up and knit stitches evenly around the entire blanket. You'll need approximately 180 stitches along the top and bottom edges, and 240 stitches along the sides.
How to pick up stitches: Insert your needle into the edge stitch, wrap the yarn around, and pull through. Continue along the edge, spacing your picked-up stitches evenly.
Step 2: Once you've picked up all stitches around the perimeter, work in garter stitch (knit every row) for 6 rows.
Step 3: Bind off loosely. To avoid a tight edge, use a larger needle for binding off or bind off in pattern (knit stitches).
Finishing Touches
Weave in Ends: Using your tapestry needle, weave in all remaining yarn ends on the wrong side of the blanket. Make sure to secure them well so they don't work loose with use.
Blocking: This step is crucial for evening out the Thicket Stitch texture and setting the final shape.
- Fill a basin with lukewarm water and a gentle wool wash
- Submerge the blanket and let it soak for 15-20 minutes
- Gently press out excess water (never wring or twist)
- Lay the blanket flat on a clean towel and roll it up to remove more water
- Unroll and lay flat on a blocking mat or dry towels
- Gently stretch to the correct dimensions (50x60 inches) and pin if needed
- Allow to dry completely before using
Tips for Success
- Keep your tension consistent throughout each strip. If you notice your tension changing, take a break and come back refreshed.
- Use stitch markers every 10-15 stitches on Row 3 to help you keep track of the pattern repeat.
- Don't rush the seaming—this is what separates a handmade-looking blanket from a professional one.
- Blocking is non-negotiable for this pattern. It transforms the fabric, making the texture pop and the edges lie flat.
Creative Variations
Once you've mastered the Ember Glow pattern, feel free to make it your own:
- Change the color palette: Try cool blues and grays for a winter feel, or soft pastels for a spring vibe
- Adjust the width: Add more strips for a wider blanket or use fewer for a lap throw
- Experiment with yarn weights: Use bulky yarn and larger needles for a chunkier, quicker project
Final Thoughts
The Ember Glow Striped Thicket Blanket is more than just a knitting project—it's an heirloom in the making. The combination of rich autumn colors and the tactile Thicket Stitch creates a piece that's both visually stunning and deeply comforting. Whether you're knitting it for yourself or as a gift for someone special, this blanket is sure to be treasured for years to come.
Remember, knitting is a journey, not a race. Enjoy each row, appreciate the texture forming beneath your fingers, and take pride in creating something beautiful with your own two hands. Happy knitting!