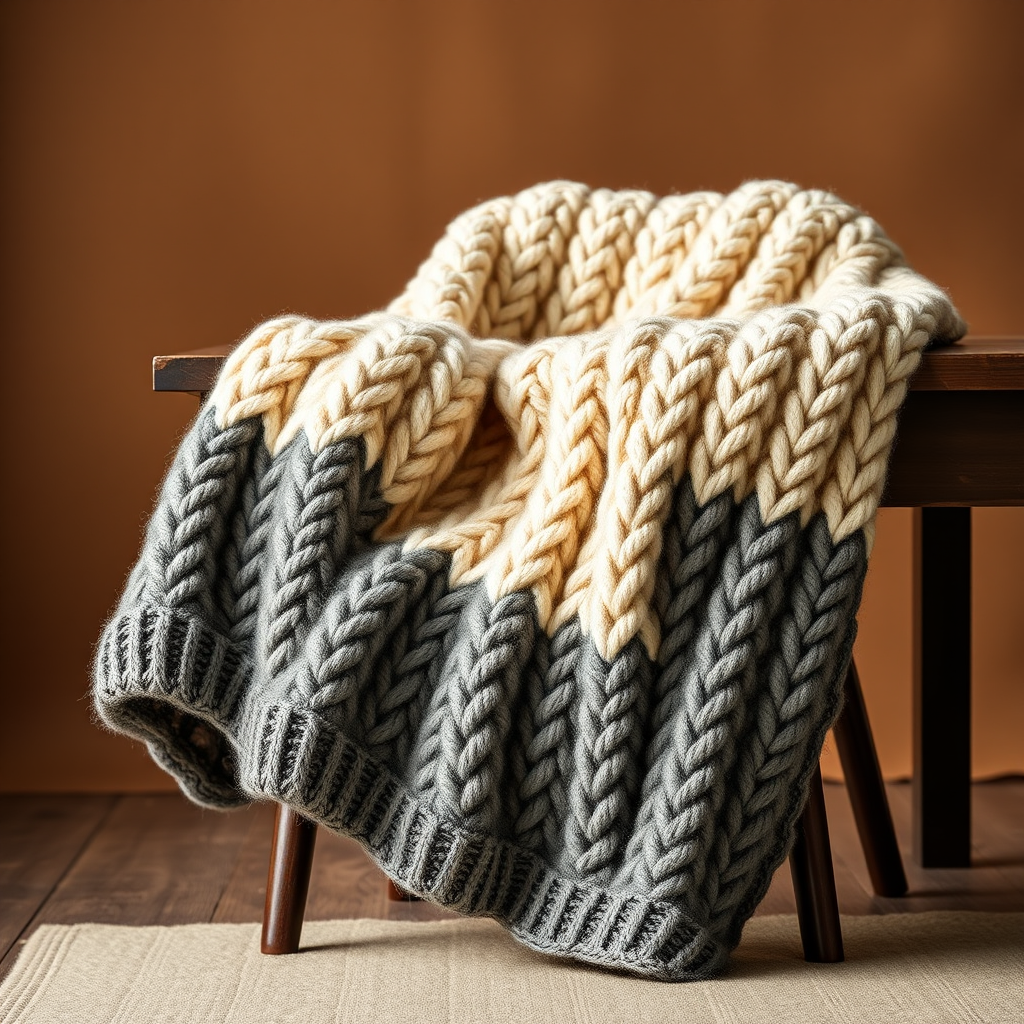
The Aurora Dune Chevron Blanket Free Pattern – A Knitted Ombre Wave Throw with Textured Ridges

The Aurora Dune Chevron Blanket: A Beginner-Friendly Knitted Ombre Wave Throw
Wrap yourself in the shifting sands of color with this stunning chevron blanket, where soft gradients meet sculptural knit ridges. This pattern creates a cozy, modern heirloom piece that feels like a warm desert breeze. The rhythmic zigzag pattern, combined with a beautiful ombre color transition, makes this throw a true statement piece for any living space. Best of all, this pattern is surprisingly beginner-friendly—if you can knit, purl, increase, and decrease, you can create this masterpiece.
This free knitting pattern walks you through every step, from casting on to the final bind-off, ensuring you end up with a plush, textured throw that measures approximately 50 inches wide by 60 inches long. Let's get started!
Materials Needed
Before you begin, gather the following supplies. Having everything ready will make your knitting session smooth and enjoyable.
Yarn
- Weight: Worsted weight yarn (Category 4)
- Colors: 5 colors, approximately 1800–2200 yards total. A suggested palette using Lion Brand Wool-Ease (or any worsted weight yarn):
- Color A (Sand) – 400 yards
- Color B (Dune) – 400 yards
- Color C (Terracotta) – 400 yards
- Color D (Rose) – 400 yards
- Color E (Dusty Lavender) – 400 yards
- Note: You can adjust yardage based on your desired blanket length. The total yardage assumes a 60-inch finished length.
Needles & Notions
- Knitting Needles: US 8 (5.0 mm) circular needles (24-inch or longer) or straight needles, or size needed to obtain gauge
- Tapestry Needle: For weaving in ends
- Stitch Markers (optional): To help track pattern repeats
- Scissors
Gauge
18 stitches and 24 rows = 4 inches in stockinette stitch. Always knit a gauge swatch before starting to ensure your blanket comes out the correct size. If your gauge is off, adjust your needle size accordingly.
Step-by-Step Instructions
This blanket is worked flat in one piece, using a combination of knit and purl stitches to create a textured chevron pattern with a beautiful ombre color transition. The pattern is a multiple of 16 + 2 stitches, and we'll cast on 130 stitches for a wide throw.
Pattern Notes
- Multiple: The pattern repeat is 16 stitches + 2 edge stitches.
- Color Sequence: Work in stripes of 2 rows each, following this sequence: Color A (Sand), Color B (Dune), Color C (Terracotta), Color D (Rose), Color E (Dusty Lavender), then reverse back down (D, C, B, A). Repeat this full sequence for the entire blanket.
- Selvedge Edge: Slip the first stitch of every row purlwise with yarn in front for a neat, polished edge.
- Abbreviations:
- k = knit
- p = purl
- k2tog = knit two stitches together (decrease)
- p2tog = purl two stitches together (decrease)
- kfb = knit into the front and back of the same stitch (increase)
- pfb = purl into the front and back of the same stitch (increase)
Cast On
With Color A (Sand), cast on 130 stitches loosely. A long-tail cast-on works beautifully here. Ensure your cast-on is not too tight, as this will make the first row difficult to work.
Row 1 (Right Side)
Slip 1 stitch purlwise with yarn in front. Then work the following repeat across the row: *k2tog, k2tog, k6, (kfb, k1) twice, k6, k2tog, k2tog*. Repeat from * to * until 1 stitch remains, then k1.
Explanation: This row creates the chevron shape. The double decreases (k2tog) at the beginning and end of each repeat form the valleys, while the increases (kfb) create the peaks. The k6 sections are the straight slopes.
Row 2 (Wrong Side)
Slip 1 stitch purlwise with yarn in front. Then work: *p2tog, p2tog, p6, (pfb, p1) twice, p6, p2tog, p2tog*. Repeat from * to * until 1 stitch remains, then p1.
Explanation: This is the purl-side counterpart to Row 1. The purl decreases and increases mirror the knit side, creating a textured ridge on the right side of the fabric.
Row 3
Change to Color B (Dune). Slip 1 stitch purlwise with yarn in front. Repeat the Row 1 pattern: *k2tog, k2tog, k6, (kfb, k1) twice, k6, k2tog, k2tog* across until 1 stitch remains, then k1.
Row 4
Slip 1 stitch purlwise with yarn in front. Repeat the Row 2 pattern: *p2tog, p2tog, p6, (pfb, p1) twice, p6, p2tog, p2tog* across until 1 stitch remains, then p1.
Rows 5–6
Change to Color C (Terracotta). Repeat Rows 3–4 (knit row, then purl row).
Rows 7–8
Change to Color D (Rose). Repeat Rows 3–4.
Rows 9–10
Change to Color E (Dusty Lavender). Repeat Rows 3–4.
Rows 11–12
Change to Color D (Rose). Repeat Rows 3–4.
Rows 13–14
Change to Color C (Terracotta). Repeat Rows 3–4.
Rows 15–16
Change to Color B (Dune). Repeat Rows 3–4.
Rows 17–18
Change to Color A (Sand). Repeat Rows 3–4.
Continuing the Pattern
Continue repeating Rows 3–18 (the full color sequence from Color B through Color A and back) until the blanket measures approximately 60 inches from the cast-on edge. Be sure to end with a complete color sequence, finishing on Row 18 (a purl row with Color A).
Pro Tip: To keep track of your place in the color sequence, use a row counter or place a removable stitch marker at the beginning of each new color stripe. This will help you avoid mistakes, especially when you're in the rhythm of knitting.
Bind Off
With the current color (Color A), bind off all stitches knitwise on the right side. To bind off: Knit the first two stitches, then pass the first stitch over the second stitch. Knit the next stitch, pass the previous stitch over it, and continue this way across the row until one stitch remains. Cut the yarn, leaving a 6-inch tail, and pull it through the last loop.
Weaving in Ends
Using a tapestry needle, weave in all loose ends along the color-change seams. Weave them in on the wrong side of the blanket, going back and forth through the purl bumps to secure them firmly. Trim any excess yarn.
Blocking
Gently wet block the blanket to even out the chevron points and enhance the drape. To do this:
- Fill a basin or sink with cool water and add a small amount of wool wash or mild detergent.
- Submerge the blanket and let it soak for 15–20 minutes. Do not agitate.
- Carefully remove the blanket and gently press out excess water (do not wring).
- Lay the blanket flat on a clean towel, roll it up to remove more water, then unroll and lay it flat on a dry towel or blocking mat.
- Shape the blanket to its final dimensions, gently stretching the chevron points to make them crisp and even.
- Allow it to dry completely before moving or using.
Final Thoughts
Congratulations! You've just created a stunning, heirloom-quality chevron blanket that will be treasured for years. The combination of the ombre color gradient and the textured knit ridges makes this throw a true work of art. Whether you drape it over a sofa, fold it at the foot of a bed, or gift it to a loved one, the Aurora Dune Chevron Blanket is sure to bring warmth and beauty to any space.
Remember, knitting is a journey—enjoy every stitch. Happy knitting!