Ceniza Grey Wool Throw Free Knitting Pattern with Crochet Edging

Ceniza Grey Wool Throw: A Free Beginner Knitting Pattern with Crochet Edging
Introduction
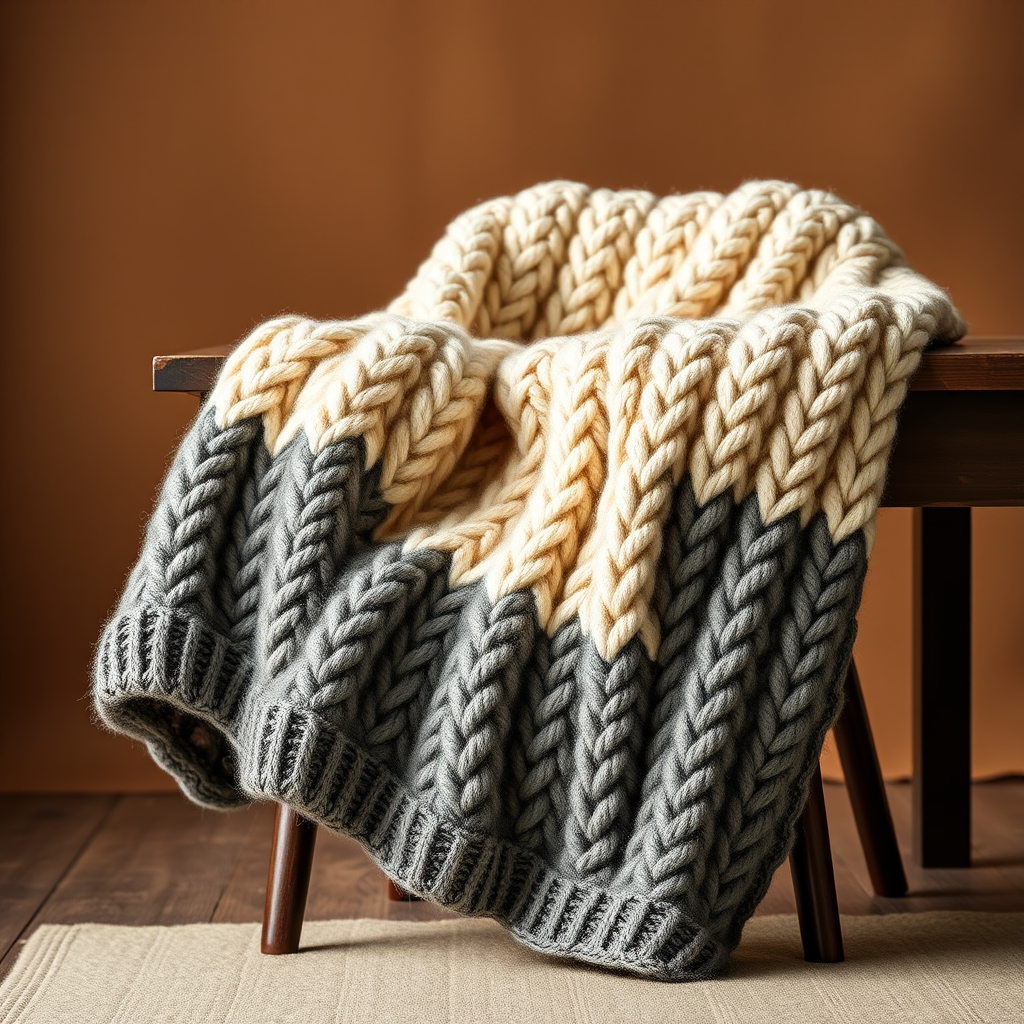
If you have ever looked at a cozy wool throw and thought, "I could never make that," this is the pattern that will prove you wrong. The Ceniza Grey Wool Throw is a rectangular blanket knitted flat in garter stitch — which simply means you knit every single row — in calm, tonal grey stripes of varying widths. There is no shaping, no counting complicated patterns, and no colorwork: just one stitch, repeated, while you watch the stripes grow. It is perfect for a complete beginner who wants a real, usable finished object, and equally lovely for an experienced maker who wants something meditative to work on in the evenings.
The finished throw is soft, matte, and slightly fuzzy, with gentle horizontal ridges that make the fabric reversible — no "wrong side" to hide. A narrow charcoal crochet border frames all four sides for a neat, modern finish. The result is a quiet, understated layer that looks beautiful draped over a sofa or the end of a bed.
Materials Needed
- Yarn: Worsted weight (CYC #4) wool or wool-blend yarn, approximately 1,400–1,500 yd total, divided as follows:
- Color A (light silver grey): 500 yd
- Color B (medium dove grey): 450 yd
- Color C (deep charcoal grey): 450 yd
- Knitting needles: US 8 (5.0 mm) circular needle, 32 in / 80 cm or longer. You knit back and forth on the circular needle like straight needles; the long cable simply holds all 160 stitches comfortably.
- Crochet hook: US H-8 (5.0 mm) for the edging.
- Stitch markers: At least 4, to mark corners and stripe changes if you like.
- Tapestry needle: A blunt, large-eyed needle for weaving in yarn ends.
- Scissors for cutting yarn.
- Measuring tape for checking gauge and finished size.
Finished size: 40 in / 101.5 cm wide by 56 in / 142 cm long, excluding edging. With the crochet edging, approximately 41 x 57 in / 104 x 145 cm.
Abbreviations and Beginner Glossary
- k – knit. Insert the right needle into the front of the stitch on the left needle, wrap the yarn around, and pull a new loop through. This is the only knitting stitch you need for this whole throw.
- st(s) – stitch(es). One "stitch" is one loop on your needle.
- RS – right side. The "public" side of the fabric. In garter stitch both sides look the same, so this is mostly a formality.
- WS – wrong side. The back side of the fabric.
- sl – slip. Move a stitch from one needle to the other without working it.
- sl st – slip stitch (crochet). Insert the hook into the stitch, wrap the yarn, and pull it through both the stitch and the loop on your hook in one motion.
- sc – single crochet. Insert the hook into the stitch, wrap the yarn and pull up a loop (2 loops on hook), wrap again and pull through both loops.
- ch – chain. Wrap the yarn over the hook and pull it through the loop on your hook. Creates a small link.
- Garter stitch – the fabric made by knitting every row. It lies flat, does not curl, and looks the same on both sides.
- Cast on – creating the first row of loops on your needle.
- Bind off – closing the final row of loops so the fabric does not unravel.
- Long-tail cast-on – a common, stretchy cast-on using two strands of yarn (one from the ball, one from a long tail) held over your thumb and finger.
Gauge
Gauge: 16 sts and 32 rows = 4 in / 10 cm in garter stitch, measured relaxed after blocking.
Gauge matters because it is the bridge between your hands and the finished size. If your stitches are bigger than the pattern's, your throw will come out wider and longer (and use more yarn); if they are smaller, it will come out narrower and shorter. To check, cast on about 24 stitches and knit for about 4 inches. Lay the swatch flat, place a ruler across the middle, and count how many stitches fit in 4 inches. If you have more than 16, go up a needle size; if fewer, go down. Wash and dry your swatch the way you plan to wash the throw, because wool relaxes after blocking.
Beginner Tips Before You Start
- Count your stitches often. You should always have 160 stitches on your needle. If you have 159 or 161, an accidental increase or decrease has crept in — fix it right away rather than discovering it 200 rows later.
- Do not pull the yarn tight. Keep your tension relaxed and even. Tight stitches make a stiff, narrow blanket and make the needles hard to work into.
- Use a stitch marker every 40 stitches along the row. Then you only ever have to count to 40, not 160.
- Keep the first and last stitch of every row firm but not tight. This gives you even side edges that are easy to crochet into later.
- Change colors at the beginning of a row on the same edge every time, so all your yarn tails sit on one side and are easy to weave in.
- Write down your row count. Keep a simple tally on paper or use a row counter app. The stripe sequence is long, and a written record keeps you on track.
Step-by-Step Instructions
Part 1: The Math (Why These Numbers)
At 4 stitches per inch, a 40-inch width needs 40 x 4 = 160 stitches. At 8 rows per inch, a 56-inch length needs 56 x 8 = 448 rows. The stripe sequence below adds up to exactly 448 rows, so your throw will match the finished measurements.
Part 2: The Stripe Sequence
Every row in this sequence is knit. Work the colors in this exact order:
- Color A: 48 rows
- Color B: 24 rows
- Color C: 40 rows
- Color A: 16 rows
- Color B: 56 rows
- Color C: 24 rows
- Color A: 32 rows
- Color B: 16 rows
- Color C: 64 rows
- Color A: 24 rows
- Color B: 40 rows
- Color C: 16 rows
- Color A: 48 rows
Total: 448 rows. (Check: 48+24+40+16+56+24+32+16+64+24+40+16+48 = 448.)
Part 3: The Body
Set-up: With Color A, cast on 160 sts using the long-tail cast-on, leaving a tail approximately 60 in long. (A long tail helps the cast-on edge stay stretchy.)
Row 1 (RS): Knit across. (160 sts)
Rows 2–48: Knit every row (garter stitch) in Color A. (160 sts) — you have now completed the first 48-row Color A stripe.
Rows 49–72: Change to Color B and knit every row. (160 sts) — 24 rows.
Rows 73–112: Change to Color C and knit every row. (160 sts) — 40 rows.
Rows 113–128: Change to Color A and knit every row. (160 sts) — 16 rows.
Rows 129–184: Change to Color B and knit every row. (160 sts) — 56 rows.
Rows 185–208: Change to Color C and knit every row. (160 sts) — 24 rows.
Rows 209–240: Change to Color A and knit every row. (160 sts) — 32 rows.
Rows 241–256: Change to Color B and knit every row. (160 sts) — 16 rows.
Rows 257–320: Change to Color C and knit every row. (160 sts) — 64 rows.
Rows 321–344: Change to Color A and knit every row. (160 sts) — 24 rows.
Rows 345–384: Change to Color B and knit every row. (160 sts) — 40 rows.
Rows 385–400: Change to Color C and knit every row. (160 sts) — 16 rows.
Rows 401–448: Change to Color A and knit every row. (160 sts) — 48 rows. You have now completed all 448 rows.
Bind off: Bind off knitwise on the RS, matching your cast-on tension so the edge does not pull in. (160 sts bound off.)
Part 4: The Crochet Edging
Work the edging directly into the knitted edges with the crochet hook and Color C. Keep your tension even so the border lies flat.
Round 1: With RS facing, join Color C with a sl st at the bottom right corner. Ch 1. Work sc evenly around the entire perimeter: approximately 160 sc along the bottom edge, 224 sc along each long side, and 160 sc along the top edge, working 3 sc in each corner to turn smoothly. Join with a sl st to the first sc. (Approx. 774 sc total.)
Round 2: Ch 1. Sc in each sc around, working 3 sc in each corner sc. Join with a sl st to the first sc. (Approx. 782 sc total.)
Round 3: Ch 1. Sc in each sc around, working 3 sc in each corner sc. Join with a sl st to the first sc. Fasten off. (Approx. 790 sc total.)
Assembly and Finishing
Weaving in ends: Thread each yarn tail onto the tapestry needle and weave it back and forth through the wrong side of the fabric for about 2 inches, following the line of the stitches. Do not knot the ends — knots create lumps. Distribute the tails along the stripe changes so they blend in.
Weave in the crochet tail on the WS the same way.
Blocking: Soak the throw in cool water with a wool wash for 15 minutes. Gently squeeze out the water without wringing. Roll it in a towel to remove excess moisture. Lay it flat and pin it to 40 x 56 in / 101.5 x 142 cm, smoothing the garter ridges straight and even. Allow it to dry completely.
Steam the edging only: Hold the iron just above the fabric (never pressing down) to settle the border without flattening the garter texture.
Storage: Fold the throw loosely or roll it, and store it flat.
Pro Tips and Variations
- Play with color: Swap the three greys for any tonal trio — cream, oatmeal, and camel, or blush, rose, and burgundy. Keep the same stripe widths for the same calm, modern look.
- Resize it: To change the width, cast on a multiple of 4 stitches for every extra inch (e.g., 4 fewer stitches for 1 inch narrower). To change the length, add or remove rows in multiples of 8 (8 rows = 1 inch).
- Substitute yarn: Any worsted weight wool or wool blend will work. Always knit a gauge swatch first, because a different fiber may knit up at a different size.
- Add a wider border: For a bolder frame, work a fourth round of sc in Color C, or switch to Color A for the final round for a subtle contrast edge.