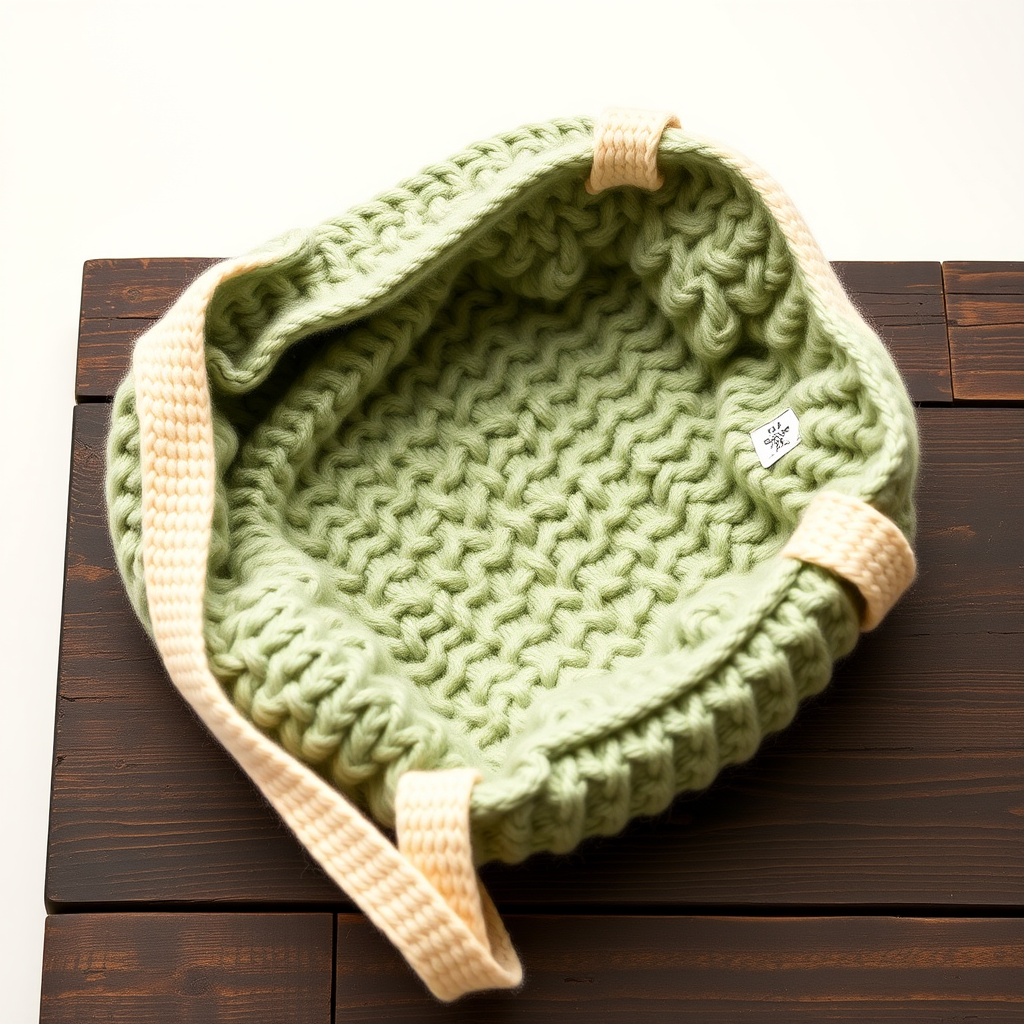
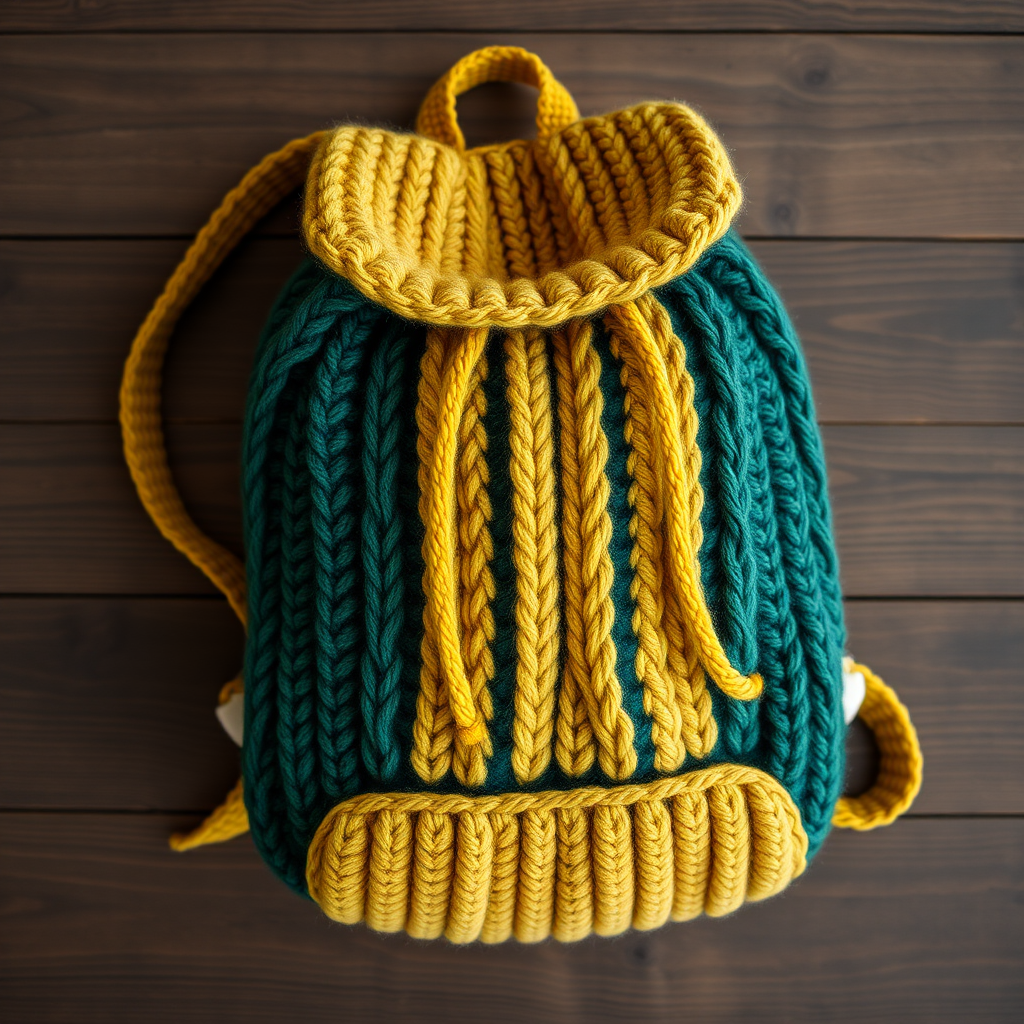
The Honeycomb Market Tote Free Pattern – Knit a Hexagonal Beehive Bag
The Honeycomb Market Tote: A Free Knitted Beehive Bag Pattern
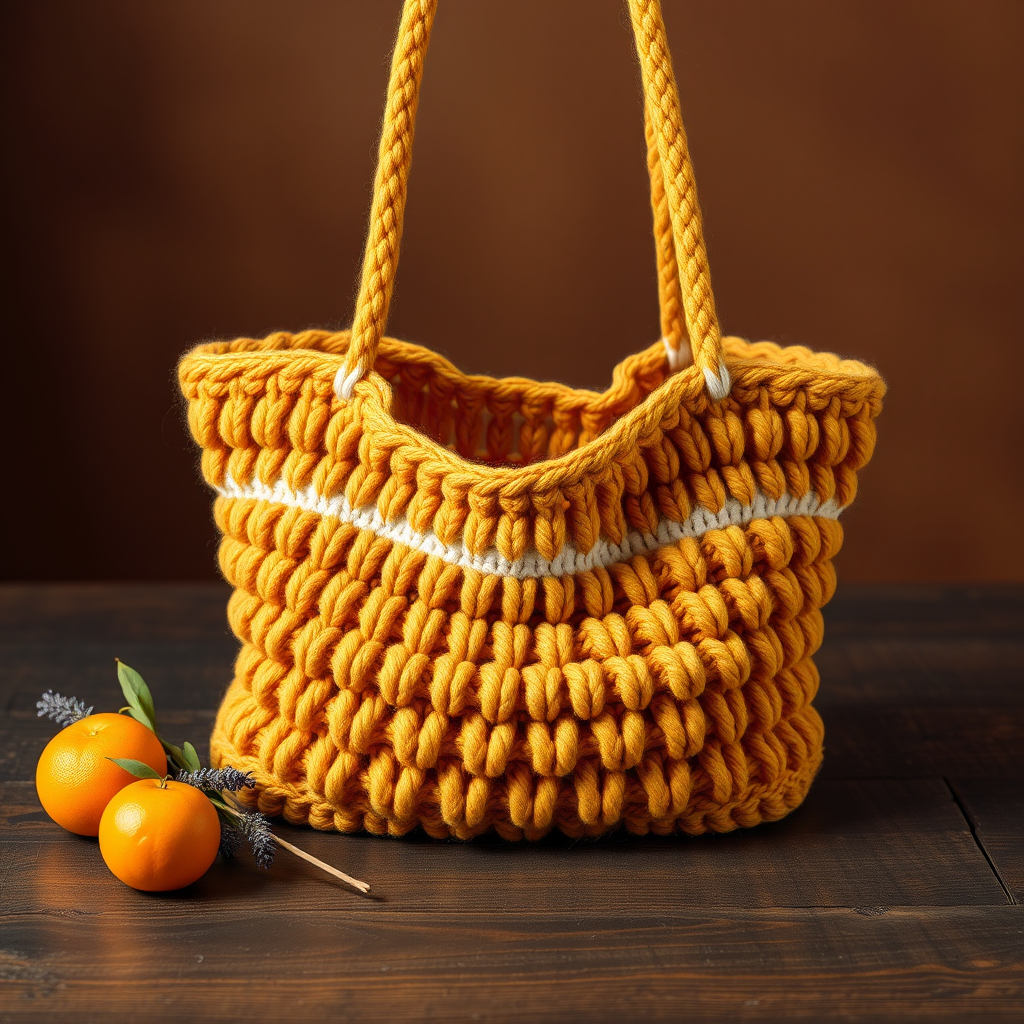
Imagine strolling through a sun-drenched farmers' market, your arm looped through a bag that's as beautiful as it is functional. That's the magic of the Honeycomb Market Tote. This isn't just any knitting project; it's a statement piece. The dense, textured honeycomb stitch mimics the perfect hexagonal cells of a beehive, creating a three-dimensional grid that catches the light and adds a rustic, artisanal charm to any outfit. Knitted in warm, honey-gold cotton with a subtle cream accent, this tote is sturdy enough for a heavy load of produce, yet stylish enough for a beach day. Whether you're a seasoned knitter looking for a satisfying texture project or a confident beginner ready for a challenge, this free pattern will guide you through creating a beautiful, eco-friendly bag you'll be proud to carry.
Materials Needed for Your Honeycomb Tote
Before you cast on, gather these supplies. Using the recommended materials will ensure your gauge matches and your bag has the perfect drape and durability.
- Yarn: Worsted weight 100% cotton yarn. You'll need approximately 400g in Honey Gold (Main Color - MC) and 100g in Cream (Contrast Color - CC). Cotton is essential for a sturdy, washable bag that holds its shape.
- Needles: US 7 (4.5mm) circular knitting needle, 24 inches long. The circular needle is used to accommodate the large number of stitches, but you will be knitting back and forth in rows, not in the round.
- Notions: A tapestry needle for weaving in ends and seaming, stitch markers (optional but helpful), and scissors.
- For the Optional Lining: 1/2 yard of fabric, matching thread, and a sewing needle.
Gauge
18 stitches and 24 rows = 4 inches in honeycomb stitch pattern (blocked). Always knit a swatch first to ensure your tension matches. If your gauge is off, your bag will be the wrong size. Adjust your needle size up or down as needed to achieve the correct gauge.
Step-by-Step Instructions: Knitting Your Beehive Bag
This bag is knitted flat in two identical panels (front and back) and then seamed together. The honeycomb stitch is a simple 4-row repeat that creates a dense, woven-like texture. Let's break it down.
Understanding the Honeycomb Stitch Pattern
This pattern is a multiple of 4 + 2 stitches. Here is the stitch repeat you will use for the main body of the bag.
- Row 1 (Right Side): *K2, P2* repeat from * to * until you have 2 stitches left, K2.
- Row 2 (Wrong Side): *P2, K2* repeat from * to * until you have 2 stitches left, P2.
- Row 3 (Right Side): *P2, K2* repeat from * to * until you have 2 stitches left, P2.
- Row 4 (Wrong Side): *K2, P2* repeat from * to * until you have 2 stitches left, K2.
Repeat Rows 1-4 for the pattern. This simple combination of knits and purls creates the beautiful, textured honeycomb effect.
Knitting the Bag Panels (Make 2)
Follow these instructions to create the front and back of your tote.
- Cast On: With your Main Color (MC) honey gold yarn, cast on 46 stitches.
- Knit the Body: Work in the Honeycomb Stitch Pattern until the piece measures 14 inches from the cast-on edge, ending with a Wrong Side row. This creates the main body of the bag.
- Shape the Handles: This is where we create the openings for the handles.
- Next Row (Right Side): Work in pattern across the first 10 stitches.
- Bind Off: Bind off the next 26 stitches (the center section) in pattern.
- Continue: Work in pattern across the last 10 stitches. You will now have two separate sets of 10 stitches on your needle.
- Knit the Handle Straps: You will now work each set of 10 stitches separately to create the straps.
- First Strap: Continue working in the honeycomb pattern on the first 10 stitches for 12 inches. Bind off all stitches.
- Second Strap: Attach your yarn to the second set of 10 stitches and repeat the process, working in pattern for 12 inches. Bind off all stitches.
Repeat this entire process to create the second panel for the back of the bag.
Finishing and Assembly
Now it's time to bring your two panels together to form the tote.
- Block Your Panels: This is a crucial step for cotton yarn. Wet block both panels to the specified measurements: 14 inches wide x 14 inches tall, with 12-inch straps. Pin them to a blocking mat and allow them to dry completely. This will even out the stitches and give your bag a professional finish.
- Seam the Sides and Bottom: Place the two panels with right sides together. Using your tapestry needle and a length of MC yarn, sew the side seams and the bottom seam using a mattress stitch. Leave the top edge open. The mattress stitch creates an invisible, sturdy seam.
- Turn Right Side Out: Carefully turn the bag right side out through the top opening. Gently push out the corners to shape the bag.
- Finish the Handles: You have two options here. You can sew the two handle straps together at the top edge for a more traditional, sturdy handle, or you can leave them separate for a more open, casual look. If sewing them together, use a whip stitch along the top edge of the straps.
- Weave in Ends: Use your tapestry needle to weave in all loose yarn ends securely on the inside of the bag.
Optional: Adding a Fabric Lining
For extra durability and to prevent small items from slipping through the stitches, you can add a fabric lining. This is a great way to add a pop of color to the inside of your bag.
- Cut the Fabric: Measure the inside of your finished bag. Cut two rectangles of fabric to that size, adding a 1/2 inch seam allowance on all sides.
- Sew the Lining: With right sides together, sew the side and bottom seams of the fabric pieces. Leave the top open.
- Insert and Attach: Place the fabric lining inside the knitted bag. Fold the top edge of the fabric over by 1/2 inch and press. Hand-stitch the folded edge of the lining to the top edge of the knitted bag using a blind stitch or a simple whip stitch.
Once you've woven in your final end, step back and admire your work. You've just created a beautiful, textured, and incredibly useful Honeycomb Market Tote. It's perfect for groceries, library books, or a day at the beach. This pattern is a wonderful way to practice your knit and purl combinations while creating a stunning, eco-friendly accessory. Happy knitting!