The Frosted Pines Wreath Free Pattern – A Knitted Evergreen Wreath with Cable-Knit Berries
The Frosted Pines Wreath Free Pattern – A Knitted Evergreen Wreath with Cable-Knit Berries
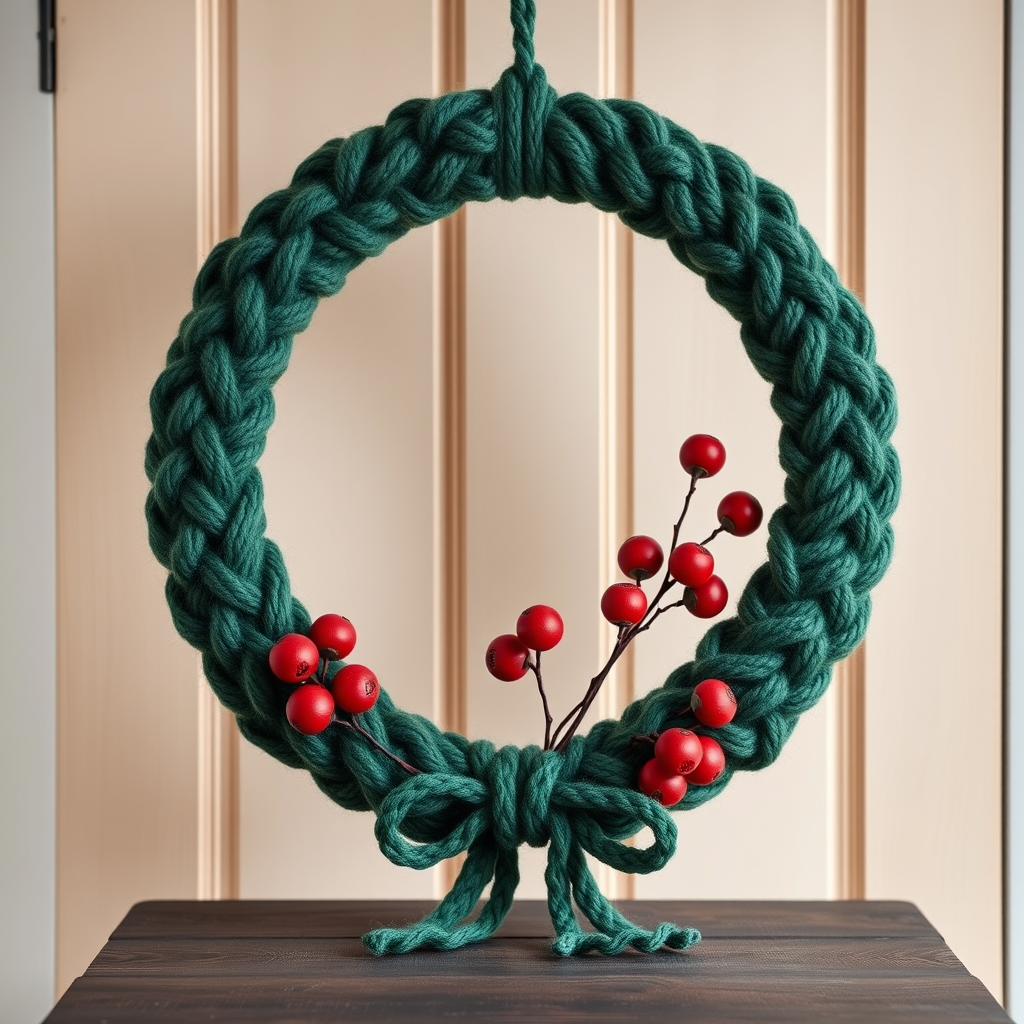
Bring the serene beauty of a winter forest indoors with this knitted wreath, featuring textured pine branches and plump cable-knit berries. It's a cozy, handmade alternative to traditional holiday decor that will last for seasons to come. This pattern is perfect for intermediate knitters looking to expand their skills, but beginners who are comfortable with basic stitches and cables will also find it achievable and rewarding. The finished wreath has a soft, squishy texture and a rustic, handcrafted look that will make your front door or mantel feel warm and inviting all winter long.
Materials Needed
Before you begin, gather the following supplies. Having everything ready will make your crafting session smooth and enjoyable.
- Yarn: Worsted weight yarn in three colors:
- Forest green (approx. 100g) – for the main pine branch panels and hanging loop
- Spruce green (approx. 100g) – for the lacy needle branches
- Cranberry red (approx. 50g) – for the cable-knit berries
- Knitting Needles: US 7 (4.5mm) knitting needles
- Crochet Hook: US G/6 (4.0mm) crochet hook (for the berries and hanging loop)
- Yarn Needle: For sewing pieces together and weaving in ends
- Cable Needle: For the cable pattern on the pine branches
- Fiberfill: Small amount for stuffing the berries
- Stitch Markers (optional): To help keep track of your rows
Gauge: 18 stitches and 24 rows = 4 inches in stockinette stitch. Gauge is important for achieving the correct size, so take a moment to check your tension before starting.
Step-by-Step Instructions
This pattern is broken down into four main components: the pine branch panels, the needle branches, the berries, and the final assembly. Follow each section carefully, and you'll have a beautiful wreath in no time.
Pine Branch Panels (Make 3)
These panels form the main body of the wreath. The cable pattern running vertically gives the illusion of textured pine branches.
- Using forest green yarn and your US 7 (4.5mm) knitting needles, cast on 12 stitches.
- Row 1 (RS): K2, p2, k4, p2, k2.
- Row 2 (WS): P2, k2, p4, k2, p2.
- Row 3: K2, p2, cable 2 front (slip 2 stitches to cable needle, hold in front, k2, then k2 from cable needle), p2, k2.
- Row 4: Repeat Row 2 (P2, k2, p4, k2, p2).
- Row 5: K2, p2, k4, p2, k2.
- Row 6: Repeat Row 2 (P2, k2, p4, k2, p2).
- Repeat Rows 1-6 until the piece measures 24 inches from the cast-on edge. This will take some time, but the repetitive pattern is meditative and relaxing.
- Bind off in pattern (knit the knit stitches and purl the purl stitches as you bind off).
- Repeat this entire process to make a total of three panels.
Needle Branches (Make 6)
These lacy eyelet branches add a delicate, airy texture that contrasts beautifully with the dense cable panels. They mimic the soft needles of a pine tree.
- Using spruce green yarn and your US 7 (4.5mm) knitting needles, cast on 5 stitches.
- Row 1: K1, *yo, k2tog*, repeat from * to * across, end k1. (This creates a lacy eyelet pattern)
- Repeat Row 1 until the piece measures 18 inches. The pattern is simple and repetitive, making it a great project for watching TV or listening to audiobooks.
- Bind off loosely. Repeat to make a total of six needle branches.
Cable-Knit Berries (Make 12)
These plump, round berries are crocheted in the round. They add a pop of festive color and a wonderful tactile element to the wreath.
- Using cranberry red yarn and your US G/6 (4.0mm) crochet hook, make a magic ring.
- Round 1: Work 6 single crochet (sc) into the ring. Pull the ring tight to close. (6 stitches)
- Round 2: 2 sc in each stitch around. (12 stitches)
- Round 3: *Sc in next stitch, 2 sc in next stitch* repeat around. (18 stitches)
- Round 4-5: Sc in each stitch around. (18 stitches) – This creates the body of the berry.
- Round 6: *Sc in next stitch, sc2tog (single crochet 2 together)* repeat around. (12 stitches)
- Round 7: Sc2tog around. (6 stitches)
- Fasten off, leaving a long tail (about 12 inches). Stuff the berry lightly with fiberfill. Thread the tail through a yarn needle, weave it through the remaining 6 stitches, and pull tight to close the top. Weave in the end securely.
- Repeat to make a total of 12 berries.
Assembly
Now comes the fun part – bringing all the pieces together to create your wreath. Take your time with this step to ensure everything is evenly spaced and securely attached.
- Join the panels: Lay the three pine branch panels side by side, overlapping slightly (about 1/4 inch). Using your yarn needle and forest green yarn, sew them together along the long edges to form one wide band. Make sure the cable patterns all run in the same direction for a cohesive look.
- Form the ring: Fold the band in half lengthwise (right sides together) so the short ends meet. Sew the short ends together to form a ring. Turn the ring right side out. You should now have a circular wreath base with a lovely cable texture on the outside.
- Attach the needle branches: Wrap the six needle branches evenly around the wreath, spacing them out like the spokes of a wheel. You want them to radiate outward from the center. Sew each branch in place at the top and bottom edges of the wreath, using a few discreet stitches with spruce green yarn. Let the ends of the branches curl naturally for a realistic look.
- Sew on the berries: Arrange the 12 berries in clusters of 3-4, distributing them evenly around the ring. For example, you might place one cluster at the top, one at the bottom, and one on each side. Sew each berry securely to the wreath using its tail or a piece of cranberry red yarn. Make sure they are firmly attached so they don't fall off over time.
- Create a hanging loop: Using forest green yarn and your crochet hook, make a chain of 20 stitches. Fasten off and sew the ends of the chain to the top of the wreath (the point where you want it to hang from). Make sure the loop is securely attached and can support the weight of the wreath.
- Add a bow (optional): For an extra festive touch, create a knitted I-cord bow. Cast on 3 stitches with forest green yarn. Knit every row for 12 inches. Bind off. Fold the I-cord into a bow shape and tie it in the center with a piece of yarn. Attach the bow to the bottom center of the wreath with a few stitches.
Once you've completed all the steps, step back and admire your handiwork! Your Frosted Pines Wreath is now ready to hang. It makes a wonderful handmade gift for friends and family, or a beautiful addition to your own holiday decor. The soft, squishy texture and rustic charm will bring warmth to any space. Happy crafting!