Crochet Flower Patterns
The Enchanted Woodland Blossom: A Free Crochet Pattern for a Double Layered Flower with Textured Petals
Anonymous
•
July 28, 2026

The Enchanted Woodland Blossom: A Free Crochet Pattern for a Double Layered Flower with Textured Petals
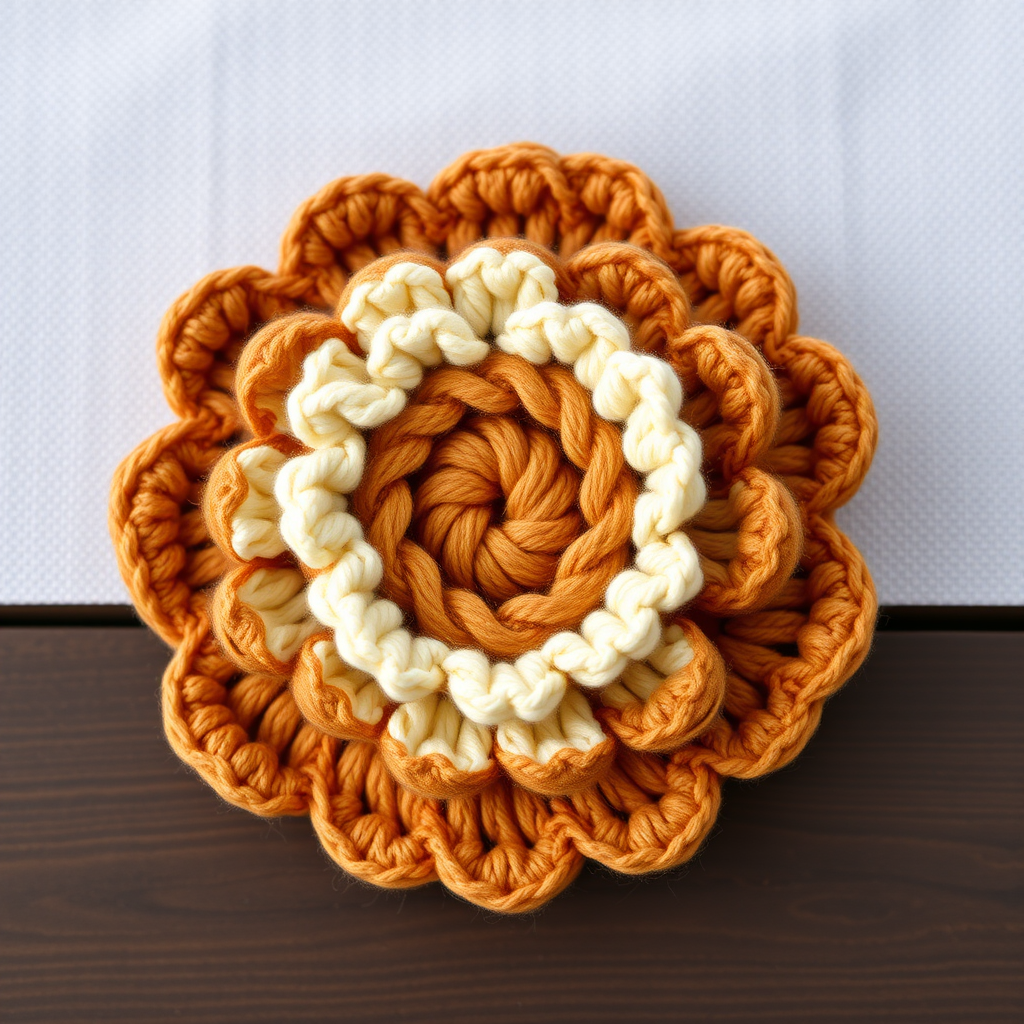
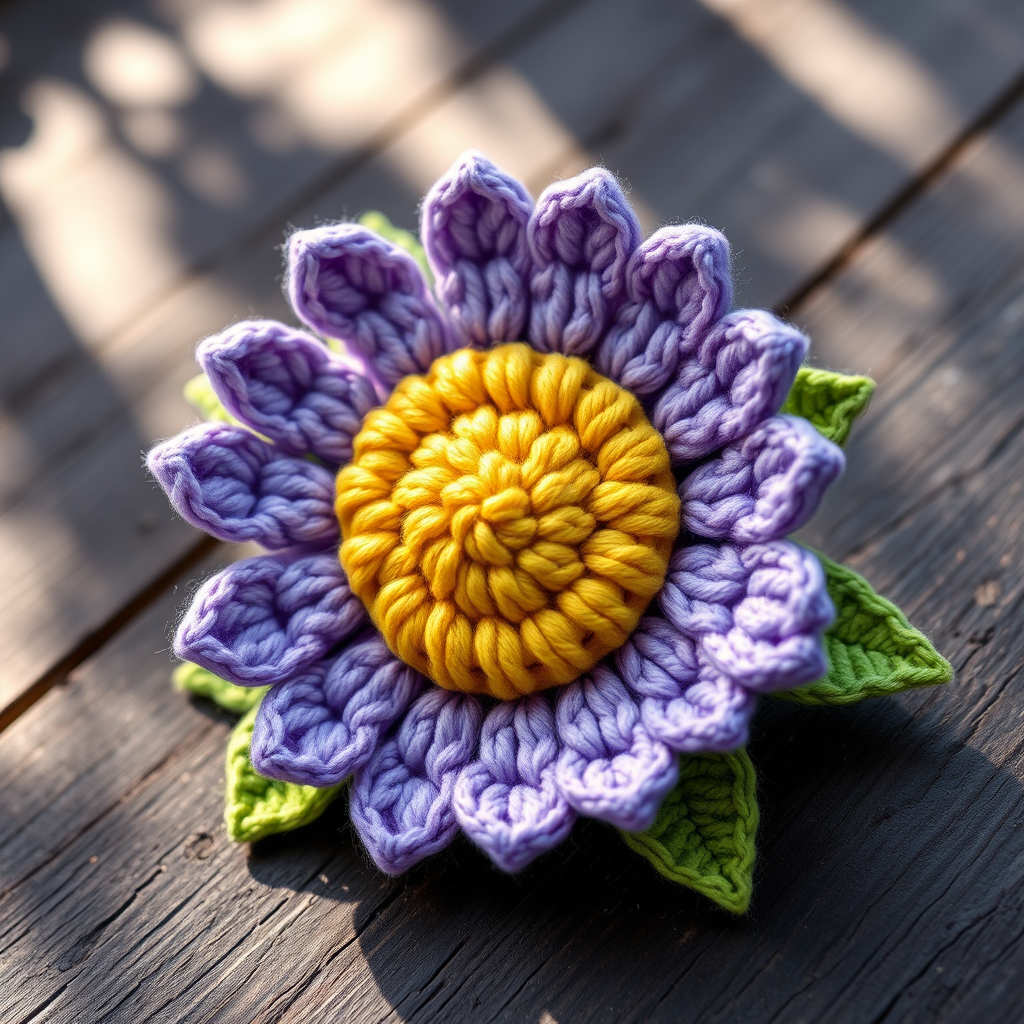
Create a stunning, dimensional crochet flower with two distinct layers of petals that mimic the intricate beauty of a wild rose. This pattern uses simple stitches to build a rich, textured bloom perfect for embellishing hats, bags, or creating a unique brooch. The finished flower has a lush, organic look with a deep rose back layer and a soft blush front layer, making it an ideal project for adding a touch of woodland charm to any accessory.
Materials Needed
- Yarn: Worsted weight (#4) cotton or acrylic yarn in two contrasting colors (e.g., deep rose for the back layer, soft blush for the front layer). Small amount of green for leaves.
- Hook: US Size G/6 (4.0 mm) crochet hook
- Gauge: Gauge is not critical for this project, but consistent tension will ensure even petals.
- Other: Yarn needle for weaving ends and sewing, scissors, stitch markers (optional), pin back (optional for brooch).
Step-by-Step Instructions
Abbreviations
- ch = chain
- sl st = slip stitch
- sc = single crochet
- hdc = half double crochet
- dc = double crochet
- tr = treble crochet
- st(s) = stitch(es)
- rnd = round
- sc2tog = single crochet 2 together (decrease)
Back Layer (Large Petals) - Color A (Deep Rose)
- Make a magic ring.
- Rnd 1: Ch 1 (does not count as a stitch), work 10 sc into the ring. Pull the ring tight to close. Sl st to the first sc to join. (10 sts)
- Rnd 2: Ch 1, 2 sc in each st around. Sl st to the first sc to join. (20 sts)
- Rnd 3: Ch 1, *sc in next st, 2 sc in next st* repeat from * to * around. Sl st to join. (30 sts)
- Rnd 4: Ch 1, *sc in next 2 sts, 2 sc in next st* repeat from * to * around. Sl st to join. (40 sts)
- Now work the 5 large petals: Each petal is worked back and forth in rows. After completing one petal, fasten off and rejoin yarn for the next petal, or work the next petal starting in the next unworked stitch after the last petal's base. The instructions below assume you work each petal separately, fastening off after each. You will have 40 stitches around the circle; each petal uses 8 stitches, so 5 petals will use all 40 stitches.
- Petal 1: Skip the first stitch after the join. In the next stitch, join yarn with a sl st. Ch 1, sc in the same stitch and in the next 7 sts. (8 sc) Turn.
- Row 2: Ch 1, sc in each st across. Turn. (8 sc)
- Row 3: Ch 1, sc2tog, sc in next 4 sts, sc2tog. Turn. (6 sc)
- Row 4: Ch 1, sc2tog, sc in next 2 sts, sc2tog. Turn. (4 sc)
- Row 5: Ch 1, sc2tog twice. Turn. (2 sc)
- Row 6: Ch 1, sc2tog. Fasten off, leaving a tail for sewing. (1 sc)
- Repeat for 4 more petals: For each subsequent petal, skip the next stitch after the previous petal's base (the stitch where you started the previous petal), then join yarn in the next stitch and repeat the petal instructions. You will have 5 large petals total.
Front Layer (Small Petals) - Color B (Soft Blush)
- Make a magic ring.
- Rnd 1: Ch 1, work 8 sc into the ring. Pull tight. Sl st to the first sc to join. (8 sts)
- Rnd 2: Ch 1, 2 sc in each st around. Sl st to join. (16 sts)
- Now work the 5 small petals: Each petal uses 4 stitches. Work each petal separately, fastening off after each.
- Petal 1: Skip the first stitch after the join. In the next stitch, join yarn with a sl st. Ch 1, sc in the same stitch and in the next 3 sts. (4 sc) Turn.
- Row 2: Ch 1, sc in each st across. Turn. (4 sc)
- Row 3: Ch 1, sc2tog twice. Turn. (2 sc)
- Row 4: Ch 1, sc2tog. Fasten off, leaving a tail. (1 sc)
- Repeat for 4 more petals: For each subsequent petal, skip the next stitch after the previous petal's base, then join yarn in the next stitch and repeat the petal instructions. You will have 5 small petals total.
Assembly
- Weave in all ends from the petals using a yarn needle. Trim excess yarn.
- Place the small flower (front layer) on top of the large flower (back layer), aligning the petals in a staggered pattern so that each small petal sits between two large petals. This creates a more natural, layered look.
- Using the tails from the small flower, sew it securely to the center of the large flower. Make several stitches through the center of both layers to attach them firmly. Weave in the ends.
- Center of the flower: With Color A (deep rose) or a contrasting color, make a small circle: magic ring, 6 sc into the ring, pull tight, sl st to the first sc. Fasten off, leaving a tail. Sew this small circle to the very center of the flower, covering the attachment point. Weave in the end.
- Leaves (optional): With green yarn, ch 8.
- Sc in the 2nd ch from hook.
- Hdc in the next ch.
- Dc in the next 3 ch.
- Hdc in the next ch.
- Sc in the last ch.
- Ch 1, now work back along the other side of the chain: sc in the same space as the last sc, hdc in the next space, dc in the next 3 spaces, hdc in the next space, sc in the last space.
- Sl st to the first sc of the leaf. Fasten off, leaving a tail.
- Finishing: Attach a pin back to the back of the flower if desired, or sew the flower directly onto your project (hat, bag, scarf, etc.).
Also Check Out: We think you'd love this beautiful pattern on our sister site: Asymmetrical Y2K Pastel Tote Bag - Free Pattern