Enchanted Everbloom Crochet Flower Free Pattern
Introducing the Enchanted Everbloom: A Timeless Crochet Flower
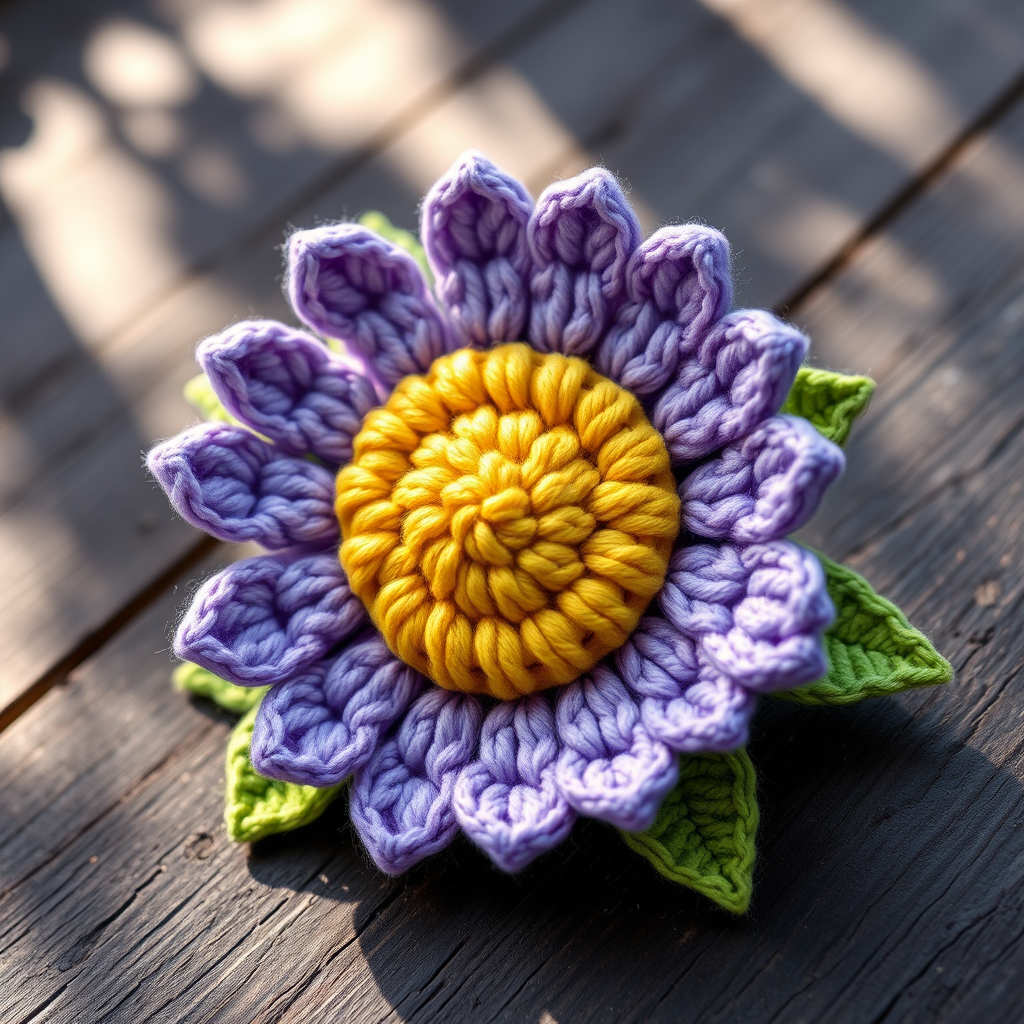
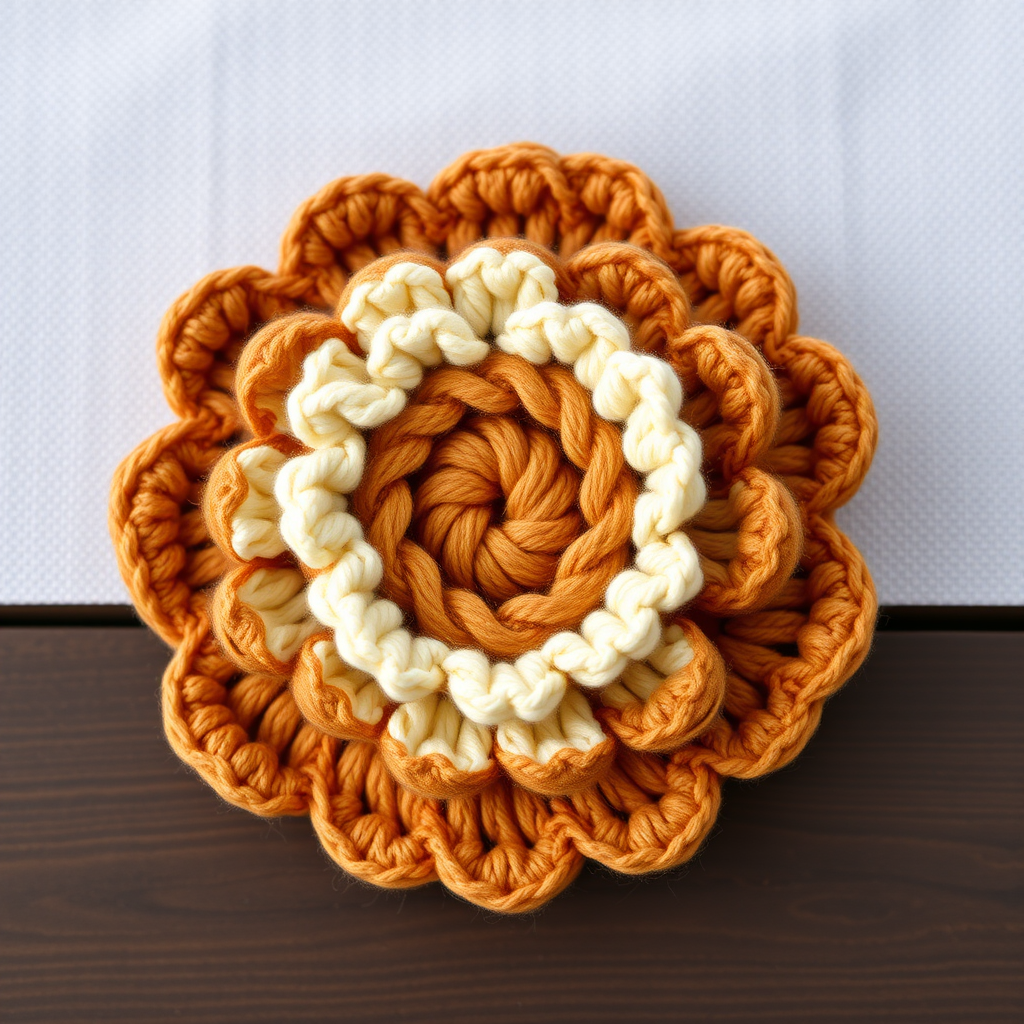
Imagine a blossom that captures the warmth of autumn or the softness of a spring dawn—and never fades. The Enchanted Everbloom Crochet Flower is a tactile, three-dimensional masterpiece designed for crafters of all levels. With its layered construction, this pattern builds a dimensional rose featuring a tight spiral center, a delicate scalloped middle layer, and large, ruffled outer petals that curve outward for a lifelike silhouette.
This project is more than just a flower; it's a versatile piece of handmade home decor or a striking accessory. Whether you nestle it in a vase with other creations, attach it to a hair clip, or sew on a pin back for a brooch, its plush, worsted-weight texture and earthy palette bring cozy elegance to any setting. Best of all, this pattern is beginner friendly—if you know basic crochet stitches, you can create this everbloom.
Let's gather your materials and bring this enchanting flower to life.
Materials Needed
Before you begin, ensure you have the following supplies on hand. The beauty of this pattern lies in its simplicity—only two colors and one hook are required.
Yarn
- Worsted weight yarn in two complementary shades:
- Main Color (MC): e.g., burnt sienna or dusty rose (for the center and outer petals)
- Accent Color (AC): e.g., cream or sage green (for the inner petal layer)
Hook & Notions
- Crochet hook: Size J/10 (6.0 mm)
- Yarn needle (for weaving in ends)
- Scissors
- Optional: Pin back or hair clip for wearable art
Gauge & Tension
Gauge: 4 dc = 1 inch. Gauge is not critical for this project, but maintaining consistent tension will help the flower hold its shape and lay flat.
Step-by-Step Instructions
This pattern is worked in continuous rounds (no joining at the end of each round unless specified). The flower is built from the center outward, creating a natural spiral that curls beautifully. All terms are in US crochet terminology.
Abbreviations (US Terms)
- ch = chain
- sl st = slip stitch
- sc = single crochet
- hdc = half double crochet
- dc = double crochet
- tr = treble crochet
- rnd = round
- MC = Main Color
- AC = Accent Color
Part 1: Center Spiral (Worked with MC)
The center of the Enchanted Everbloom is a flat, tight spiral that gradually expands. Follow these rounds carefully, marking the first stitch of each round with a stitch marker if needed to keep your place.
Rnd 1: Make a magic ring. Ch 1 (does not count as a stitch). Work 6 sc into the ring. Pull the tail to tighten the ring closed. (6 sc)
Rnd 2: Work 2 sc in each sc around. (12 sc)
Rnd 3: *Sc in the next sc, 2 sc in the next sc* — repeat from * to * around. (18 sc)
Rnd 4: *Sc in the next 2 sc, 2 sc in the next sc* — repeat from * to * around. (24 sc)
Rnd 5: *Sc in the next 3 sc, 2 sc in the next sc* — repeat from * to * around. (30 sc)
Rnd 6: *Sc in the next 4 sc, 2 sc in the next sc* — repeat from * to * around. (36 sc)
Rnd 7: *Sc in the next 5 sc, 2 sc in the next sc* — repeat from * to * around. (42 sc)
Rnd 8: *Sc in the next 6 sc, 2 sc in the next sc* — repeat from * to * around. (48 sc)
Rnd 9: Sc in each sc around. (48 sc) — This round creates a smooth, even edge for the petal layers to attach to.
Fasten off MC. Weave in the initial tail from the magic ring, but leave the final tail long enough to weave in later or use for sewing if you plan to attach the flower to a surface.
Part 2: Inner Petal Layer (Worked with AC)
This layer creates a delicate, scalloped ruffle that sits close to the center. You will be working into the stitches of Rnd 9.
Step 1: Join AC with a sl st in any sc from Rnd 9. Do not cut MC yet—you will need it for the outer layer.
Rnd 10 (Loop Base): *Ch 3, skip the next sc, sl st in the following sc* — repeat from * to * around. You should have 24 ch-3 loops total. Ensure you skip exactly one sc between each loop. (24 ch-3 loops)
Rnd 11 (Scallop Petals): In each ch-3 loop around, work the following sequence: (sl st, sc, hdc, dc, hdc, sc, sl st). This creates a small, rounded petal. Work this sequence in every loop until you return to the starting point. Fasten off AC.
Pro Tip: Keep your tension relaxed in this round so the petals can puff out slightly, giving the flower dimension.
Part 3: Outer Petal Layer (Worked with MC)
This final layer produces large, ruffled petals that give the flower its full, blooming rose silhouette. You will work into the back loops only of the Rnd 9 stitches, which creates a beautiful ridge that separates the inner and outer petals.
Step 1: Locate the back loop of any sc from Rnd 9. The back loop is the loop farthest from you when the flower is facing you.
Step 2: Join MC with a sl st in the back loop of that sc.
Rnd 12 (Large Loop Base): *Ch 5, skip the next sc, sl st in the back loop of the following sc* — repeat from * to * around. You will create 24 ch-5 loops. Make sure you are consistently working into the back loops only.
Rnd 13 (Ruffled Petals): In each ch-5 loop around, work the following sequence: (sl st, sc, hdc, 2 dc, tr, 2 dc, hdc, sc, sl st). This creates a much larger, pointed petal that curves outward. Work this sequence in every loop until you complete the round. Fasten off MC.
Finishing Touches
Your Enchanted Everbloom is nearly complete! Follow these final steps to ensure a polished, professional look.
Step 1: Weave in Ends
Thread your yarn needle with each loose tail (from the magic ring, color changes, and fasten-offs). Weave the tails securely through the back of the flower's stitches, being careful not to pull too tightly and distort the shape. Trim any excess yarn.
Step 2: Shape the Petals
Gently pull and fluff the petals outward with your fingers. The center spiral will naturally curl slightly, giving the flower a lifelike, dimensional appearance. For the outer petals, gently curl them downward and outward to mimic a blooming rose. Do not be afraid to manipulate the yarn—worsted weight is forgiving and will hold its shape.
Step 3: Optional Wearable Attachment
If you wish to wear your creation, sew a pin back onto the back of the flower using matching thread, or stitch the flower onto a hair clip or headband. For home decor, you can attach a small piece of floral wire to the back to place it in a vase or arrangement.
Your Everbloom Awaits
With its rich texture and layered construction, the Enchanted Everbloom is a rewarding project that looks far more complex than it is. The combination of a tight spiral center, delicate scalloped middle, and bold ruffled outer petals creates a stunning visual contrast that will draw compliments wherever it's displayed.
Whether you're a seasoned crocheter looking for a quick weekend project or a beginner eager to practice new stitches, this pattern delivers a beautiful result every time. Make one in warm autumn tones, or experiment with cool pastels for a spring vibe—the possibilities are endless.
Happy crocheting, and may your Everbloom never wilt!