Luminous Lotus Blossom Coaster Set Free Pattern – A Crocheted Water Lily Garden

Luminous Lotus Blossom Coaster Set: A Free Crochet Pattern for a Serene Water Lily Garden
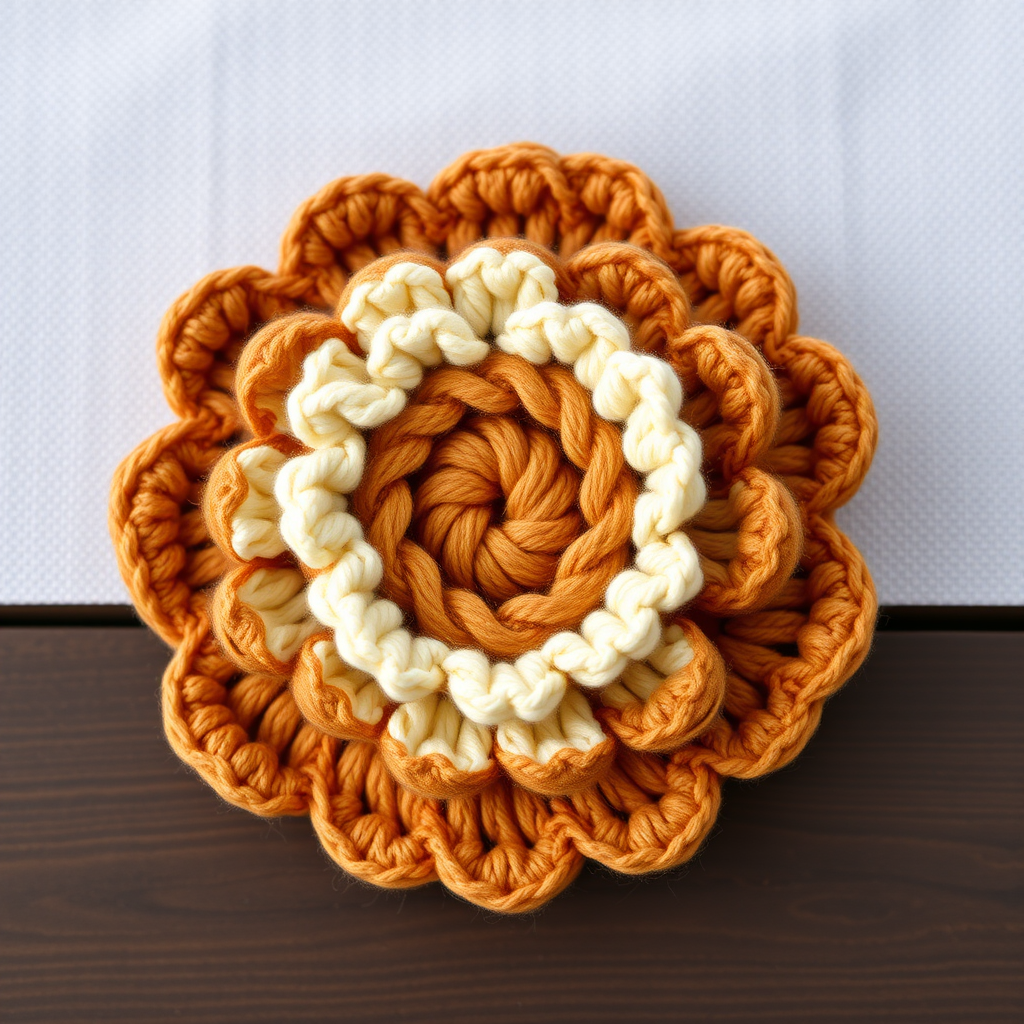
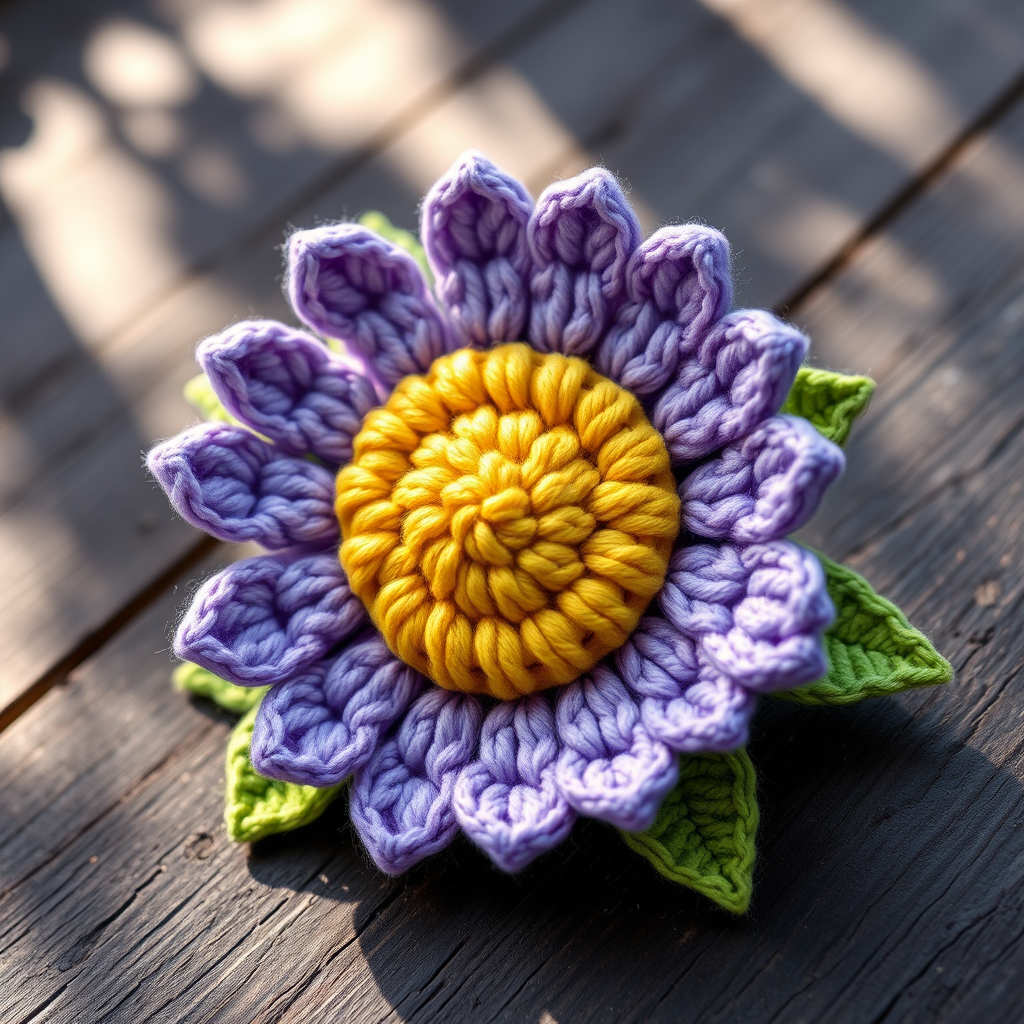
Imagine the quiet beauty of a twilight pond, where moonlight dances on the water and lotus blossoms unfurl in soft, ethereal colors. Now, imagine bringing that serene scene to your own table. With this free crochet pattern, you can create a set of stunning Lotus Blossom Coasters that capture the delicate, layered elegance of a water lily. Each coaster features three distinct layers of petals in soft blush pink, dusty lavender, and misty teal, creating a sculptural, textured piece that is as beautiful as it is functional. Whether you're a seasoned crocheter or a confident beginner, this pattern is designed to guide you through every step, resulting in a handmade treasure that adds a touch of boho charm to any home.
This project is perfect for using up small amounts of worsted-weight cotton yarn and makes a thoughtful, handmade gift. The finished coasters are approximately 4 inches in diameter, making them ideal for mugs, glasses, or simply as decorative accents. Let's dive into this relaxing and rewarding crochet project.
Materials Needed
Before you begin, gather the following materials. The gauge is not critical for this project, but maintaining consistent tension will ensure your petals are even and lie flat.
- Yarn: Worsted weight cotton yarn in 3 shades:
- Soft blush pink (approx. 20g per coaster)
- Dusty lavender (approx. 20g per coaster)
- Misty teal (approx. 20g per coaster)
- Crochet Hook: 3.5mm (E) crochet hook
- Other: Yarn needle for weaving in ends and sewing pieces together, scissors
Note: The gauge for this pattern is: First 3 rounds = 2.5 inches in diameter. This is a guideline; consistency is more important than exact measurements.
Step-by-Step Instructions
This pattern is written in US crochet terms. Each coaster is made up of three separate pieces that are assembled at the end: a center, an inner petal layer, and an outer petal layer. Let's begin.
Abbreviations (US Terms)
- MR: Magic ring
- ch: Chain
- sl st: Slip stitch
- sc: Single crochet
- hdc: Half double crochet
- dc: Double crochet
- tr: Treble crochet
- st(s): Stitch(es)
- rnd(s): Round(s)
- sk: Skip
Special Stitch
Picot: ch 3, sl st into the first ch. This creates a small, decorative loop at the tip of each petal.
Part 1: The Center (Make 1 in Blush Pink)
This solid circular piece forms the heart of the lotus blossom.
- Rnd 1: Make a MR. Ch 2 (this counts as your first hdc), then work 11 hdc into the ring. Join with a sl st to the top of the ch-2. You should have 12 hdc total.
- Rnd 2: Ch 1. Work 2 sc into each stitch around. Join with a sl st to the first sc. You should have 24 sc.
- Rnd 3: Ch 1. *Sc in the next st, 2 sc in the next st.* Repeat from * to * around. Join with a sl st to the first sc. You should have 36 sc.
- Fasten off and weave in the yarn end securely.
Part 2: Inner Petal Layer (Make 6 in Dusty Lavender)
These smaller, pointed petals will sit directly on top of the center. You will make 6 identical pieces.
- Rnd 1: With dusty lavender, make a MR. Ch 1, then work 6 sc into the ring. Join with a sl st to the first sc. (6 sc)
- Rnd 2: Ch 1. Work 2 sc into each stitch around. Join with a sl st to the first sc. (12 sc)
- Rnd 3: Ch 1. *Sc in the next st, 2 sc in the next st.* Repeat from * to * around. Join with a sl st to the first sc. (18 sc)
- Rnd 4: Ch 1. *Hdc in the next st, dc in the next st, tr in the next st, dc in the next st, hdc in the next st.* Repeat from * to * 3 times around. Join with a sl st to the first hdc. This forms 3 pointed petal bases. (18 sts)
- Rnd 5: Ch 1. *Sc in the next st, hdc in the next st, dc in the next st, tr in the next st, work a picot, tr in the next st, dc in the next st, hdc in the next st, sc in the next st.* Repeat from * to * 3 times around. Join with a sl st to the first sc. This creates the pointed petal tips with picots. (24 sts + 3 picots)
- Fasten off, leaving a 12-inch tail for sewing.
Part 3: Outer Petal Layer (Make 6 in Misty Teal)
These larger petals will fan out beneath the lavender petals, creating the full water lily effect. Make 6 identical pieces.
- Rnd 1: With misty teal, make a MR. Ch 1, then work 8 sc into the ring. Join with a sl st to the first sc. (8 sc)
- Rnd 2: Ch 1. Work 2 sc into each stitch around. Join with a sl st to the first sc. (16 sc)
- Rnd 3: Ch 1. *Sc in the next st, 2 sc in the next st.* Repeat from * to * around. Join with a sl st to the first sc. (24 sc)
- Rnd 4: Ch 1. *Hdc in the next st, dc in the next st, tr in the next st, dc in the next st, hdc in the next st.* Repeat from * to * 4 times around. Join with a sl st to the first hdc. This forms 4 pointed petal bases. (24 sts)
- Rnd 5: Ch 1. *Sc in the next st, hdc in the next st, dc in the next st, tr in the next st, work a picot, tr in the next st, dc in the next st, hdc in the next st, sc in the next st.* Repeat from * to * 4 times around. Join with a sl st to the first sc. This creates the larger pointed petal tips with picots. (32 sts + 4 picots)
- Fasten off, leaving a 12-inch tail for sewing.
Assembly: Bringing Your Lotus to Life
Now that you have all your pieces, it's time to assemble your coaster. This is where the magic happens!
- Position the Center: Place the blush pink center piece on a flat surface in front of you.
- Attach the Inner Petals: Arrange the 6 dusty lavender petals evenly around the center. They should overlap slightly and cover the edge of the center piece. Using the long yarn tails and a yarn needle, sew each petal securely to the center. Make sure they are evenly spaced for a symmetrical look.
- Attach the Outer Petals: Now, arrange the 6 misty teal petals underneath the lavender petals. Offset them so that each teal petal peeks out from between two lavender petals. This staggered arrangement creates the dimensional, layered water lily effect. Sew them in place using their yarn tails.
- Weave in Ends: Turn the coaster over and weave in all remaining yarn ends securely with your yarn needle. Trim any excess yarn.
- Block Your Coaster: To give your coaster a professional finish and ensure it lies perfectly flat, gently block it. You can do this by lightly steaming it with an iron (without touching the yarn directly) or by lightly wetting it and shaping it flat to dry. This will help the petals lay beautifully.
Finishing Touches
Congratulations! You've completed your first Luminous Lotus Blossom Coaster. Repeat the entire process to create a set of 4 coasters, or make as many as you desire. Each coaster is approximately 4 inches in diameter, creating a beautiful, cohesive set for your home or a wonderful handmade gift.
These coasters are more than just functional items; they are a piece of art that brings a sense of calm and natural beauty to any space. The combination of the soft, muted colors and the textured, sculptural petals makes them a true conversation starter. Enjoy your serene water lily garden, one stitch at a time!