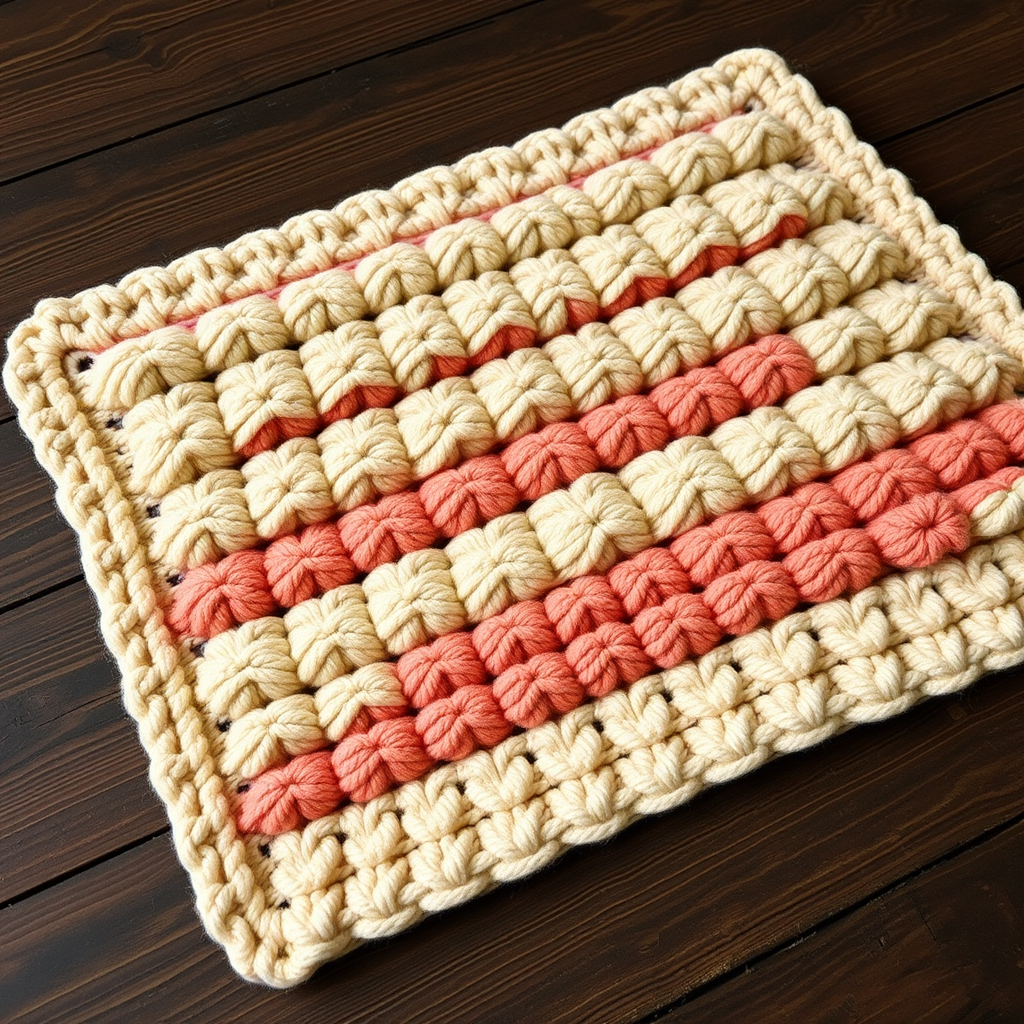
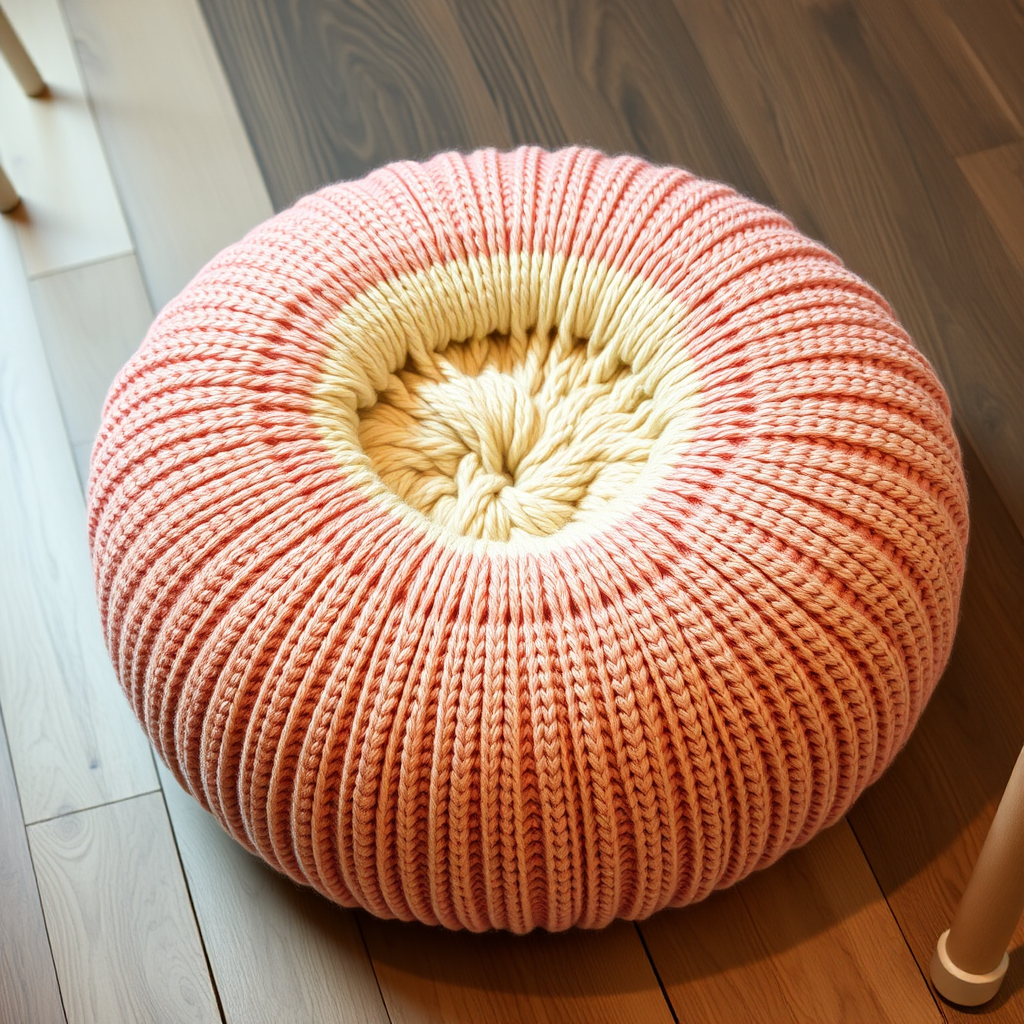
The Enchanted Spore Coaster Set Free Pattern – A Knitted Woodland of Mushroom Caps

The Enchanted Spore Coaster Set Free Pattern – A Knitted Woodland of Mushroom Caps
Bring a touch of forest magic to your table with these knitted mushroom coasters, each one a tiny cap of textured warmth. This pattern offers a quick, satisfying project that blends rustic charm with modern cozy aesthetics. Whether you're a seasoned knitter looking for a weekend project or a beginner eager to practice new stitches, this set of four unique coasters is the perfect way to add a woodland whimsy to your home. Each coaster features a different stitch pattern, from seed stitch to checkerboards, giving you a delightful variety of textures to explore.
This pattern is designed to be approachable and fun. You'll create a set of four distinct mushroom caps, each with its own personality, using simple knit and purl stitches. The result is a charming, functional piece of decor that protects your surfaces while sparking conversation. Let's dive into this enchanting project and create a little forest for your coffee table.
Materials Needed
Before you begin, gather the following materials. This project is perfect for using up small amounts of worsted weight yarn from your stash.
- Yarn: Worsted weight yarn in earthy tones. You will need approximately 20g per coaster. For the full set, choose four color combinations:
- Deep burgundy (Color A) & warm cream (Color B)
- Soft moss green (Color A) & golden yellow (Color B)
- Warm cream (Color A) & deep burgundy (Color B)
- Golden yellow (Color A) & warm cream (Color B)
- Needles: US 7 (4.5mm) knitting needles.
- Notions: Tapestry needle for weaving in ends, scissors.
- Gauge: 20 stitches and 28 rows = 4 inches in stockinette stitch. Gauge is important for consistent sizing, but this is a forgiving project.
Step-by-Step Instructions
This pattern creates a set of four mushroom cap coasters, each with a unique stitch texture. Worked flat, they are perfect for beginners and quick to complete. The instructions below are detailed to ensure a flawless finish.
Abbreviations
- CO: Cast on
- K: Knit
- P: Purl
- K2tog: Knit two together (right-leaning decrease)
- SSK: Slip, slip, knit (left-leaning decrease)
- St(s): Stitch(es)
- RS: Right side
- WS: Wrong side
Coaster 1 – Classic Burgundy Cap with Cream Spots
This first coaster establishes the base pattern. The cap is worked in stockinette, then a seed stitch spot section is added, followed by a gathered top.
- Cast On: With Color A (burgundy), CO 20 sts.
- Base of Cap:
- Row 1 (RS): K all.
- Row 2 (WS): P all.
- Repeat Rows 1-2 until the piece measures 3 inches from the cast-on edge, ending with a WS row. This creates the smooth, domed base of the mushroom.
- Spot Pattern: Switch to Color B (cream).
- Row 1 (RS): K2, *K1, P1, K2*; repeat from * to * across (20 sts). This creates a seed stitch border with knit edges.
- Row 2 (WS): P2, *K1, P1, P2*; repeat from * to * across. This maintains the seed stitch pattern on the WS.
- Row 3 (RS): K all.
- Row 4 (WS): P all.
- Switch back to Color A (burgundy).
- Shaping (Top of Cap): This section creates the gathered, rounded top of the mushroom.
- Row 1 (RS): K2, K2tog, K to last 4 sts, SSK, K2 (18 sts). This decreases 2 stitches, one at each edge.
- Row 2 (WS): P all.
- Repeat these 2 rows until 8 sts remain. You will have worked the decrease row 6 times in total.
- Next row (RS): K2tog across (4 sts).
- Cut yarn, leaving a 6-inch tail. Thread the tail through a tapestry needle, slip the needle through the remaining 4 sts, and pull tight to gather. Weave in the end securely.
Coaster 2 – Moss Green Cap with Golden Spots
This coaster uses the same base as Coaster 1 but features a checkerboard spot pattern for a different texture.
- Cast On: With Color A (moss green), CO 20 sts.
- Base of Cap: Work exactly as Coaster 1, Step 2, until the piece measures 3 inches, ending with a WS row.
- Spot Pattern (Checkerboard): Switch to Color B (golden yellow).
- Row 1 (RS): *K2, P2*; repeat from * to * across (20 sts).
- Row 2 (WS): *K2, P2*; repeat from * to * across. (Note: On the WS, knit the knit stitches and purl the purl stitches as they appear.)
- Row 3 (RS): *P2, K2*; repeat from * to * across. This shifts the checkerboard.
- Row 4 (WS): *P2, K2*; repeat from * to * across.
- Switch back to Color A (moss green).
- Shaping (Top of Cap): Work exactly as Coaster 1, Step 4, to shape and gather the top.
Coaster 3 – Cream Cap with Burgundy Spots
This version uses a full seed stitch section for the spots, creating a dense, bumpy texture.
- Cast On: With Color A (cream), CO 20 sts.
- Base of Cap: Work exactly as Coaster 1, Step 2, until the piece measures 3 inches, ending with a WS row.
- Spot Pattern (Seed Stitch): Switch to Color B (burgundy).
- Row 1 (RS): *K1, P1*; repeat from * to * across (20 sts).
- Row 2 (WS): *P1, K1*; repeat from * to * across. (On the WS, purl the knit stitches and knit the purl stitches from the previous row.)
- Repeat Rows 1-2 for a total of 4 rows, creating a 4-row seed stitch band.
- Switch back to Color A (cream).
- Shaping (Top of Cap): Work exactly as Coaster 1, Step 4, to shape and gather the top.
Coaster 4 – Golden Yellow Cap with Cream Spots
This final coaster features a diagonal stripe pattern, adding a dynamic, twisted look to the spots.
- Cast On: With Color A (golden yellow), CO 20 sts.
- Base of Cap: Work exactly as Coaster 1, Step 2, until the piece measures 3 inches, ending with a WS row.
- Spot Pattern (Diagonal Stripe): Switch to Color B (cream).
- Row 1 (RS): K1, *P1, K1*; repeat from * to * to last st, K1. (This creates a seed stitch that starts with a knit.)
- Row 2 (WS): P1, *K1, P1*; repeat from * to * to last st, P1.
- Row 3 (RS): K2, *P1, K1*; repeat from * to * to last 2 sts, P1, K1. (Shift the pattern by one stitch.)
- Row 4 (WS): P2, *K1, P1*; repeat from * to * to last 2 sts, K1, P1.
- Row 5 (RS): K3, *P1, K1*; repeat from * to * to last 3 sts, P1, K2. (Shift again.)
- Row 6 (WS): P3, *K1, P1*; repeat from * to * to last 3 sts, K1, P2.
- Switch back to Color A (golden yellow).
- Shaping (Top of Cap): Work exactly as Coaster 1, Step 4, to shape and gather the top.
Finishing
Once all four coasters are complete, follow these steps to finish them beautifully.
- Blocking: Block each coaster lightly to shape. Wet block by soaking in lukewarm water, gently squeeze out excess, and lay flat to dry, shaping into a round dome. This will even out the stitches and give a professional finish.
- Weave in Ends: Use a tapestry needle to weave in all loose ends securely on the wrong side of the work.
- Optional 3D Stem: For an extra whimsical touch, add a small knitted stem to the underside of each coaster.
- CO 6 sts with Color A.
- Work in stockinette stitch (K on RS, P on WS) for 1 inch.
- Next row (RS): K2tog across (3 sts).
- Cut yarn, thread through remaining sts, and pull tight to gather.
- Sew the stem to the center of the underside of the coaster, creating a 3D mushroom effect.
Your Enchanted Spore Coaster Set is now complete! Arrange them on a rustic wooden table, and let the soft, natural light cast gentle shadows over your new woodland-inspired decor. These coasters make wonderful handmade gifts and are a delightful way to practice your knitting skills. Enjoy your cozy, forest-themed creation!