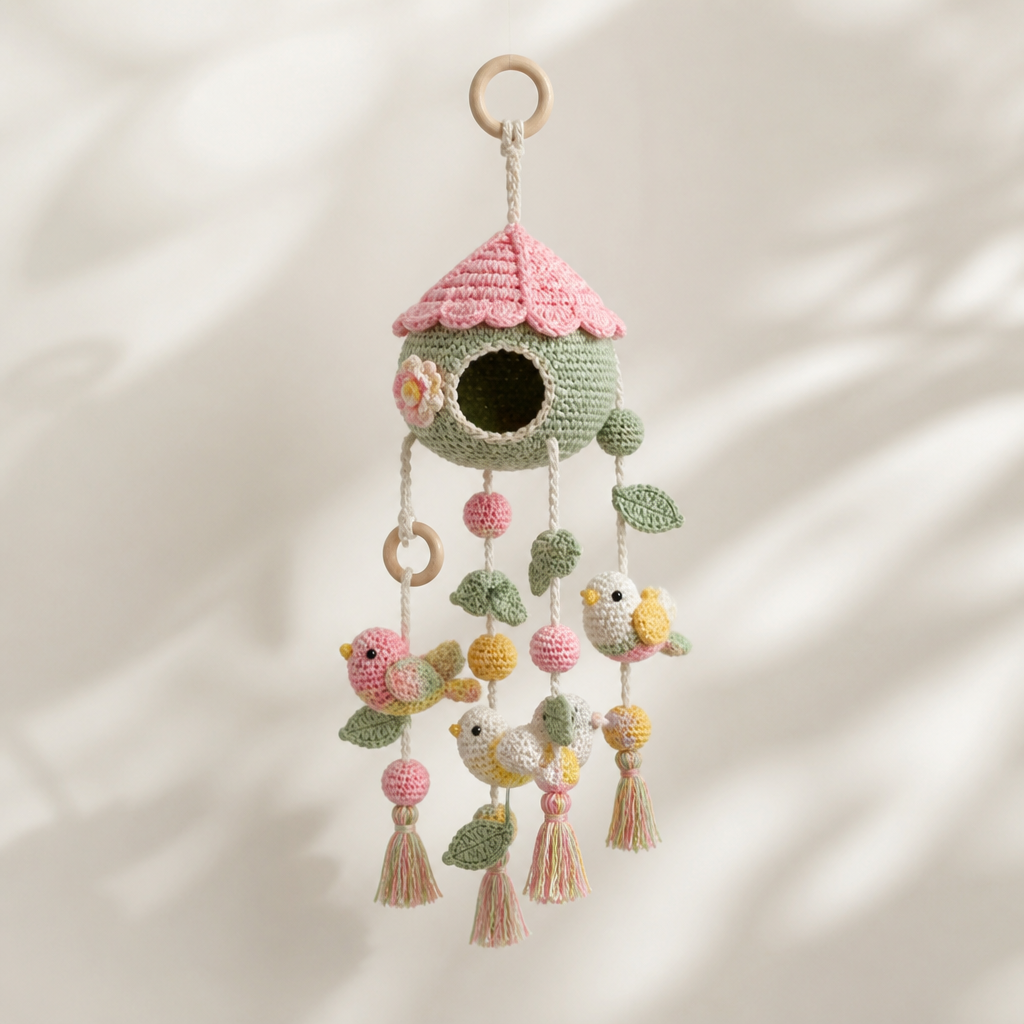
The Enchanted Meadow Bloom: A Free Crochet Pattern for a Textured, 3D Floral Wall Hanging

Bring the Meadow Indoors: The Enchanted Meadow Bloom Wall Hanging
Transform your living space with a tactile, dimensional wall hanging that captures the untamed beauty of a wildflower meadow. The Enchanted Meadow Bloom features hand-crocheted blossoms and leaves that literally pop off the base, creating a lush, botanical tapestry. This free pattern is designed for adventurous beginners and intermediate crocheters alike, guiding you through creating a cozy, boho art piece that adds warmth and texture to any wall. With super bulky yarn and a large hook, this project works up quickly—perfect for a weekend makeover of your home decor.
Materials Needed
Before you begin, gather the following supplies. Using the exact yarn weight and hook size is crucial for achieving the correct gauge and the dimensional, sturdy look of the flowers.
- Yarn: Lion Brand Wool-Ease Thick & Quick (super bulky weight, 80% acrylic, 20% wool) in these colors (approximately 200 yards total):
- 'Fisherman' (cream) – for the base panel
- 'Butterscotch' (golden yellow) – for large flowers
- 'Cranberry' (deep red) – for small flowers
- 'Spice' (burnt orange) – optional accent (not used in main pattern but can be substituted)
- 'Pumpkin' (orange) – optional accent
- 'Fern' (bright green) – for leaves
- 'Olive' (dark green) – for leaves (optional, use Fern for all if preferred)
- Hook: Size N/P (10 mm) crochet hook
- Notions: Tapestry needle, scissors, 12-inch wooden dowel or sturdy branch for hanging
- Gauge: 4 single crochet stitches x 4 rows = 4 inches (10 cm) with super bulky yarn and N hook. Gauge is important for the base panel size; check your gauge before starting.
Step-by-Step Instructions
Part 1: The Base Panel
This creates a dense, textured rectangle that serves as the canvas for your flowers.
- With Fisherman (cream) yarn, chain 21.
- Row 1: Single crochet (sc) in the 2nd chain from the hook and in each chain across. You should have 20 sc stitches. Chain 1, turn.
- Row 2-20: Chain 1, turn. Single crochet in each stitch across. (20 sc each row)
- After Row 20, fasten off the yarn, leaving a 6-inch tail. Weave in this end with your tapestry needle. The panel should measure approximately 20 inches wide by 20 inches tall (based on gauge).
Part 2: Large Flowers (Make 3)
These are the showstoppers—multi-layered, dimensional blooms in golden yellow. Each flower has 8 rounds, creating a large, cupped shape.
- With Butterscotch yarn, make a magic ring (adjustable loop).
- Round 1: Chain 1 (does not count as a stitch), work 6 single crochet into the ring. Pull the tail to close the ring tightly. Slip stitch to the first sc to join. (6 stitches)
- Round 2: Chain 1, work 2 single crochet in each stitch around. Slip stitch to join. (12 stitches)
- Round 3: Chain 1, *single crochet in the next stitch, 2 single crochet in the next stitch*; repeat from * to * around. Slip stitch to join. (18 stitches)
- Round 4: Chain 1, *single crochet in the next 2 stitches, 2 single crochet in the next stitch*; repeat from * to * around. Slip stitch to join. (24 stitches)
- Round 5: Chain 1, *single crochet in the next 3 stitches, 2 single crochet in the next stitch*; repeat from * to * around. Slip stitch to join. (30 stitches)
- Round 6: Chain 1, *single crochet in the next 4 stitches, 2 single crochet in the next stitch*; repeat from * to * around. Slip stitch to join. (36 stitches)
- Round 7: Chain 1, *single crochet in the next 5 stitches, 2 single crochet in the next stitch*; repeat from * to * around. Slip stitch to join. (42 stitches)
- Round 8: Chain 1, *single crochet in the next 6 stitches, 2 single crochet in the next stitch*; repeat from * to * around. Slip stitch to join. (48 stitches)
- Fasten off, leaving a long tail (at least 18 inches) for sewing the flower onto the base. The flower will naturally curl at the edges, creating a 3D effect.
Part 3: Small Flowers (Make 2)
These deep red blooms are smaller and more compact, adding contrast and depth.
- With Cranberry yarn, make a magic ring.
- Round 1: Chain 1, work 6 single crochet into the ring. Pull to close. Slip stitch to join. (6 stitches)
- Round 2: Chain 1, work 2 single crochet in each stitch around. Slip stitch to join. (12 stitches)
- Round 3: Chain 1, *single crochet in the next stitch, 2 single crochet in the next stitch*; repeat from * to * around. Slip stitch to join. (18 stitches)
- Round 4: Chain 1, *single crochet in the next 2 stitches, 2 single crochet in the next stitch*; repeat from * to * around. Slip stitch to join. (24 stitches)
- Fasten off, leaving a long tail for sewing. The small flower will have a tighter, more bud-like appearance.
Part 4: Leaves (Make 6)
These elongated, pointed leaves add asymmetry and a natural, organic feel. Use Fern (bright green) for all six, or mix with Olive for variety.
- With Fern (or Olive) yarn, chain 10.
- Row 1: Single crochet in the 2nd chain from the hook. Half double crochet (hdc) in the next chain. Double crochet (dc) in the next 4 chains. Half double crochet in the next chain. Single crochet in the last chain. (9 stitches total)
- Fasten off, leaving a long tail for sewing. The leaf will naturally curve slightly.
Part 5: Assembly & Finishing
This is where your wall hanging comes to life. Take your time arranging the pieces for a balanced, natural look.
- Arrange the elements: Lay the base panel flat on a table. Position the three large flowers in a loose cluster near the top left corner of the panel. Place the two small flowers near the bottom right corner, slightly overlapping one of the large flowers. Scatter the six leaves around the flowers, varying their angles—some pointing up, some down, some sideways. Use the visual details below as a guide, but feel free to create your own composition.
- Sew the flowers and leaves: Using the long tails left on each piece, thread your tapestry needle. Sew each flower and leaf securely onto the base panel. Make sure to catch only the back loops of the base stitches to keep the front neat. For the flowers, sew through the center and around the edges to flatten them slightly while maintaining their 3D shape. Weave in all ends securely on the back of the panel.
- Create the hanging pocket: Fold the top edge of the panel over the wooden dowel, about 1 inch deep. The dowel should sit snugly inside this fold. Using Fisherman yarn and your tapestry needle, sew the folded edge down to the back of the panel, creating a pocket for the dowel. Make sure the stitches are secure but not visible from the front.
- Add the hanging cord: Cut two 12-inch lengths of Fisherman yarn. Tie one end of each piece securely to each end of the dowel. These will be your hanging loops. Trim any excess yarn.
- Optional fringe: For a boho touch, add fringe to the bottom edge. Cut 6-inch strands of Fisherman yarn. Fold each strand in half, insert the loop through a bottom stitch of the panel, and pull the ends through the loop to create a knot. Repeat across the bottom edge, spacing the fringe about 1 inch apart. Trim the fringe evenly.
Your Enchanted Meadow Bloom wall hanging is complete! Hang it on a nail or hook using the loops on the dowel. The super bulky yarn and dimensional flowers will create a stunning, tactile focal point in any room. Enjoy your handcrafted piece of botanical art!