The Enchanted Forest Floor Pouf Free Pattern – A Chunky Knitted Ottoman with Woven Leaf Accents

The Enchanted Forest Floor Pouf Free Pattern – A Chunky Knitted Ottoman with Woven Leaf Accents
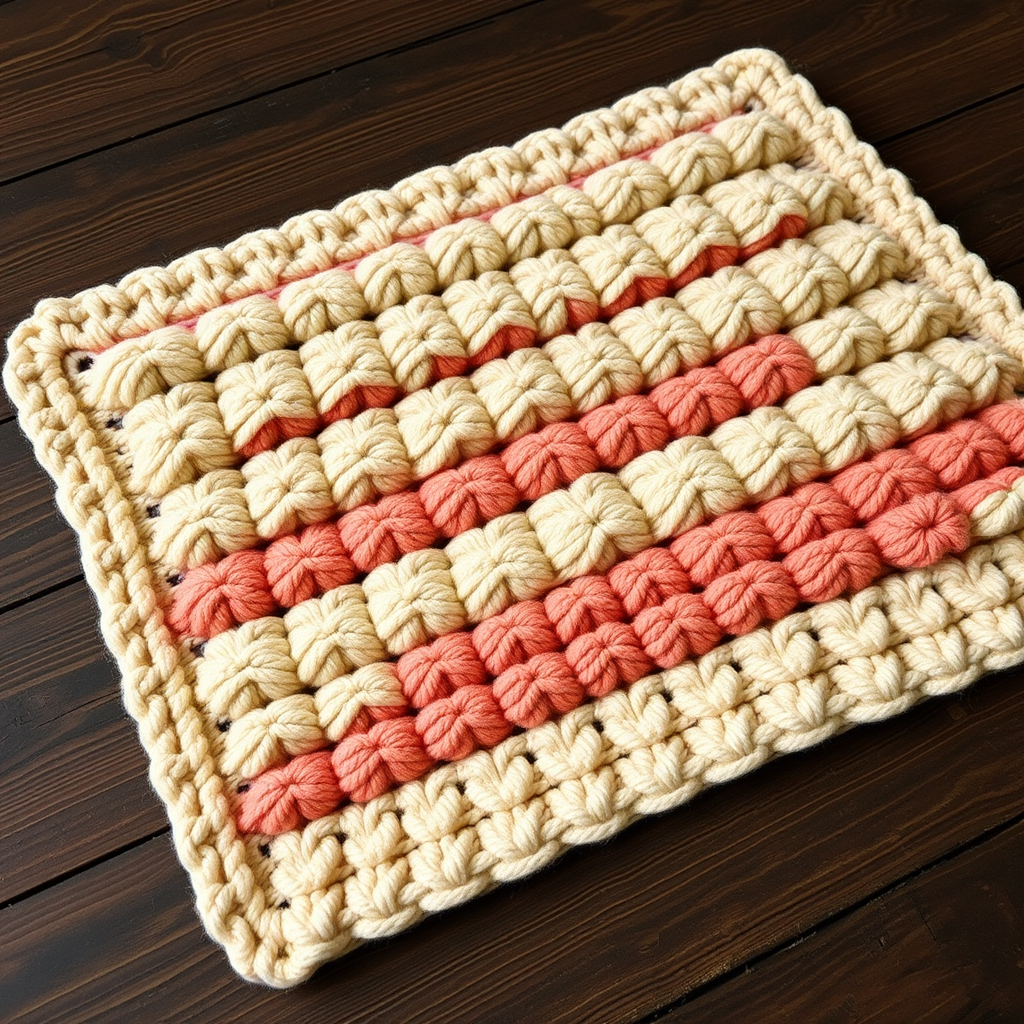
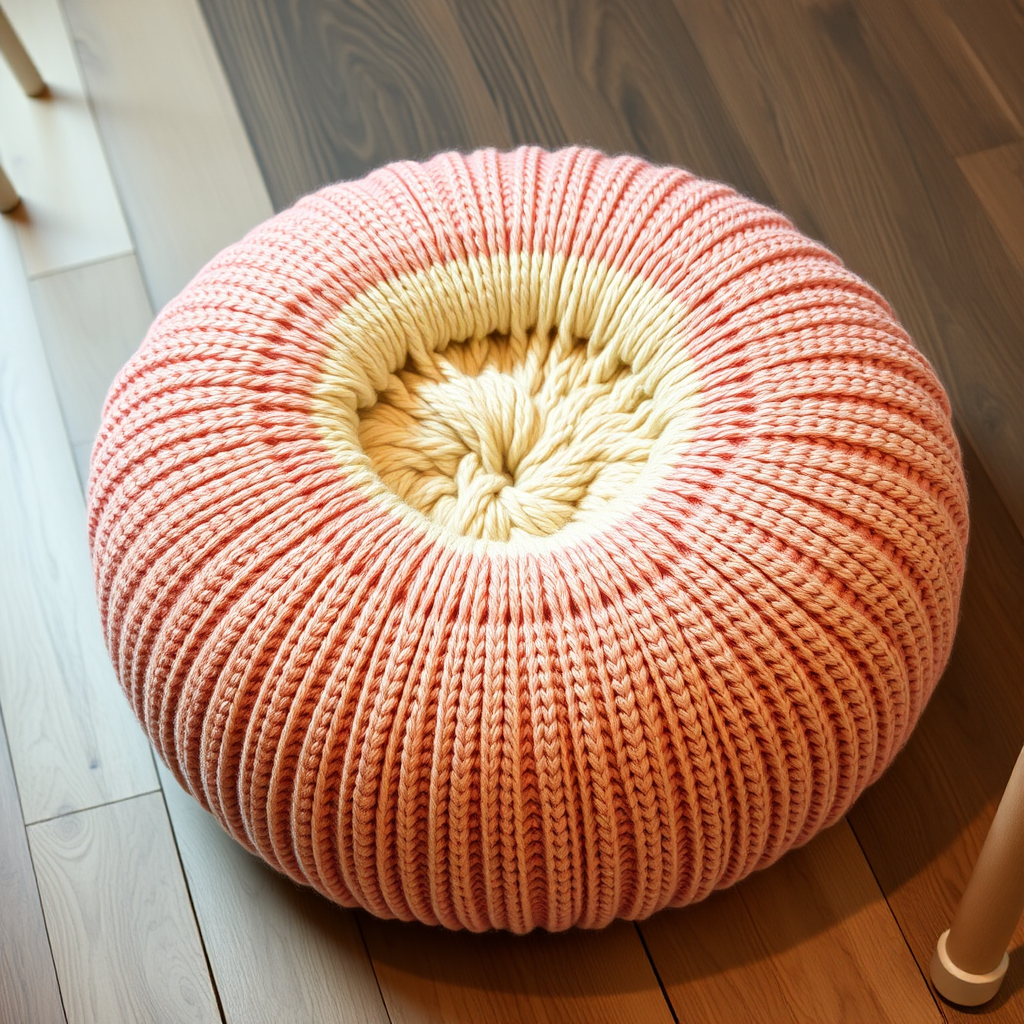
Transform your living space into a cozy woodland retreat with this oversized, plush knitted floor pouf, featuring intricate leaf-shaped crochet appliqués. This statement piece combines the warmth of chunky yarn with the organic beauty of nature-inspired texture. Whether you're curling up with a book or adding a touch of handcrafted charm to your reading nook, this pouf is as functional as it is beautiful. The dense stockinette stitch creates a sturdy yet soft surface, while the scattered leaves in moss and cream bring a whimsical, forest-floor aesthetic to any room. Best of all, this pattern is beginner-friendly—if you can knit in the round and crochet a basic chain, you can create this stunning piece.
Materials Needed
Before you begin, gather the following supplies. All yarn amounts are approximate and based on a finished pouf measuring about 24 inches in diameter and 12 inches tall.
- Yarn: Super bulky weight yarn (size 6) in three colors:
- Forest Green (MC) – approximately 800g (about 8 skeins of 100g each)
- Moss Green (CC1) – approximately 200g (about 2 skeins)
- Cream (CC2) – approximately 100g (about 1 skein)
- Knitting Needles: US 15 (10mm) circular knitting needle, 24-inch or longer (for magic loop) OR a set of US 15 double-pointed needles for working in the round
- Crochet Hook: US K/10.5 (6.5mm) for the leaf appliqués
- Yarn Needle: For weaving in ends and sewing leaves onto the pouf
- Stitch Markers: (optional but helpful for tracking rounds)
- Scissors
Gauge: 8 stitches and 12 rows = 4 inches in stockinette stitch with US 15 needle. Always check your gauge before starting—this ensures your pouf comes out the correct size.
Step-by-Step Instructions
Part 1: Knitting the Pouf Body (Worked in the Round)
The pouf is knitted from the bottom up, starting with a small circle that gradually increases to form the base, then works straight up the sides, and finally decreases to close the top. You'll use the magic ring method to start—if you're unfamiliar, it creates a tight, seamless center.
Round 1: Using the magic ring method with MC, cast on 8 stitches. Distribute these evenly onto 4 double-pointed needles (2 stitches per needle) or use the magic loop technique on your circular needle. Place a stitch marker to mark the beginning of the round.
Round 2: Knit front and back (kfb) into every stitch around. This means you'll knit into the front of the stitch, then without removing it from the left needle, knit into the back of the same stitch. You now have 16 stitches.
Round 3: Knit all stitches. (No increases this round—this creates a smooth curve.)
Round 4: *Kfb, k1* repeat from * to * around. This means: knit front and back into the first stitch, then knit 1 plain stitch. Repeat this sequence 8 times total. You now have 24 stitches.
Round 5: Knit all stitches.
Round 6: *Kfb, k2* repeat from * to * around. (Kfb into first stitch, knit 2 plain stitches, repeat 8 times.) You now have 32 stitches.
Round 7: Knit all stitches.
Continue Increasing: Keep following this pattern—on every odd-numbered round (9, 11, 13, etc.), knit all stitches with no increases. On every even-numbered round (8, 10, 12, etc.), work *Kfb, then knit one more stitch between increases than the previous increase round*. Here's the breakdown:
- Round 8: *Kfb, k3* – 40 stitches
- Round 10: *Kfb, k4* – 48 stitches
- Round 12: *Kfb, k5* – 56 stitches
- Round 14: *Kfb, k6* – 64 stitches
- Round 16: *Kfb, k7* – 72 stitches
- Round 18: *Kfb, k8* – 80 stitches
Stop increasing here. You now have 80 stitches, which gives you a base diameter of about 24 inches. If your gauge is slightly off, adjust the number of increase rounds to reach approximately 24 inches across.
Work Even: Now knit every round in plain stockinette stitch (knit all stitches) for 20 rounds. This forms the vertical sides of the pouf. The fabric will naturally curve upward as you knit. If you want a taller pouf, add more even rounds; for a shorter, wider pouf, use fewer.
Begin Decreasing: Now you'll shape the top of the pouf by decreasing stitches. Work decreases on even-numbered rounds, with plain knit rounds in between.
- Round 1 (decrease): *K2tog, k8* repeat around – 72 stitches. (K2tog means knit two stitches together as one.)
- Round 2: Knit all stitches.
- Round 3 (decrease): *K2tog, k7* repeat around – 64 stitches.
- Round 4: Knit all stitches.
- Round 5 (decrease): *K2tog, k6* repeat around – 56 stitches.
- Round 6: Knit all stitches.
- Round 7 (decrease): *K2tog, k5* repeat around – 48 stitches.
- Round 8: Knit all stitches.
- Round 9 (decrease): *K2tog, k4* repeat around – 40 stitches.
- Round 10: Knit all stitches.
- Round 11 (decrease): *K2tog, k3* repeat around – 32 stitches.
- Round 12: Knit all stitches.
- Round 13 (decrease): *K2tog, k2* repeat around – 24 stitches.
- Round 14: Knit all stitches.
- Round 15 (decrease): *K2tog, k1* repeat around – 16 stitches.
- Round 16: Knit all stitches.
- Round 17 (decrease): *K2tog* repeat around – 8 stitches.
Close the Top: Cut your yarn, leaving a 12-inch tail. Thread the tail onto a yarn needle and pass it through the remaining 8 stitches, slipping them off the knitting needle. Pull tight to gather the top closed. Secure with a knot and weave in the end inside the pouf.
Weave in all loose ends from the cast-on and any joins. Your pouf body is complete! If you'd like a firmer pouf, you can stuff it with polyester fiberfill or use an old pillow insert. For a more structured ottoman, consider adding a fabric liner filled with foam beads.
Part 2: Crocheting the Leaf Appliqués (Make 5 Large + 3 Small)
These leaves add the woodland charm. You'll make 5 large leaves in Moss Green (CC1) and 3 smaller leaves in Cream (CC2). Each leaf has a distinct central vein and slightly curled edges, giving them a natural, organic look.
Large Leaf (make 5 with CC1):
- Chain 10 stitches.
- Row 1: Starting in the second chain from the hook (skip the first chain), work the following stitches into each chain across:
- 1 single crochet (sc) into the next chain
- 1 half double crochet (hdc) into the next chain
- 3 double crochet (dc) into the next three chains (one dc in each)
- 1 half double crochet (hdc) into the next chain
- 1 single crochet (sc) into the next chain
- 1 slip stitch into the last chain
- Fasten off, leaving a 6-inch tail for sewing.
Tip: The slip stitch at the end creates the pointed tip of the leaf. The varying stitch heights (sc, hdc, dc) naturally curve the leaf, giving it that organic, slightly curled edge.
Small Leaf (make 3 with CC2):
- Chain 6 stitches.
- Row 1: Starting in the second chain from the hook, work:
- 1 single crochet (sc) into the next chain
- 2 double crochet (dc) into the next two chains (one dc in each)
- 1 single crochet (sc) into the next chain
- 1 slip stitch into the last chain
- Fasten off, leaving a 6-inch tail.
Part 3: Attaching the Leaves
Now for the fun part—arranging your leaves! Lay the pouf flat and experiment with placement before sewing. For a natural woodland look, scatter the leaves organically, some overlapping, rather than in a perfect grid.
- Using the yarn needle and the tails left on each leaf, position a leaf on the pouf surface.
- Thread the tail through the yarn needle and sew the leaf to the pouf using small, invisible stitches along the center vein of the leaf. This secures the leaf flat while allowing the edges to curl naturally.
- Repeat for all 8 leaves. Mix the large moss green leaves with the smaller cream ones, placing them at varying angles. Overlap a couple of leaves for depth.
- Once all leaves are attached, weave in any remaining ends on the underside of the leaves.
Finishing Touches
Give your pouf a gentle steam block (optional) to even out the stitches and enhance the texture. Simply hold a steam iron a few inches above the surface—don't press down, as this can flatten the chunky yarn. Let it dry completely before using.
Your Enchanted Forest Floor Pouf is now ready to bring cozy, handcrafted charm to your home. Whether it becomes a footrest, extra seating, or a decorative accent, this piece is sure to be a conversation starter. The combination of chunky forest green knitting with delicate leaf appliqués creates a tactile, nature-inspired treasure you'll be proud to say you made yourself.
Happy crafting! Share your finished pouf with us—we'd love to see your unique leaf arrangements.