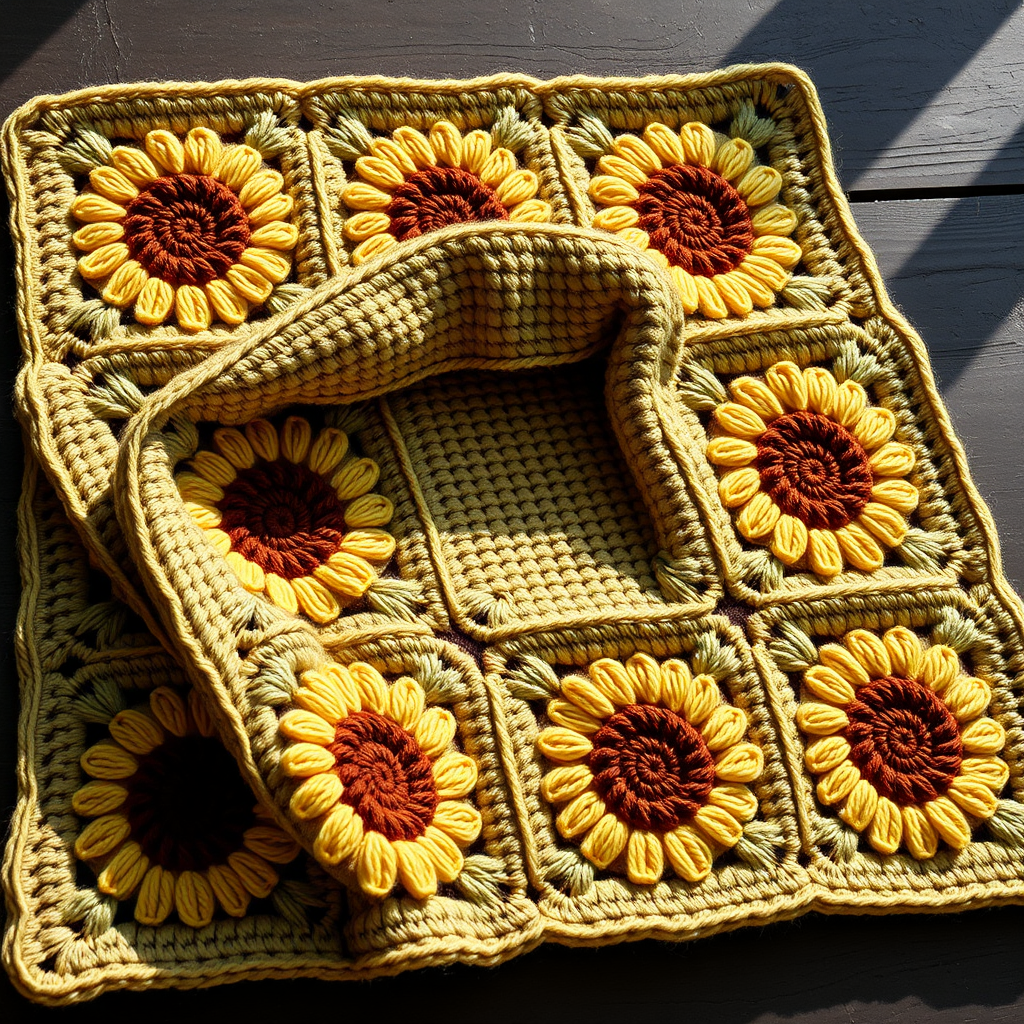
The Ember & Ash Mosaic Throw: A Free Crochet Pattern for a Modern, Two-Tone Lap Blanket

Introduction: The Ember & Ash Mosaic Throw
Welcome to a project that will transform your living space with modern, geometric warmth. The Ember & Ash Mosaic Throw is a stunning lap blanket that uses the mosaic crochet technique to create a woven, brick-like pattern in two contrasting colors. The deep, burnt orange (Ember) pops beautifully against the soft, heathered gray (Ash), resulting in a piece that is both cozy and contemporary. This pattern is perfect for intermediate crocheters looking to expand their skills, but with clear instructions, a confident beginner can also succeed. The finished blanket measures approximately 36 inches wide and 50 inches long, making it ideal for draping over a couch or chair.
Materials Needed
Before you begin, gather the following materials. Using the exact specifications will ensure your blanket matches the intended size and texture.
Yarn
- Color A (Ash): Worsted weight (#4) yarn in a soft, heathered gray. Approximately 600 yards.
- Color B (Ember): Worsted weight (#4) yarn in a deep, burnt orange. Approximately 600 yards.
Hook & Notions
- Crochet Hook: Size I/9 (5.5 mm), or size needed to obtain gauge.
- Other: Yarn needle for weaving in ends, scissors.
Gauge
14 stitches and 8 rows of mosaic pattern = 4 inches (10 cm). It is critical to check your gauge. If your gauge is off, adjust your hook size accordingly. A tighter gauge will result in a denser, smaller blanket; a looser gauge will be drapier but larger.
Step-by-Step Instructions
This pattern uses the mosaic overlay technique. You will work with one color per row, dropping and picking up the yarn as needed. The pattern is created by working single crochet (sc) and double crochet (dc) stitches into the back loop only (BLO) of the previous row. The 'overlay' stitches are worked into the front loop only (FLO) of the row two rows below. Always chain 1 at the beginning of a row (does not count as a stitch).
Foundation & First Rows
- Foundation Chain: With Color A, chain 102.
- Row 1 (Right Side): With Color A, sc in the 2nd chain from hook and in each chain across. Turn. (101 sc)
- Row 2: With Color A, ch 1, sc in the BLO of each stitch across. Turn. Fasten off Color A.
Creating the Mosaic Pattern
The pattern repeats in a 20-row sequence (Rows 3-22), but we'll break it down into smaller, manageable sections. The key is to always work the overlay (dc) into the FLO of the stitch two rows below, while working the background (sc) into the BLO of the current row.
First Pattern Repeat (Rows 3-6)
- Row 3: With Color B, ch 1, sc in the BLO of the first stitch. *Dc in the FLO of the stitch two rows below (Row 1), sc in the BLO of the next stitch.* Repeat from * to * across, ending with sc in the BLO of the last stitch. Turn. Fasten off Color B.
- Row 4: With Color A, ch 1, sc in the BLO of each stitch across. Turn. Fasten off Color A.
- Row 5: With Color B, ch 1, sc in the BLO of the first stitch. *Sc in the BLO of the next stitch, dc in the FLO of the stitch two rows below (Row 3).* Repeat from * to * across, ending with sc in the BLO of the last stitch. Turn. Fasten off Color B.
- Row 6: With Color A, ch 1, sc in the BLO of each stitch across. Turn. Fasten off Color A.
Continue the Staggered Brick Pattern
- Rows 7-12: Repeat Rows 3-6 three more times. This creates a staggered brick-like pattern.
Shift the Pattern (Rows 13-16)
- Row 13: With Color A, ch 1, sc in the BLO of each stitch across. Turn. Fasten off Color A.
- Row 14: With Color B, ch 1, sc in the BLO of the first stitch. *Dc in the FLO of the stitch two rows below (Row 12), sc in the BLO of the next stitch.* Repeat from * to * across, ending with sc in the BLO of the last stitch. Turn. Fasten off Color B.
- Row 15: With Color A, ch 1, sc in the BLO of each stitch across. Turn. Fasten off Color A.
- Row 16: With Color B, ch 1, sc in the BLO of the first stitch. *Sc in the BLO of the next stitch, dc in the FLO of the stitch two rows below (Row 14).* Repeat from * to * across, ending with sc in the BLO of the last stitch. Turn. Fasten off Color B.
Complete the Shifted Section
- Rows 17-22: Repeat Rows 14-16 two more times.
Repeating the Full Pattern
Continue alternating the pattern: Repeat Rows 3-22 until the blanket measures approximately 50 inches in length, ending with a Row 6 repeat (a solid row of Color A). This ensures the pattern is symmetrical.
Final Border
- With Color A, work 1 round of sc evenly around the entire blanket, working 3 sc in each corner. Join with a slip stitch to the first sc.
- Fasten off and weave in all ends using a yarn needle. Blocking is optional but recommended to even out the stitches and enhance the geometric pattern.
Your Ember & Ash Mosaic Throw is now complete! Enjoy the modern, textured warmth it brings to your home.