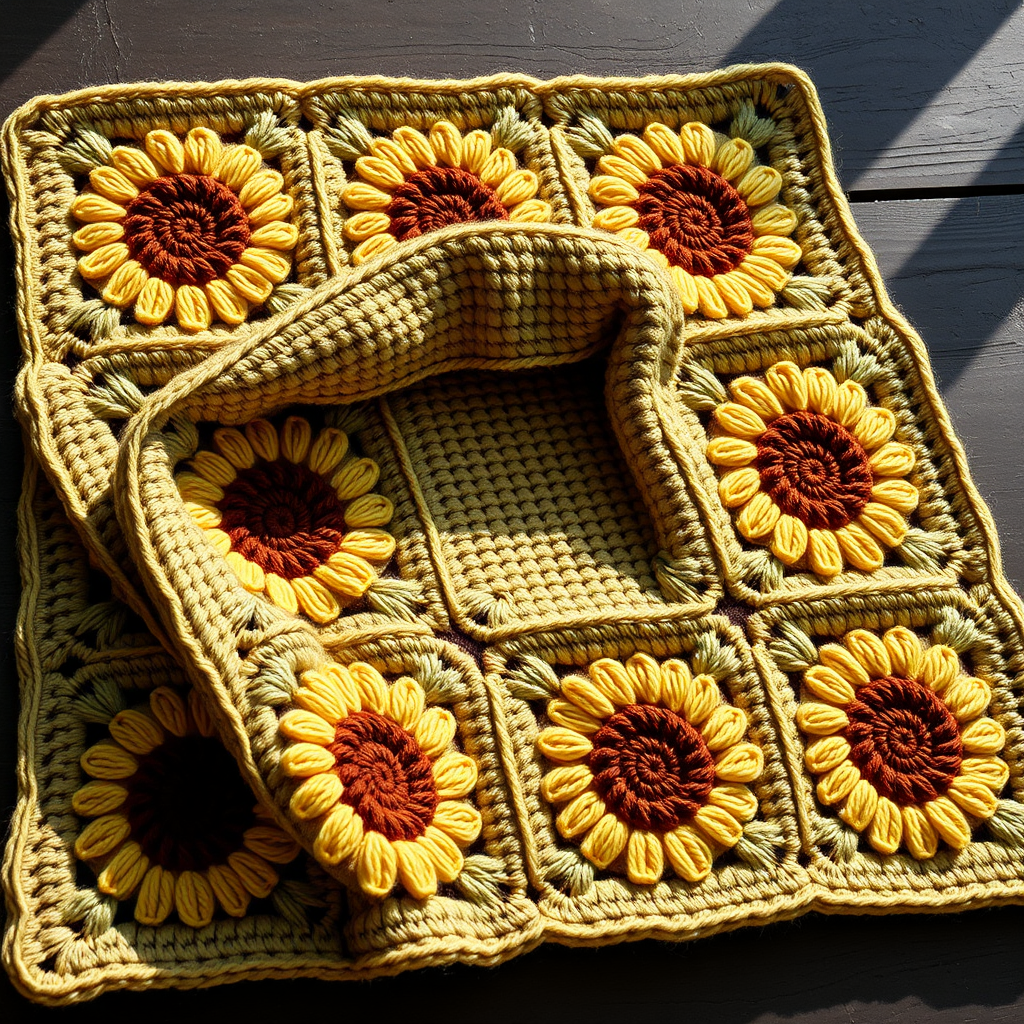
The Driftwood Dune Throw Free Pattern – A Crocheted Coastal Escape

Introducing the Driftwood Dune Throw: A Crocheted Coastal Escape
Imagine wrapping yourself in the gentle rhythm of the shore—the soft whisper of waves, the warmth of sun-drenched sand, and the crisp, clean air of the ocean. The Driftwood Dune Throw is more than just a blanket; it's a meditative journey captured in yarn. This free crochet pattern features a mesmerizing wave stitch that creates a rippled, undulating texture, perfectly evoking the ebb and flow of the sea.
Designed with a serene coastal palette—from warm sand beige to ocean-foam white—this throw adds a touch of boho, organic calm to any room. Whether you're a seasoned crocheter or a confident beginner looking for a rewarding project, this pattern is your ticket to crafting a stunning, handmade heirloom. The repetitive, rhythmic stitches are wonderfully soothing, making this the perfect project for cozy evenings and mindful crafting.
Let's dive in and create your own coastal escape, one stitch at a time.
Materials Needed: Gathering Your Coastal Treasures
Before we begin our crafting journey, let's ensure you have all the necessary supplies. The beauty of this pattern lies in its simplicity and the quality of its materials.
Yarn
- Weight: Worsted weight (#4) cotton or cotton-blend yarn. Cotton is ideal for its stitch definition and breathable, beachy feel.
- Colors & Approximate Yardage: You will need 5 colors, with a total of approximately 1800-2200 yards.
- Color A (Sand): Warm beige – approx. 400-500 yards
- Color B (Driftwood): Light tan – approx. 400-500 yards
- Color C (Seafoam): Soft green – approx. 400-500 yards
- Color D (Ocean Mist): Muted blue – approx. 400-500 yards
- Color E (Pearl White): Crisp white – approx. 400-500 yards
Hook & Other Supplies
- Crochet Hook: US Size I/9 (5.5 mm), or the size needed to obtain gauge.
- Yarn Needle: For weaving in ends and finishing.
- Scissors: For cutting yarn.
- Measuring Tape: To check gauge and finished dimensions.
Gauge & Finished Size
- Gauge: 14 stitches x 10 rows = 4 inches in wave stitch pattern (after blocking). Always check your gauge to ensure your throw matches the intended dimensions.
- Finished Size: Approximately 48 inches wide x 60 inches long. This is easily adjustable by changing your starting chain.
Step-by-Step Instructions: Crafting Your Wave Stitch Masterpiece
This pattern is worked in horizontal rows, creating a beautiful, flowing wave design. Don't be intimidated by the special stitches—they're easier than they look and create a stunning effect. Let's get started!
Stitches & Abbreviations
- ch = chain
- sc = single crochet
- dc = double crochet
- tr = treble crochet
- sk = skip
- st(s) = stitch(es)
- sl st = slip stitch
Special Stitches
- Wave Cluster (WC): Work 3 double crochet (dc) in the same stitch. This creates the "peak" of your wave.
- Reverse Wave Cluster (RWC): Work 3 treble crochet (tr) in the same stitch. This creates the "valley" or trough of your wave, adding beautiful depth.
Pattern Notes
- The throw is worked in rows, creating a horizontal wave pattern.
- Color changes occur at the end of each row. You can carry the yarn up the side (if you don't mind the floats) or cut and weave in ends for a cleaner finish. This pattern recommends weaving in ends for a professional look.
- Chain 2 at the beginning of a row counts as the first double crochet (dc), unless otherwise noted.
Let's Begin: The Foundation and First Rows
Foundation Row: With Color A (Sand), chain 168. (Note: For a different width, chain any multiple of 12 + 2.)
Row 1: Dc in the 4th ch from the hook (this counts as 2 dc). Now, follow this repeat across the row: *Skip 2 chains, work a Wave Cluster (WC) in the next chain, skip 2 chains, dc in the next chain, ch 1, dc in the next chain, skip 2 chains, WC in the next chain, skip 2 chains, dc in the next chain, ch 1, dc in the next chain.* Repeat from * to * across, ending with a dc in the very last chain. Turn. You will have 14 wave repeats.
Row 2: Ch 2 (counts as dc), dc in the first stitch. Now, repeat across: *Skip 2 stitches, work a Reverse Wave Cluster (RWC) in the next stitch, skip 2 stitches, dc in the next stitch, ch 1, dc in the next stitch, skip 2 stitches, RWC in the next stitch, skip 2 stitches, dc in the next stitch, ch 1, dc in the next stitch.* Repeat from * to * across, ending with a dc in the top of the turning chain. Turn. Change to Color B (Driftwood) at the end of this row.
Row 3: With Color B, repeat Row 1.
Row 4: Repeat Row 2, changing to Color C (Seafoam) at the end.
Rows 5-6: Repeat Rows 1-2 with Color C, then change to Color D (Ocean Mist).
Rows 7-8: Repeat Rows 1-2 with Color D, then change to Color E (Pearl White).
Rows 9-10: Repeat Rows 1-2 with Color E, then change to Color A (Sand).
Continuing Your Throw
Now that you've completed your first color sequence, the rhythm is set. Continue repeating Rows 1-10, following the color sequence (A, B, C, D, E, A, B, C, D, E...) until the throw measures approximately 58 inches from the foundation row. Be sure to end with a Row 2 repeat to ensure your final edge is symmetrical. Fasten off and weave in your ends.
Adding the Finishing Touch: A Simple Border (Optional)
While the wave stitch is beautiful on its own, a simple border in Pearl White (E) gives the throw a polished, finished look.
Round 1: With Color E, join your yarn in any corner of the throw. Work single crochet (sc) evenly around the entire perimeter, working 3 sc in each corner to turn the corner smoothly. Slip stitch (sl st) to join the round.
Round 2: Ch 1, then sc in each sc around, working 3 sc in each corner again. Sl st to join. Fasten off.
Finishing Touches: Blocking for Perfection
This final step is crucial for achieving that beautiful, open wave pattern. Weave in all remaining ends with your yarn needle. Then, gently block your throw. You can do this by pinning it to a blocking mat and lightly misting it with water, or by using a steam iron (without touching the yarn directly). Blocking will open up the stitches, even out the tension, and truly make the wave pattern shine.
Once dry, your Driftwood Dune Throw is ready to be draped over a sofa, folded at the foot of a bed, or wrapped around you on a cool evening. Enjoy the fruits of your labor and the serene, coastal calm you've crafted with your own hands.