The Chili Bloom Crescent Shawl Free Pattern – A Fiery Knitted Wrap with Woven Leaf Accents
The Chili Bloom Crescent Shawl: A Fiery Knitted Wrap with Woven Leaf Accents
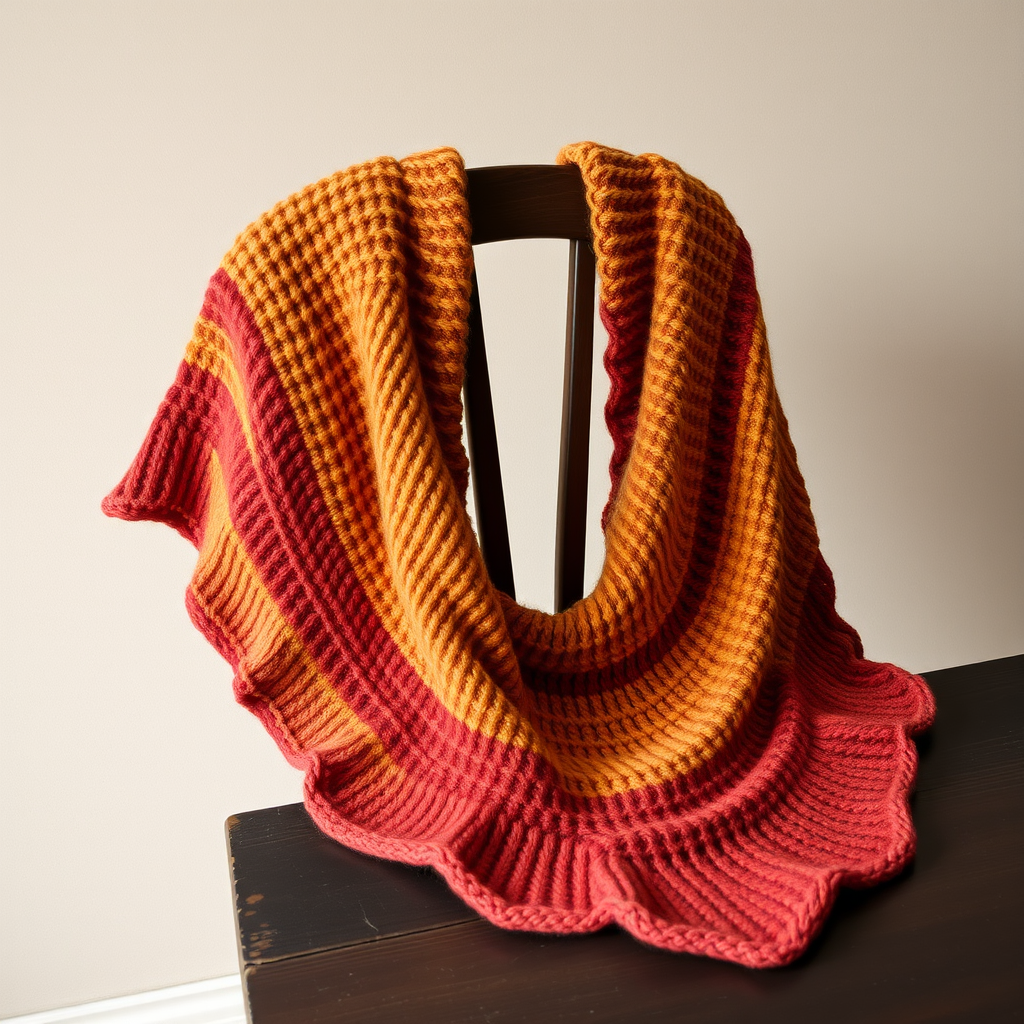
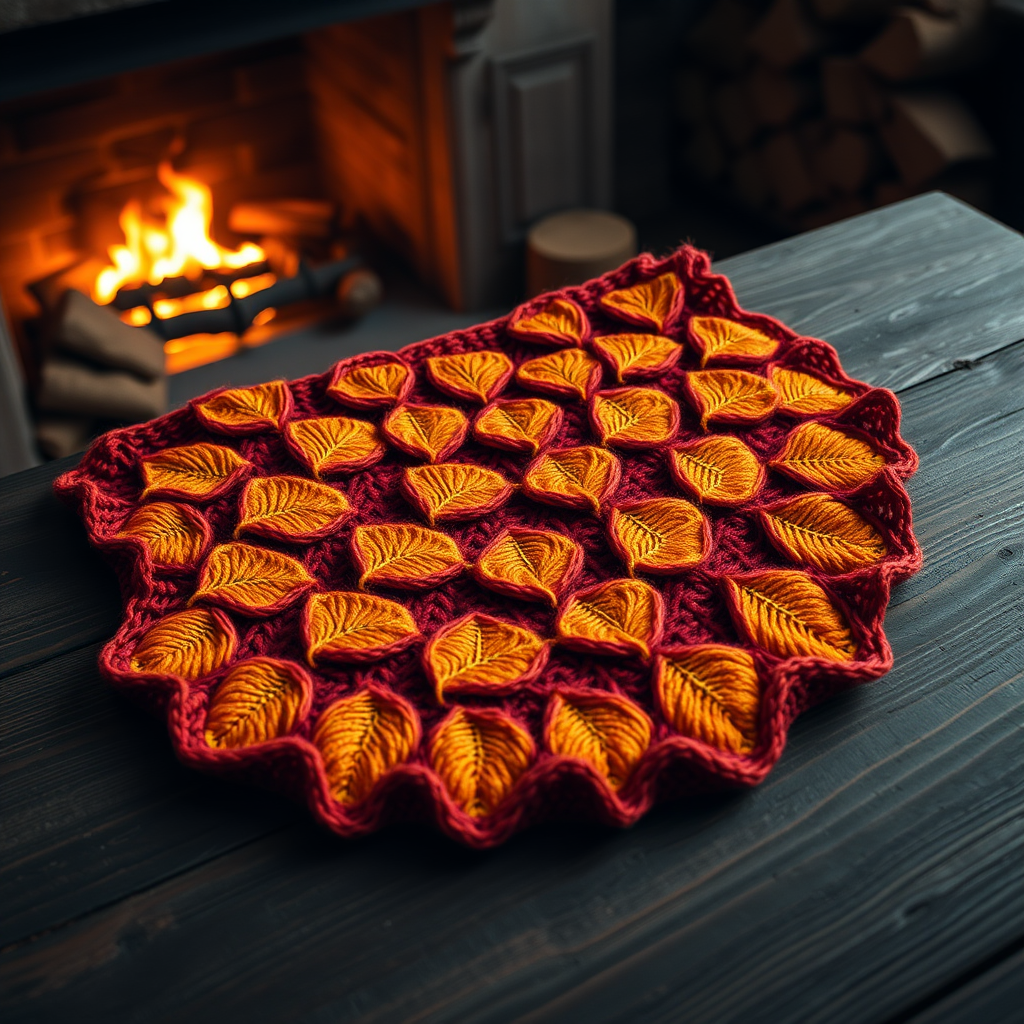
Wrap yourself in the warmth of a hand-knitted crescent shawl that captures the vibrant spirit of chili peppers with its rich reds, oranges, and golds. This unique design features delicate leaf motifs and a soft, flowing silhouette perfect for cool evenings. Whether you're a seasoned knitter or a confident beginner looking for a rewarding project, the Chili Bloom Crescent Shawl is a stunning addition to any handmade wardrobe. The textured leaf pattern and elegant crescent shape make it a standout piece that's as enjoyable to create as it is to wear.
Materials Needed
Before you begin, gather the following materials to ensure a smooth and enjoyable knitting experience:
- Yarn: Worsted weight yarn in 3 colors:
- Chili Red (MC - Main Color): 300g
- Saffron Orange (CC1 - Contrast Color 1): 200g
- Golden Yellow (CC2 - Contrast Color 2): 100g
- Needle: US 8 (5mm) circular knitting needle, 32-inch length or longer (to accommodate the growing number of stitches).
- Notions: Stitch markers (at least 10), yarn needle for weaving in ends and adding woven accents, scissors.
- Gauge: 18 stitches and 24 rows = 4 inches in stockinette stitch (blocked). Always knit a gauge swatch to ensure your finished shawl matches the intended dimensions.
Step-by-Step Instructions
This shawl is knitted from the top center down, increasing gradually to form a crescent shape. The leaf motifs are created using simple increases and decreases, and the woven accents are added at the end. Follow these detailed instructions carefully, and you'll have a beautiful, fiery wrap in no time.
Abbreviations
- k = knit
- p = purl
- yo = yarn over (creates an increase and a small hole)
- k2tog = knit two together (right-leaning decrease)
- ssk = slip, slip, knit (left-leaning decrease)
- pm = place marker
- sm = slip marker
- MC = Main Color (Chili Red)
- CC1 = Contrast Color 1 (Saffron Orange)
- CC2 = Contrast Color 2 (Golden Yellow)
Pattern Notes
- The shawl is worked in rows from the top edge (neck) down to the bottom point.
- The leaf motif is a 12-row repeat that creates a stylized chili leaf.
- The woven accents are added after the knitting is complete, using a yarn needle to weave CC2 through the leaf centers.
- Always maintain the first and last 3 stitches as a garter stitch border (knit every row) for a clean, finished edge.
Setup Row (RS - Right Side)
With MC, cast on 3 stitches. Knit 6 rows (this creates a small garter stitch tab that will form the center top of the shawl).
Increase Section
This section creates the initial crescent shape by increasing one stitch on every right-side row.
- Row 1 (RS): k3, yo, k to end. (4 stitches)
- Row 2 (WS - Wrong Side): k3, p to last 3 stitches, k3.
- Row 3: k3, yo, k to end. (5 stitches)
- Row 4: k3, p to last 3 stitches, k3.
- Repeat Rows 3-4 until you have 45 stitches on the needle, ending with a WS row. This will take approximately 20 repeats (40 rows total).
Leaf Motif Section
This is the heart of the pattern, creating the beautiful chili leaf shapes. The motif is worked in a 12-row repeat, with increases at the beginning of each RS row to maintain the crescent shape. Place markers to separate the repeats.
Row 1 (RS): k3, yo, k2, pm, *k1, yo, k2tog, k1, ssk, yo, k1, pm, k2, yo, k2tog, k1, ssk, yo, k2, pm* repeat from * to * until 3 stitches remain, k3. (Increase 1 stitch per marker)
Row 2 (WS): k3, p to last 3 stitches, k3.
Row 3: k3, yo, k to 3 stitches before first marker, sm, *k1, yo, k2tog, k1, ssk, yo, k1, sm, k2, yo, k2tog, k1, ssk, yo, k2, sm* repeat from * to * until 3 stitches remain, k3.
Row 4: k3, p to last 3 stitches, k3.
Row 5: k3, yo, k to 3 stitches before first marker, sm, *k1, yo, k2tog, k1, ssk, yo, k1, sm, k2, yo, k2tog, k1, ssk, yo, k2, sm* repeat from * to * until 3 stitches remain, k3.
Row 6: k3, p to last 3 stitches, k3.
Row 7: k3, yo, k to 3 stitches before first marker, sm, *k1, ssk, yo, k1, yo, k2tog, k1, sm, k2, ssk, yo, k1, yo, k2tog, k2, sm* repeat from * to * until 3 stitches remain, k3.
Row 8: k3, p to last 3 stitches, k3.
Row 9: k3, yo, k to 3 stitches before first marker, sm, *k1, ssk, yo, k1, yo, k2tog, k1, sm, k2, ssk, yo, k1, yo, k2tog, k2, sm* repeat from * to * until 3 stitches remain, k3.
Row 10: k3, p to last 3 stitches, k3.
Row 11: k3, yo, k to 3 stitches before first marker, sm, *k1, yo, k2tog, k1, ssk, yo, k1, sm, k2, yo, k2tog, k1, ssk, yo, k2, sm* repeat from * to * until 3 stitches remain, k3.
Row 12: k3, p to last 3 stitches, k3.
Repeat the Leaf Motif Section 4 more times (for a total of 5 repeats), alternating colors as follows:
- Repeat 1: MC (Chili Red)
- Repeat 2: CC1 (Saffron Orange)
- Repeat 3: MC (Chili Red)
- Repeat 4: CC1 (Saffron Orange)
- Repeat 5: MC (Chili Red)
When changing colors, do so at the beginning of a RS row. Simply drop the old color and start knitting with the new color, leaving a tail to weave in later. Do not cut the old color until you're sure you won't need it again.
Final Increase Section
This section adds more stitches to create the dramatic crescent curve and prepare for the border.
- Row 1 (RS): With MC, k3, yo, k to end.
- Row 2: k3, p to last 3 stitches, k3.
- Repeat Rows 1-2 until you have 90 stitches on the needle, ending with a WS row. This will take approximately 45 repeats (90 rows).
Border
The border adds a delicate, ruffled edge to the shawl, created by the repeated yarn overs.
- Row 1 (RS): k3, yo, k to end.
- Row 2: k3, p to last 3 stitches, k3.
- Repeat Rows 1-2 for 6 more rows (total 8 border rows). This will give you a lovely, slightly ruffled edge.
Bind Off (RS)
Bind off all stitches loosely. To ensure a stretchy edge that doesn't pucker, use a larger needle (e.g., US 10/6mm) for the bind off, or use a stretchy bind-off method like the "Jeny's Surprisingly Stretchy Bind Off."
Woven Accents
This is what makes the Chili Bloom truly unique – the golden veins woven through each leaf.
- Cut 12-inch lengths of CC2 (Golden Yellow). You'll need one for each leaf motif.
- Thread one length through a yarn needle.
- Starting from the wrong side, bring the needle up through the center of a leaf motif (the point where the decreases meet).
- Weave the yarn through the center of the leaf, going over and under the knit stitches in a straight line to create a subtle vein effect. Work from the base of the leaf to the tip.
- Bring the needle back down to the wrong side and tie off the ends securely.
- Repeat for each leaf motif across the shawl.
Finishing
- Weave in all loose ends using a yarn needle, being careful to match the color of the yarn you're weaving in.
- Block the shawl gently to shape. Soak it in lukewarm water with a mild wool wash for 20-30 minutes, then gently squeeze out excess water (do not wring).
- Lay the shawl flat on a clean towel and roll it up to remove more water.
- Pin the shawl out to its final dimensions on a blocking mat, paying special attention to the points of the leaves. The crescent shape should be smooth and even.
- Allow to dry completely before unpinning. This can take 24-48 hours depending on humidity.
Once dry, your Chili Bloom Crescent Shawl is ready to wear! The rich, fiery colors and textured leaf motifs make it a stunning accessory for autumn evenings, cozy gatherings, or as a thoughtful handmade gift. The soft, flowing silhouette drapes beautifully over the shoulders, and the golden woven accents catch the light with every movement. Enjoy your beautiful creation!