The Celestial Veil Shawl Free Pattern – A Knitted Tapestry of Moonlit Lace and Nebula Shades
The Celestial Veil Shawl Free Pattern – A Knitted Tapestry of Moonlit Lace and Nebula Shades
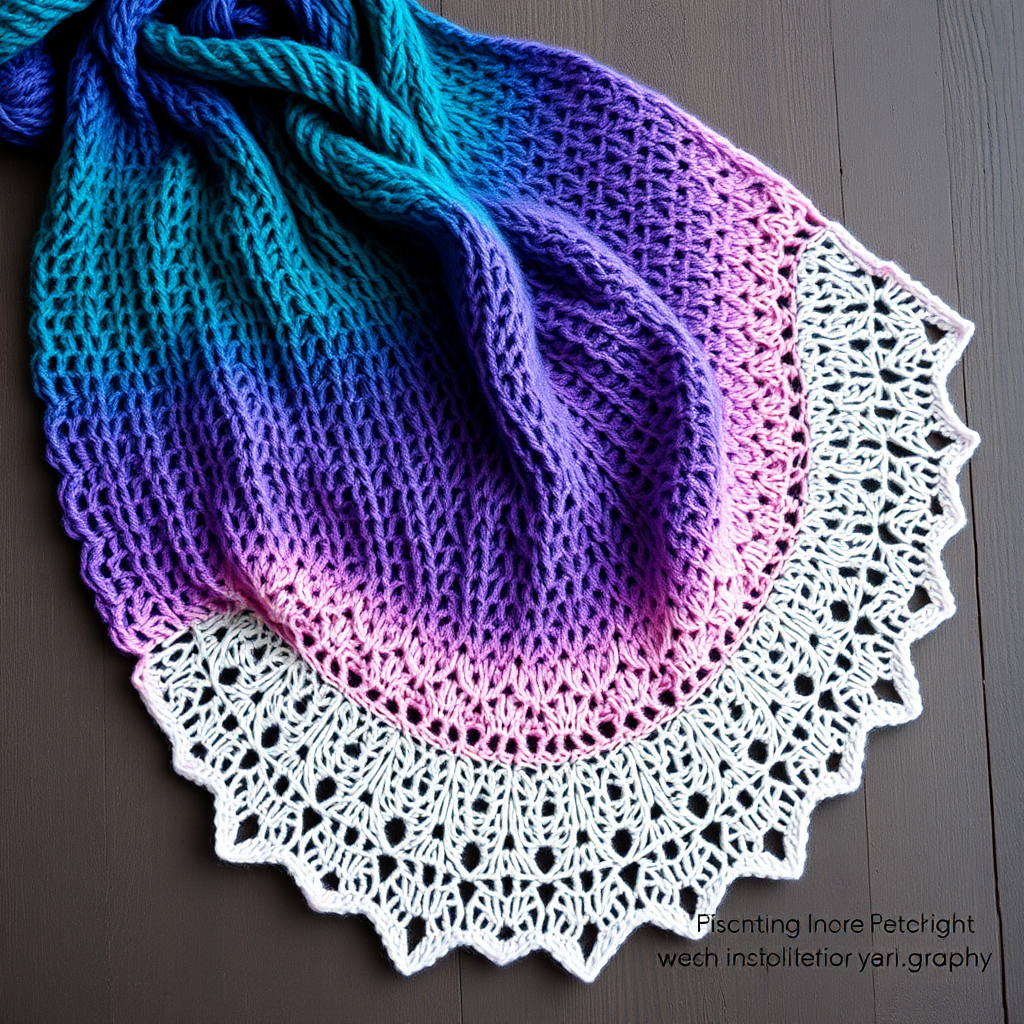
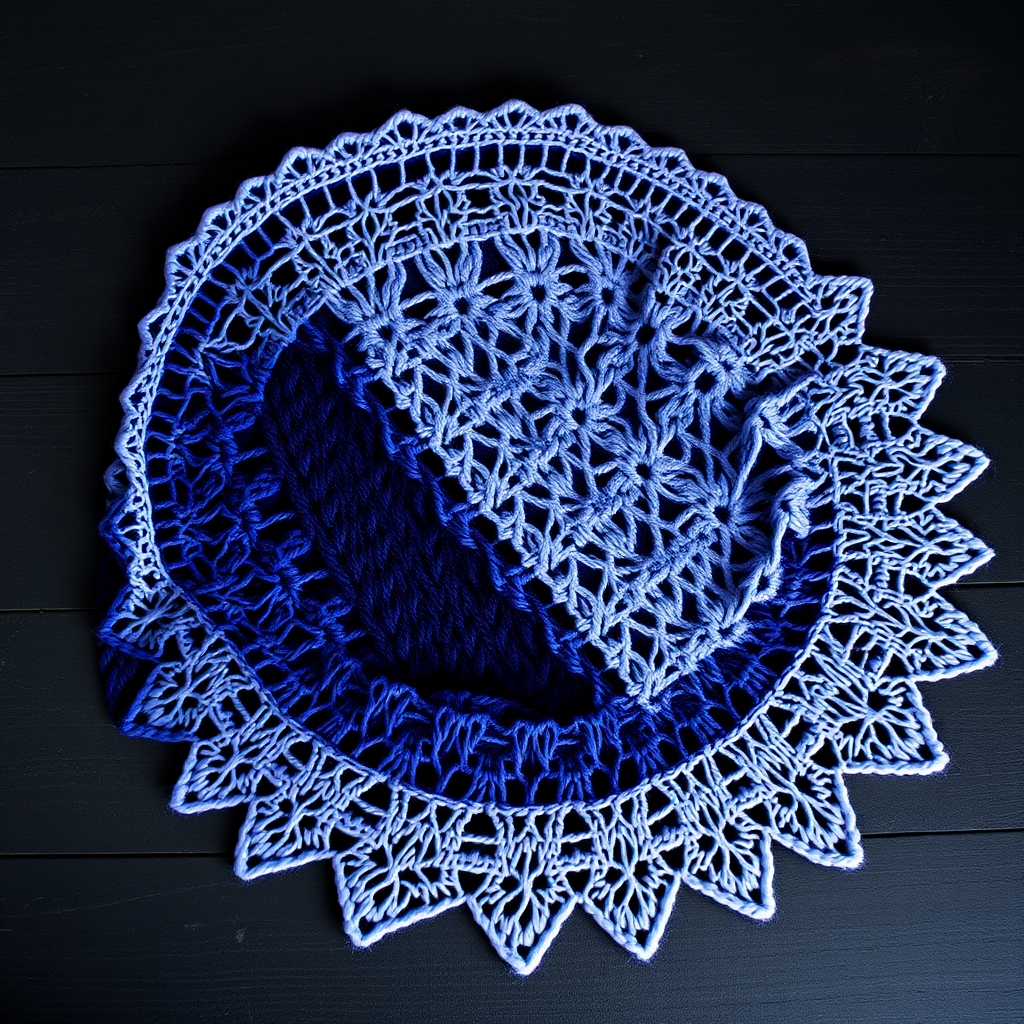
Wrap yourself in the cosmos with this ethereal crescent-shaped shawl, where drifting lace panels mimic the glow of distant galaxies. Knitted from a dreamy gradient of twilight blues and violet, it's a celestial embrace for cool evenings. This free knitting pattern is perfect for intermediate knitters who want to create a statement piece that feels both luxurious and wearable. The combination of a simple garter stitch border and an evolving lace pattern makes this project both meditative and rewarding.
Whether you're a seasoned knitter looking for a new challenge or a confident beginner ready to stretch your skills, the Celestial Veil offers a beautiful balance of structure and creativity. The gradient yarn does the heavy lifting for colorwork, allowing you to focus on the soothing rhythm of yarn overs and decreases. By the end, you'll have a stunning, one-of-a-kind shawl that drapes elegantly and shimmers like a starry night sky.
Materials Needed
Before you begin your celestial journey, gather the following materials. The quality of your yarn will greatly impact the final drape and glow of your shawl, so choose a soft, high-quality fingering weight yarn with good stitch definition.
- Yarn: Fingering weight yarn in a gradient set: 1 skein each of 'Midnight' (deep navy), 'Nebula' (violet), 'Stardust' (silver-grey), and 'Moonbeam' (pale lavender). Approximately 400g total. (Any fingering weight yarn with similar yardage will work; consider a merino-silk blend for extra halo and sheen.)
- Needle: US 6 (4.0 mm) circular knitting needle, 32-inch or longer. The long cord is essential to accommodate the growing number of stitches.
- Notions: Stitch marker (for center spine), tapestry needle for weaving in ends, blocking mats and pins (for the final shaping).
- Gauge: 20 stitches and 28 rows = 4 inches in stockinette stitch after blocking. Gauge is not critical for this project, but a consistent tension will ensure even lace and a balanced shape.
Step-by-Step Instructions
This shawl is worked from the top center down, increasing at the edges and center to form a crescent shape. The lace pattern is a simple repeat of yarn overs and decreases, perfect for intermediate knitters. Take your time with the setup rows, as they establish the foundation for the entire shawl.
Abbreviations
- k = knit
- p = purl
- yo = yarn over
- k2tog = knit two together (right-leaning decrease)
- ssk = slip slip knit (left-leaning decrease)
- pm = place marker
- sm = slip marker
- RS = right side
- WS = wrong side
Setup
Cast on 3 stitches. Knit 6 rows (this creates a small garter stitch tab). Now, rotate the work 90 degrees clockwise: pick up and knit 3 stitches along the side edge of the tab. Rotate again and pick up and knit 3 stitches from the cast-on edge. You should now have 9 stitches on your needle. This clever technique creates a seamless, reinforced starting point for the shawl's top edge.
Garter Border & Center Spine
Row 1 (RS): k3, yo, k1, yo, pm (center), k1, yo, k1, yo, k3. (13 stitches)
Explanation: The first and last 3 stitches are always knit to form the garter border. The yarn overs create the increases at the edges and on either side of the center marker.
Row 2 (WS): k3, purl to last 3 stitches, k3.
Explanation: The border stitches are knit on every row, while the interior is purled on the wrong side to create stockinette stitch.
Row 3 (RS): k3, yo, knit to marker, yo, sm, k1, yo, knit to last 3 stitches, yo, k3. (17 stitches)
Explanation: This row increases 4 stitches: one at each edge and one on each side of the center stitch.
Row 4 (WS): k3, purl to last 3 stitches, k3.
Repeat Rows 3 and 4 until you have 45 stitches, ending with a WS row. This forms the garter stitch border and the beginning of the center spine. The center stitch (between the markers) will become the spine of your crescent shape.
Begin Lace Section
Now the magic begins. The lace pattern is a 4-row repeat that combines increases with eyelet columns. The yarn over/decrease columns will gradually shift outward, creating the illusion of drifting stars and nebula clouds.
Row 1 (RS): k3, yo, *k2tog, yo* repeat from * to * until 2 stitches before marker, k2, yo, sm, k1, yo, k2, *yo, ssk* repeat from * to * until 3 stitches before end, yo, k3. (Increase 4 stitches)
Explanation: This row creates the lace pattern. On the left side of the center, you're working k2tog (right-leaning decreases) paired with yarn overs. On the right side, you're working ssk (left-leaning decreases) paired with yarn overs. This symmetrical pairing keeps the lace balanced.
Row 2 (WS): k3, purl to last 3 stitches, k3.
Row 3 (RS): k3, yo, knit to marker, yo, sm, k1, yo, knit to last 3 stitches, yo, k3. (Increase 4 stitches)
Explanation: This is a plain increase row, identical to the setup rows. It gives the lace room to breathe and prevents the fabric from puckering.
Row 4 (WS): k3, purl to last 3 stitches, k3.
Repeat these 4 rows, alternating the lace pattern. You'll notice that the yarn over and decrease columns shift outward each repeat, creating a beautiful, organic diamond pattern. This is the heart of the design – trust the process and let the pattern unfold.
Color Transitions
After every 8 rows (i.e., two full lace repeats), switch to the next gradient color in this order: Midnight, Nebula, Stardust, Moonbeam. Then repeat from the beginning if more length is desired. To make a seamless transition, join the new yarn at the beginning of a RS row, leaving a 6-inch tail to weave in later. The gradient will naturally create the celestial color shifts.
Finishing
Continue until the shawl measures approximately 60 inches across the top edge, ending with a WS row. Bind off loosely on the RS with a knit stitch. A loose bind-off is crucial to maintain the stretch and drape of the lace edge. Weave in all ends with your tapestry needle, being careful not to pull too tightly.
Blocking – The Final Transformation
Blocking is where the Celestial Veil truly comes to life. Soak the shawl in lukewarm water with a gentle wool wash for 20-30 minutes. Gently squeeze out excess water (never wring or twist). Lay the shawl on a clean towel and roll it up to remove more moisture. Then, pin it out on blocking mats to the desired dimensions: pin the top edge straight and the bottom edge into gentle points, stretching the lace to open up the eyelets. Allow it to dry completely, which may take 24-48 hours. The aggressive blocking will transform the fabric from a crumpled mass into a delicate, starry tapestry.
Once dry, unpin and admire your handiwork. The Celestial Veil is now ready to drape over your shoulders, a wearable piece of art that captures the mystery and beauty of the night sky. Enjoy your cosmic creation!