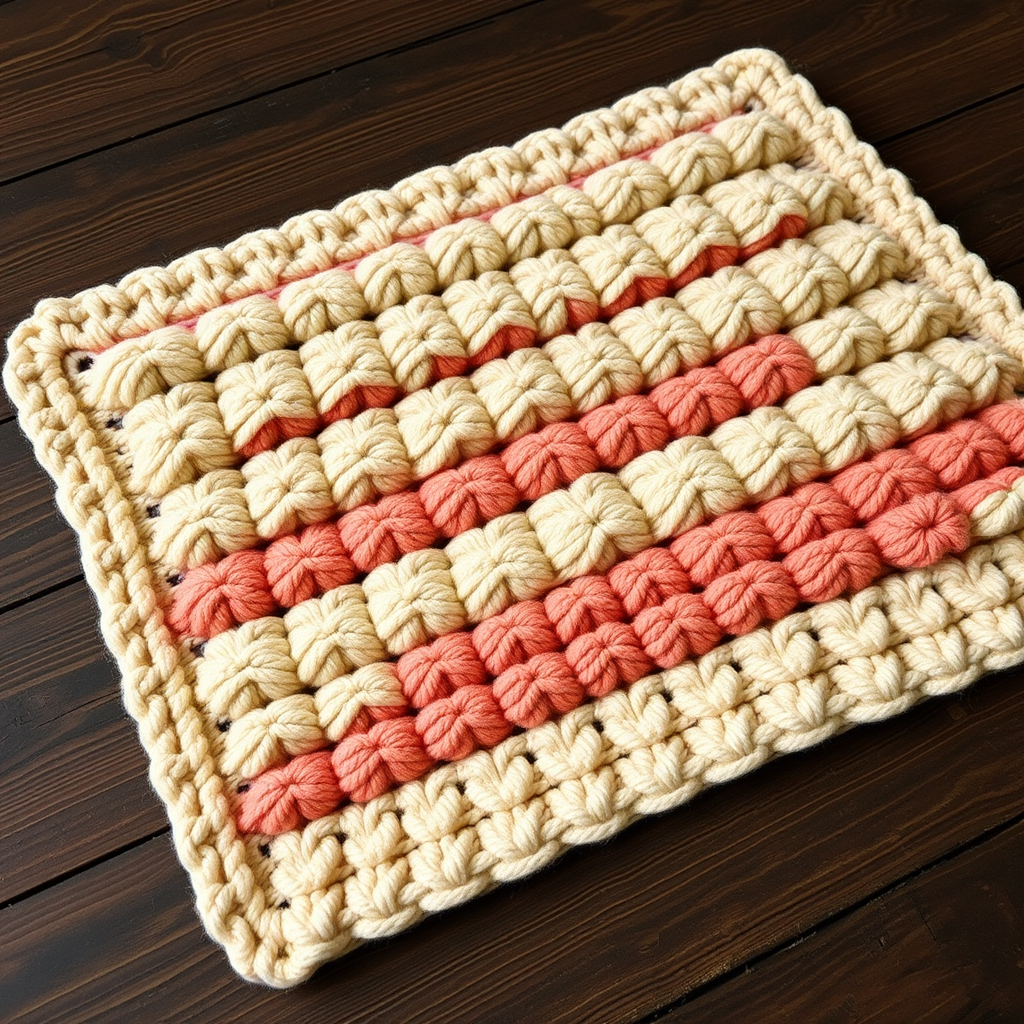
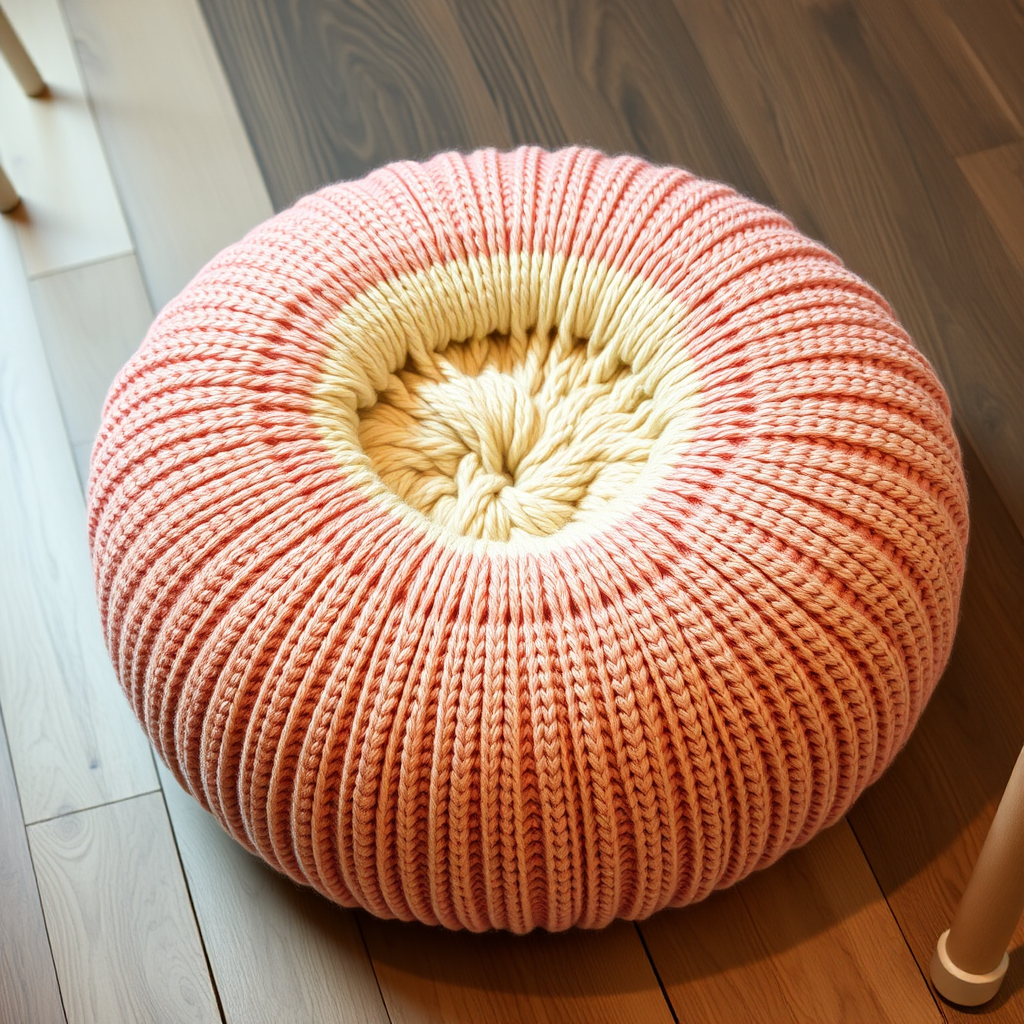
The Aurora Dusk Throw Pillow Free Pattern – A Knitted Ombre Cable Cushion with Faux Fur Accents

The Aurora Dusk Throw Pillow: A Free Knitted Ombre Cable Cushion Pattern
Imagine the serene transition of a twilight sky—deep indigo melting into violet, then softening into a blush pink horizon—captured in a plush, handcrafted pillow. The Aurora Dusk Throw Pillow is more than just a cushion; it's a tactile centerpiece that brings warmth, texture, and a modern gradient aesthetic to any sofa, armchair, or reading nook. This free knitting pattern combines classic cable techniques with a contemporary ombre color palette, finished with a sumptuous faux fur trim for an irresistible touch of luxury. Whether you're a seasoned knitter looking for a satisfying weekend project or a confident beginner ready to tackle cables, this pattern is designed to guide you through every step to create a stunning, cozy accent for your home.
Materials Needed
Before you begin, gather the following materials to ensure a smooth and enjoyable knitting experience. This project is worked in two identical panels, making it highly portable and easy to manage.
- Yarn: Worsted weight yarn in three shades:
- Deep Indigo (approx. 100g)
- Twilight Purple (approx. 100g)
- Soft Blush Pink (approx. 100g)
- Faux Fur Yarn: A small amount (approx. 50g) of fluffy, white faux fur yarn for the trim.
- Needles: US 8 (5mm) circular knitting needles with a 24-inch cable (or straight needles if preferred).
- Cable Needle: A small cable needle (or double-pointed needle) for creating the cable twists.
- Tapestry Needle: For seaming the panels and weaving in ends.
- Pillow Form: A 14-inch square pillow insert.
- Crochet Hook: A size H/8 (5mm) crochet hook for the faux fur trim (optional, but recommended).
Gauge
To achieve the correct finished dimensions, it's crucial to check your gauge. 18 stitches and 24 rows = 4 inches in stockinette stitch (knit on right side, purl on wrong side) using US 8 (5mm) needles. Always knit a swatch first to ensure your tension matches, as this will affect the final size and drape of your pillow.
Step-by-Step Instructions
This pillow is knitted flat in two identical panels, which are then seamed together. The pattern uses a combination of ribbing, stockinette, and a classic cable motif. Follow these detailed instructions carefully, and you'll have a beautiful, professional-looking cushion in no time.
Panel (Make 2)
Cast On: With your deep indigo yarn, cast on 80 stitches using your preferred method (long-tail cast on is recommended for a sturdy edge).
Bottom Border (Rows 1-10): Work in k1, p1 ribbing for 10 rows. This creates a neat, structured base for the pillow. To do this:
- Row 1 (Right Side): *K1, P1; repeat from * to end of row.
- Row 2 (Wrong Side): *P1, K1; repeat from * to end of row.
- Repeat Rows 1 and 2 until you have completed 10 rows total. End with a wrong-side row.
Transition to Twilight Purple: Cut the deep indigo yarn, leaving a 6-inch tail. Join the twilight purple yarn.
Stockinette Base (Rows 11-12):
- Row 11 (Right Side): Knit across all 80 stitches.
- Row 12 (Wrong Side): Purl across all 80 stitches.
Cable Pattern (Rows 13-20): Now you'll begin the intricate cable pattern. This 8-row repeat creates the beautiful, twisted texture. Pay close attention to the cable instructions.
- Row 13 (Right Side): K6, *C4F (slip 2 stitches to cable needle, hold in front, k2, then k2 from cable needle), K8; repeat from * to last 6 stitches, K6.
- Row 14 (Wrong Side): Purl across all stitches.
- Row 15 (Right Side): Knit across all stitches.
- Row 16 (Wrong Side): Purl across all stitches.
- Row 17 (Right Side): K2, *C4B (slip 2 stitches to cable needle, hold in back, k2, then k2 from cable needle), K8; repeat from * to last 2 stitches, K2.
- Row 18 (Wrong Side): Purl across all stitches.
- Row 19 (Right Side): Knit across all stitches.
- Row 20 (Wrong Side): Purl across all stitches.
Repeat the Cable Pattern: Continue repeating Rows 13-20 until the panel measures approximately 12 inches from the cast-on edge. Important: Ensure you end with a purl row (Row 14, 16, 18, or 20) so that the right side is facing you for the next section. This will create a clean transition to the next color.
Transition to Soft Blush Pink: Cut the twilight purple yarn, leaving a 6-inch tail. Join the soft blush pink yarn.
Stockinette Section (Rows 25-34): Work in stockinette stitch for 10 rows. This means:
- Row 25 (Right Side): Knit across.
- Row 26 (Wrong Side): Purl across.
- Repeat these two rows until you have completed 10 rows of stockinette (ending with a purl row).
Top Border (Rows 35-44): Work in k1, p1 ribbing for 10 rows, just like the bottom border.
- Row 35 (Right Side): *K1, P1; repeat from * to end.
- Row 36 (Wrong Side): *P1, K1; repeat from * to end.
- Repeat these two rows until you have completed 10 rows of ribbing.
Bind Off: Bind off loosely in pattern (knit the knits and purl the purls as you bind off). This prevents the edge from being too tight. Cut the yarn, leaving a long tail (at least 12 inches) for seaming.
Repeat: Make a second panel exactly the same as the first.
Finishing and Assembly
Now that both panels are complete, it's time to bring your pillow to life. Proper blocking and seaming are key to a polished, professional finish.
- Block the Panels: To ensure both panels are the same size and the cables lie flat, wet block them. Soak the panels in lukewarm water with a gentle wool wash, then gently squeeze out excess water (do not wring). Lay them flat on a towel, roll up to remove more water, then pin them out to the same dimensions—approximately 14 inches square. Allow them to dry completely.
- Seam Three Sides: Once dry, place the two panels with right sides together. Using a tapestry needle and a long strand of yarn (use the tail from the bind-off or a new piece of matching yarn), sew three sides together using the mattress stitch. This invisible seaming technique creates a neat, flat join. Leave one side open for inserting the pillow form.
- Insert Pillow Form: Carefully turn the pillow cover right side out. Gently insert your 14-inch pillow form into the opening, making sure the corners are filled out nicely.
- Sew the Fourth Side: Fold the raw edges of the open side inward and sew it closed using the mattress stitch or a whip stitch. Ensure the seam is secure and neat.
- Add the Faux Fur Trim: This is the finishing touch that makes the pillow truly special. Using your crochet hook and the faux fur yarn, work a round of single crochet around the entire outer edge of the pillow. To keep the corners flat and neat, work 2-3 single crochet stitches into each corner. Join with a slip stitch to the first stitch and fasten off. Weave in this end securely.
- Weave in All Ends: Use your tapestry needle to weave in any remaining loose ends from the color changes and seams, hiding them within the fabric of the pillow.
Your Aurora Dusk Throw Pillow is now complete! Place it on your favorite chair or sofa, and enjoy the cozy, handcrafted elegance it brings to your space. The combination of the ombre gradient, rich cables, and plush fur trim makes this a truly unique and beautiful piece you'll be proud to say you made yourself.