Sunset Daisy Granny Square Tote Free Pattern: A Beginner Crochet Bag

Sunset Daisy Granny Square Tote: A Beginner Crochet Bag
Introduction
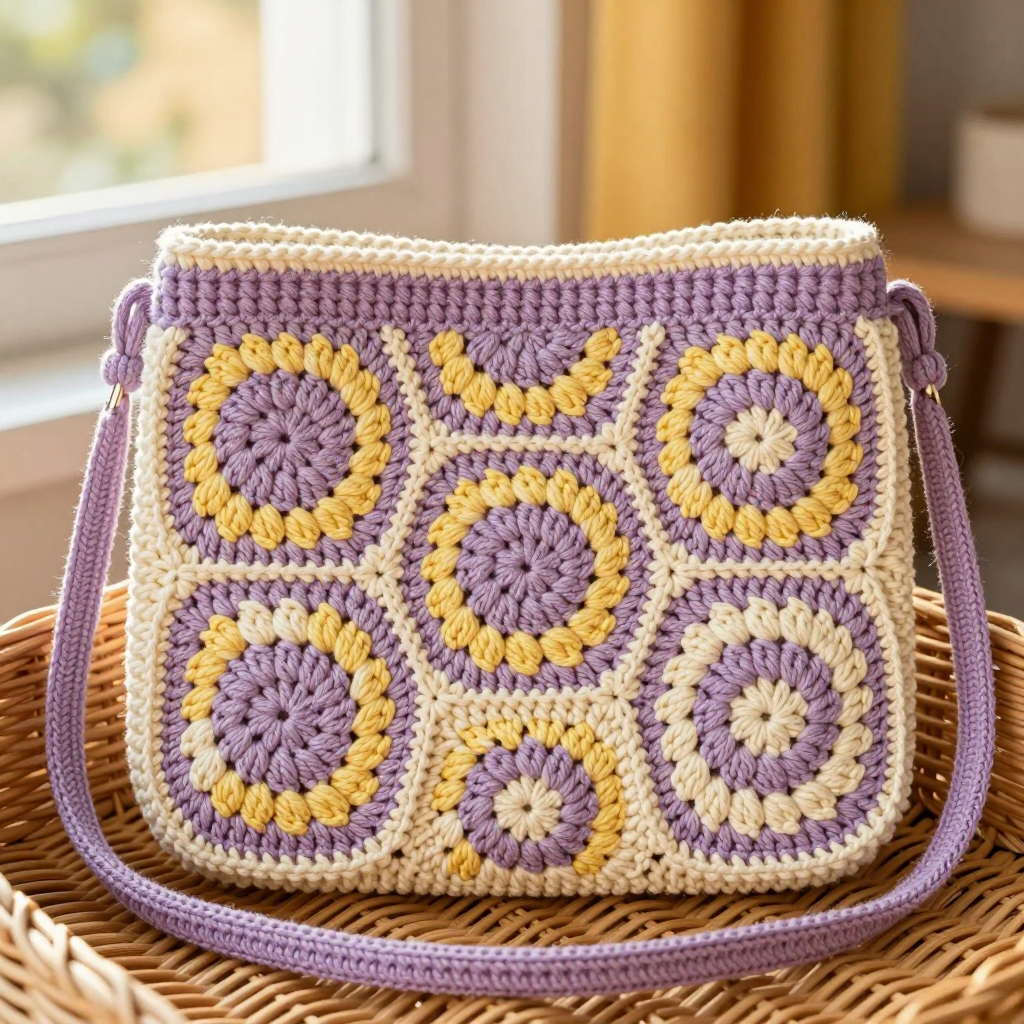
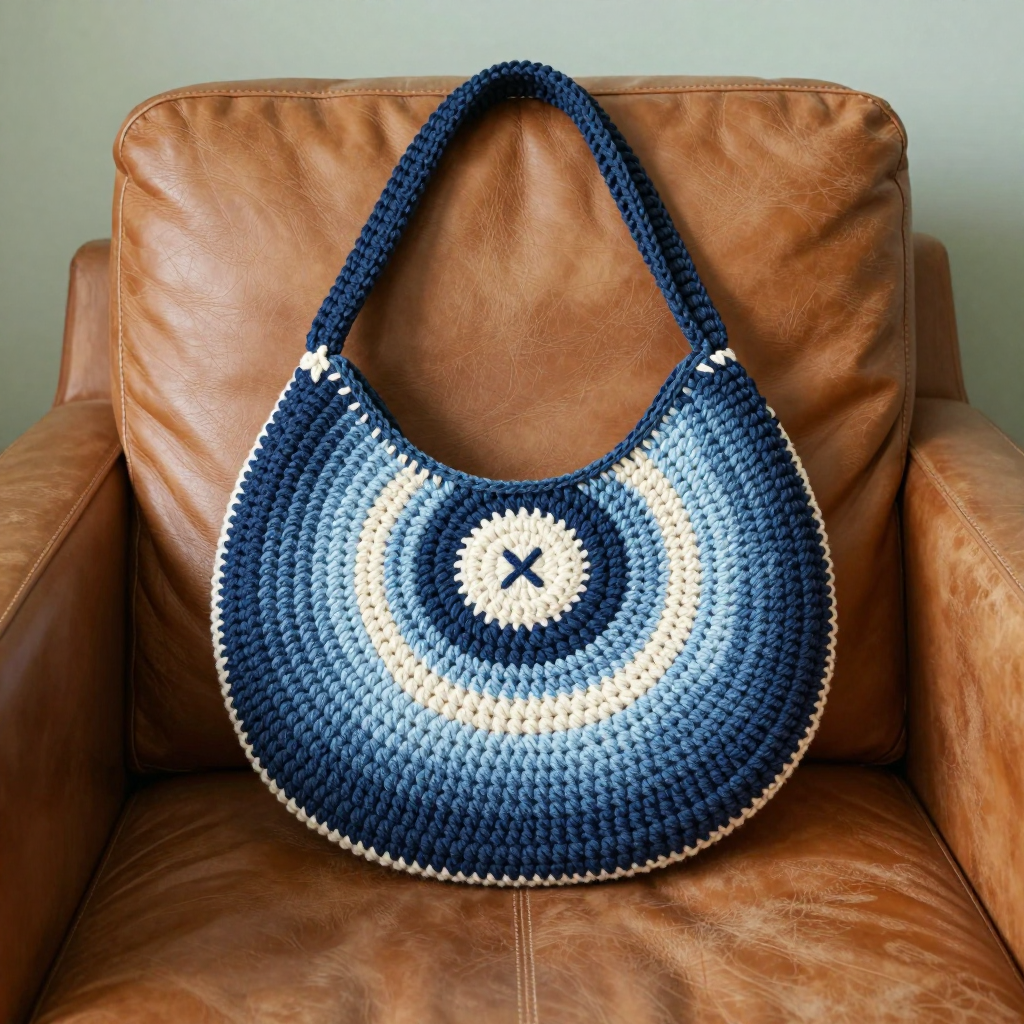
If you have never held a crochet hook before, this Sunset Daisy Granny Square Tote is the perfect first real project for you. It is built from just four classic granny squares — the same simple, repeating stitch pattern that beginners have learned on for generations — arranged in a tidy 2x2 grid. Each square glows with a sunset-ombre colorway, moving from deep coral at the center out through orange and golden yellow to a soft peach edge, and the front-left square is crowned with a little white daisy with a gold center. The finished bag is about 10 inches wide and 10 inches tall, with two flat coral handles that make the whole tote roughly 18 inches tall when carried. It feels sturdy but soft, looks like a cheerful little piece of Y2K sunshine, and is small enough to finish in a weekend of happy crocheting.
Materials Needed
- Yarn: Worsted weight (category 4) acrylic or cotton blend, approximately 380–420 yards total:
- Color A (deep coral/terracotta): 90 yards
- Color B (orange): 90 yards
- Color C (golden yellow): 90 yards
- Color D (soft peach): 90 yards
- White: approximately 15 yards (daisy petals)
- Small amount of gold: daisy center
- Crochet hook: G/6 (4.0 mm)
- Stitch markers: at least 4 (to mark corners and the first stitch of each round)
- Tapestry needle: a blunt-tipped needle with a large eye, for seaming and weaving in ends
- Scissors
- Finished size: Bag body 10 in wide x 10 in tall (25.4 x 25.4 cm); handles approx. 14 in long; total bag height with handles approx. 18 in
Abbreviations and Beginner Glossary
- ch – chain. Make a loop of yarn over the hook and pull it through the loop already on your hook. This creates a small link; a row of chains is your starting foundation.
- sl st – slip stitch. Insert your hook into the stitch, yarn over, and pull that loop straight through both the stitch and the loop on your hook at the same time. It makes an almost invisible joining stitch.
- sc – single crochet. Insert hook into stitch, yarn over, pull up a loop (2 loops on hook), yarn over again, pull through both loops. One short, firm stitch.
- dc – double crochet. Yarn over first, insert hook into stitch, yarn over, pull up a loop (3 loops on hook), yarn over, pull through 2 loops, yarn over, pull through last 2 loops. A taller stitch than sc.
- sp – space. The little gap created under a chain; you work your next stitches into that gap rather than into a stitch.
- ch-1 sp / ch-2 sp – a space made by 1 or 2 chains in the previous round.
- st / sts – stitch / stitches.
- beg – beginning.
- rep – repeat. Do the instruction again the number of times stated.
- rnd – round. One complete circuit around a square or circle.
- tog – together.
- magic ring – an adjustable loop of yarn you crochet into, then pull tight so the center closes with no hole. (If it feels tricky, ch 4 and join with a sl st into a ring instead.)
- fasten off – cut the yarn a few inches from your work and pull the tail all the way through the last loop to lock it.
- whipstitch – a seaming stitch: bring the needle up through both layers, then over the edge and back up, making small diagonal stitches that look like a spiral of whip marks.
Gauge
Gauge: One granny square worked through 4 rounds = 5 x 5 inches (12.7 x 12.7 cm). 4 dc = 1 inch, and 2 dc rows = 1 inch.
Gauge matters because it is how you make sure your finished bag comes out the size promised. If your stitches are looser than the designer's, your squares will grow bigger and the bag will be floppy and oversized; if tighter, the bag will shrink. To check, crochet one complete 4-round square exactly as written below, then lay it flat and measure across the middle. If it is bigger than 5 inches, try again with a smaller hook (H/5, 3.75 mm); if smaller, try a larger hook (H/8, 5.0 mm). One test square is all it takes — and you can use it as one of your four bag squares!
Beginner Tips Before You Start
- Use stitch markers. Place one in the top of your beginning ch-3 each round so you always know where to join, and one in each corner ch-2 space so your square stays even.
- Do not pull your yarn too tight. Tension should feel relaxed — if your hook squeaks or your hand aches, loosen up. Tight stitches make a stiff, small bag.
- Count your clusters every round. Each round adds one 3-dc cluster per side, so the counts in parentheses below are your safety net.
- Keep your color changes tidy. Fasten off each color completely and join the new color with a sl st in the corner space — no need to carry yarn.
- Make all four squares before joining. It is easier to match sizes when you can lay them all side by side.
- Weave in ends as you go. It stops tangles and means less finishing at the end.
Step-by-Step Instructions
Granny Square (make 4)
Work every square in this color sequence: Round 1 Color A (deep coral), Round 2 Color B (orange), Round 3 Color C (golden yellow), Round 4 Color D (soft peach). The ch 3 at the beginning of each round counts as the first dc.
With Color A, make a magic ring (or ch 4 and join with a sl st to form a ring).
Round 1: Ch 3 (counts as first dc), 2 dc into ring, [ch 2, 3 dc into ring] 3 times, ch 2, join with sl st to top of beginning ch-3. Fasten off Color A. (12 dc, 4 ch-2 sps)
Round 2: Join Color B with sl st in any ch-2 sp. Ch 3, 2 dc in same sp, ch 2, 3 dc in same sp (first corner made), *ch 1, [3 dc, ch 2, 3 dc] in next ch-2 sp; rep from * around, ch 1, join with sl st to top of beginning ch-3. Fasten off Color B. (24 dc, 4 ch-2 sps, 4 ch-1 sps)
Round 3: Join Color C with sl st in any ch-2 sp. Ch 3, 2 dc in same sp, ch 2, 3 dc in same sp, *ch 1, 3 dc in next ch-1 sp, ch 1, [3 dc, ch 2, 3 dc] in next ch-2 sp; rep from * around, ch 1, join with sl st to top of beginning ch-3. Fasten off Color C. (36 dc, 4 ch-2 sps, 8 ch-1 sps)
Round 4: Join Color D with sl st in any ch-2 sp. Ch 3, 2 dc in same sp, ch 2, 3 dc in same sp, *[ch 1, 3 dc in next ch-1 sp] twice, ch 1, [3 dc, ch 2, 3 dc] in next ch-2 sp; rep from * around, ch 1, join with sl st to top of beginning ch-3. Fasten off Color D. (48 dc, 4 ch-2 sps, 12 ch-1 sps)
Each square should measure about 5 x 5 inches. Make 4 squares total.
Daisy Applique (make 1)
With white yarn, make a magic ring.
Round 1: Ch 1, 10 sc into ring, join with sl st to first sc. (10 sc)
Round 2 (petals): *Ch 3, sl st in next sc; rep from * around. (10 petals) Fasten off white, leaving a 6-inch tail for sewing.
Daisy center: With gold yarn, make a magic ring, ch 1, 6 sc into ring, join with sl st to first sc. Fasten off, leaving a 6-inch tail. (6 sc)
Sew the gold center to the center of the white daisy. Set aside.
Joining the Squares
Arrange the 4 squares in a 2x2 grid. The front-left square will hold the daisy. Join with Color D (soft peach) using the whipstitch method: place two squares right sides together, thread your tapestry needle, and whipstitch along one edge, working through both loops of each stitch. Repeat for all vertical and horizontal seams to form the 2x2 grid. The bag body now measures about 10 x 10 inches.
Bag Border
With Color D, join yarn at any corner of the assembled bag body.
Round 1: Ch 1, sc evenly around the entire outer edge, working 1 sc in each dc and 1 sc in each ch-1 sp, and 3 sc in each corner ch-2 sp. Join with sl st to first sc. (Approx. 100 sc)
Round 2: Ch 1, sc in each sc around, 3 sc in each corner. Join with sl st to first sc. Fasten off. Weave in ends.
Flat Crochet Handles (make 2)
With Color A (deep coral), ch 41.
Row 1: Sc in 2nd ch from hook and in each ch across. (40 sc)
Rows 2–3: Ch 1, turn, sc in each sc across. (40 sc)
Fasten off, leaving a long tail for sewing. Each handle measures about 14 inches long x 1 inch wide.
Attaching Handles and Daisy
Fold each handle in half to find its center. Measure 2 inches in from each side edge along the top of the bag. Pin the handle ends to the inside top edge of the bag, about 2 inches from each side seam, with the handle ends overlapping the bag border by 1 inch. Sew securely with matching yarn using a whipstitch, going through all layers. Repeat for the second handle on the opposite side.
Center the daisy applique on the front-left square and pin in place. Using the white tail, sew the daisy to the square with small whipstitches around the outer edge of the petals, catching only the surface of the square. Secure the gold center with a few stitches if needed.
Assembly and Finishing
Weave in all remaining ends on the wrong side of the bag, threading each tail through the back of several stitches and trimming close. Block the bag lightly with steam: hold a steam iron an inch or two above the fabric (never press it down), let the steam relax the squares and flatten the handles, then shape the bag by hand and allow it to dry completely. If you would like a lining (not included in the yarn amounts), cut a fabric rectangle 11 x 22 inches, fold it in half, sew the side seams, insert it into the bag, and hand-sew the top edge to the inside of the bag border.
Pro Tips and Variations
- Change the colorway: Swap the sunset palette for ocean blues, candy pinks, or a single solid color with a contrasting border — the granny square looks wonderful in any combination.
- Resize the bag: Add a fifth round to each square (about 6 x 6 inches) for a larger tote, or work only 3 rounds for a small purse. Adjust yarn amounts accordingly.
- Substitute yarn: Cotton gives a crisp, sturdy bag; acrylic is softer and more economical. Just check your gauge square again, since fiber changes stitch size.
- Try a sc join: Instead of whipstitching, join squares with a single crochet seam for a raised, textured ridge along each seam.