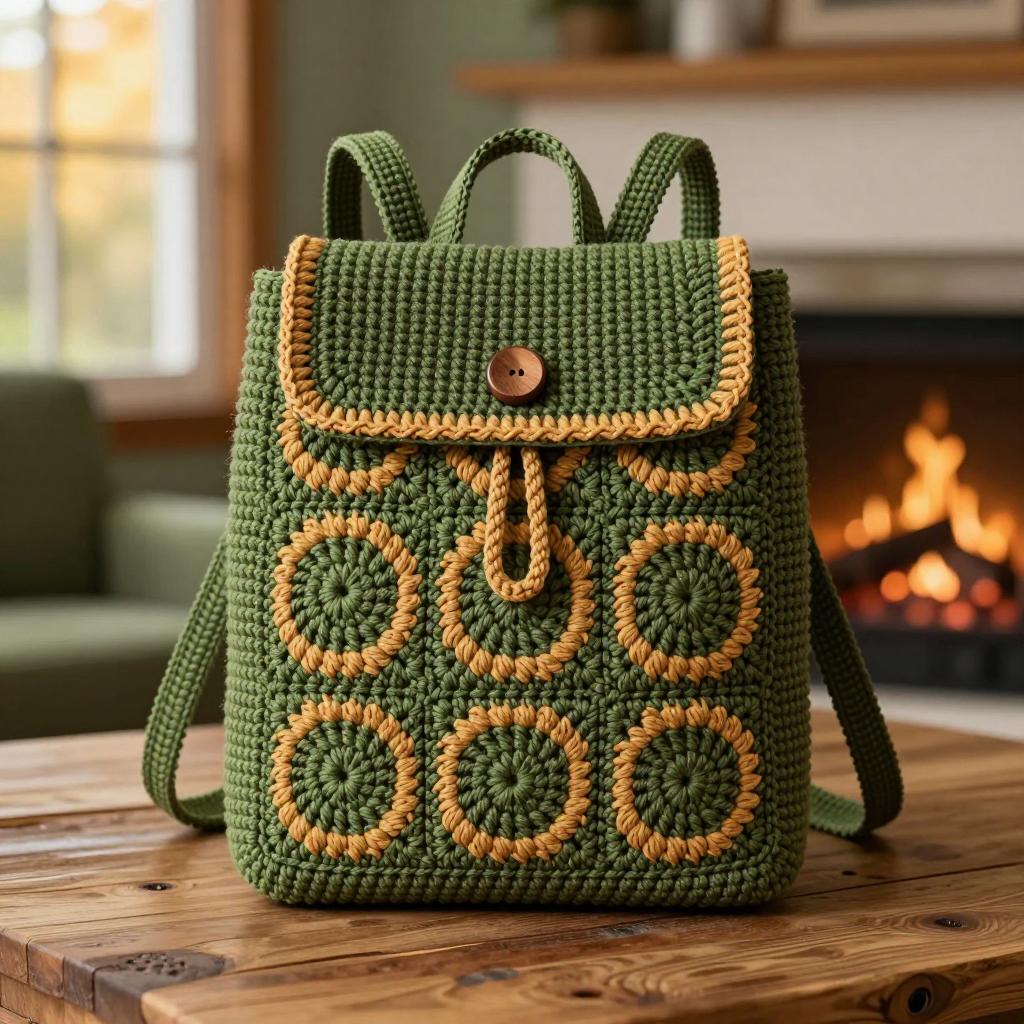
Olive Branch Linen Tote Free Crochet Pattern

Olive Branch Linen Tote: A Free Crochet Pattern
Introduction
Welcome to the Olive Branch Linen Tote, a slim, flat-woven drawstring bag with a Mediterranean summer soul. This project is perfect for a confident beginner who has mastered the basic single crochet and is ready to try a beautiful textured stitch and a little appliqué work. The finished bag is a simple rectangle, 12 inches wide by 15 inches tall, worked in a woven-looking linen stitch that gives it a soft, matte, fabric-like surface in a muted olive green. A cream crocheted olive branch and a tiny dark brown bead cluster are stitched onto the front, and a matching drawstring closes the top. The result is a lightweight, elegant tote that feels like a summer market bag and looks like a boutique find.
Materials Needed
- Yarn: Worsted weight (category 4) cotton-linen blend. Approximately 220 yards olive green (MC), 30 yards cream (CC), and 5 yards dark brown (CB).
- Main hook: 5.0 mm (US H-8) crochet hook.
- Small hook: 3.5 mm (US E-4) crochet hook for the appliqué and bead cluster.
- Stitch markers (at least 4).
- Tapestry needle (blunt tip, large eye) for seaming and weaving in ends.
- Scissors.
- 2 small buttons (optional, for the drawstring ends).
- Safety pin (to thread the drawstring).
- Finished size: 12 inches wide x 15 inches tall (flat, before seaming).
Abbreviations and Beginner Glossary
- ch – chain. Wrap the yarn over your hook and pull it through the loop on your hook. This makes one chain.
- sc – single crochet. Insert your hook into the stitch, yarn over, pull up a loop (2 loops on hook), yarn over again, pull through both loops. One single crochet made.
- sl st – slip stitch. Insert hook into stitch, yarn over, pull through both the stitch and the loop on your hook at the same time. Creates a nearly invisible join.
- hdc – half double crochet. Yarn over, insert hook into stitch, yarn over, pull up a loop (3 loops on hook), yarn over, pull through all 3 loops.
- dc – double crochet. Yarn over, insert hook into stitch, yarn over, pull up a loop (3 loops on hook), yarn over, pull through 2 loops, yarn over, pull through remaining 2 loops.
- sc2tog – single crochet 2 together (a decrease). Insert hook into first stitch, pull up a loop, insert hook into next stitch, pull up a loop (3 loops on hook), yarn over, pull through all 3 loops. Two stitches become one.
- st(s) – stitch(es).
- sp – space. The little gap created by a chain.
- RS – right side. The front, public face of your work.
- WS – wrong side. The back, hidden face of your work.
- MC – main color (olive green).
- CC – contrast color (cream).
- CB – bead color (dark brown).
- Magic ring – an adjustable loop you crochet into, then pull tight to close the center hole.
Gauge
16 sc x 18 rows = 4 inches in linen stitch (sc, ch 1) with the 5.0 mm hook.
Gauge matters because it controls the final size of your bag. If your stitches are looser than the pattern, your tote will come out larger and floppier; if tighter, it will be smaller and stiffer. To make a gauge swatch, chain 25, then work linen stitch (see instructions below) for about 20 rows. Lay the swatch flat, place a ruler across the middle, and count how many single crochet stitches fit in 4 inches. If you have more than 16, switch to a larger hook; if fewer, switch to a smaller hook. Always check gauge before starting the body.
Beginner Tips Before You Start
- Count your stitches every row. Linen stitch alternates single crochet and chain-1 spaces, so it is easy to lose your place. You should always have 25 single crochets and 24 chain-1 spaces.
- Use stitch markers. Place one in the first stitch and one in the last stitch of each row so you never accidentally skip an edge stitch.
- Do not pull the yarn too tight. Linen stitch needs a relaxed tension so the chain-1 spaces stay open and the woven texture shows. Let the yarn flow.
- Work the chain-1 spaces, not the chains. On Row 2 and beyond, your single crochet goes into the single crochet of the row below, and you skip over the chain-1 space. This is what creates the woven look.
- Keep your turning chain loose. The ch 1 at the start of each row is a turning chain only; it does not count as a stitch.
- Block before you sew. Blocking the rectangle first makes the appliqué placement neat and even.
Step-by-Step Instructions
Linen Stitch (Worked Flat, Odd Number of Stitches)
Row 1 (RS): 1 sc in first st, *ch 1, skip next st, 1 sc in next st; repeat from * to end.
Row 2: Ch 1, turn, 1 sc in first sc, *ch 1, skip next ch-1 sp, 1 sc in next sc; repeat from * to end.
Repeat Row 2 for the pattern. Each row alternates single crochet and chain-1 spaces, creating a woven linen texture.
Body (Make 1 Rectangle)
With MC and the 5.0 mm hook, ch 49.
Row 1 (RS): 1 sc in 2nd ch from hook, *ch 1, skip next ch, 1 sc in next ch; repeat from * across to last ch, 1 sc in last ch. (25 sc, 24 ch-1 sps)
Row 2: Ch 1, turn, 1 sc in first sc, *ch 1, skip next ch-1 sp, 1 sc in next sc; repeat from * across. (25 sc, 24 ch-1 sps)
Rows 3–68: Repeat Row 2. (25 sc, 24 ch-1 sps)
Piece measures approximately 12 inches wide x 15 inches tall. Do not fasten off; proceed to the edging.
Edging
Round 1: Ch 1, work 1 sc evenly around the entire perimeter, placing 1 sc in each row-end along the sides and 1 sc in each stitch along the top and bottom; join with a sl st to the first sc. Fasten off and weave in ends.
Drawstring Channel
Fold the top edge (the last 6 rows) to the wrong side and whipstitch it in place, leaving a 1-inch opening at each side for the drawstring. Alternatively, work a row of sc through both layers at the fold line to create the channel.
Drawstring (Make 1)
With MC and the 5.0 mm hook, ch 90.
Row 1: 1 sc in 2nd ch from hook and in each ch across. (89 sc) Fasten off.
Thread the cord through the channel using a safety pin, exiting through both openings. Knot the ends and add small buttons if desired.
Olive Branch Appliqué (Make 1)
With CC and the 3.5 mm hook.
Stem: Ch 21.
Row 1: 1 sc in 2nd ch from hook and in each ch across. (20 sc) Fasten off, leaving a 10-inch tail.
Leaf A (large): Ch 9.
Row 1: 1 sc in 2nd ch from hook, 1 hdc in next ch, 1 dc in next 3 ch, 1 hdc in next ch, 1 sc in next ch, 1 sl st in last ch. (8 sts) Fasten off, leaving a 6-inch tail.
Leaf B (medium): Ch 7.
Row 1: 1 sc in 2nd ch from hook, 1 hdc in next ch, 1 dc in next 2 ch, 1 hdc in next ch, 1 sc in next ch, 1 sl st in last ch. (7 sts) Fasten off.
Leaf C (small): Ch 5.
Row 1: 1 sc in 2nd ch from hook, 1 hdc in next ch, 1 dc in next ch, 1 hdc in next ch, 1 sl st in last ch. (5 sts) Fasten off.
Bead Cluster (Make 1)
With CB and the 3.5 mm hook, make a magic ring.
Round 1: 6 sc in ring, pull tight, join with a sl st to the first sc. (6 sc)
Round 2: 2 sc in each sc around. (12 sc)
Round 3: sc2tog around. (6 sc)
Stuff lightly with a yarn tail, close the opening with a tapestry needle, and fasten off.
Assembly and Finishing
1. Block the body. Wet-block or steam-block the rectangle to exactly 12 x 15 inches. Pin it flat and let it dry completely before sewing anything on.
2. Attach the stem. Pin the cream stem diagonally across the front of the bag, starting about 2 inches below the top edge. Using the matching CC tail and a tapestry needle, whipstitch along the stem, catching only the surface of the bag so the stitches do not show through to the back.
3. Arrange the leaves. Place Leaf A at the top of the stem, Leaf B in the middle, and Leaf C at the bottom, alternating sides. Whipstitch each leaf securely with its tail, tucking the ends under the leaf as you go.
4. Sew the bead cluster. Stitch the dark brown bead cluster at the base of the stem, using the CB tail and a few firm stitches so it sits flat.
5. Weave in all ends. Thread each tail onto the tapestry needle and run it through the back of several stitches, then trim close to the work. Never knot your ends; weaving hides them best.
6. Final block and steam. Give the finished bag a light steam to settle the appliqué. The bag is reversible; wear it with the appliqué facing out.
Pro Tips and Variations
- Change the color story. Swap the olive green for terracotta or sand for a different Mediterranean palette, and use a deeper green for the leaves. Keep the bead cluster dark for contrast.
- Adjust the size. To make the bag wider or narrower, add or remove chains in multiples of 2 (each pair adds one sc and one ch-1 space). To make it taller, simply work more repeat rows; every 18 rows adds about 4 inches.
- Substitute the yarn. A smooth cotton or cotton-acrylic blend works beautifully. Avoid fuzzy or highly textured yarns, which hide the linen stitch texture. Always re-check your gauge with a new yarn.
- Make it a lined bag. For extra structure, sew a simple fabric lining and slip-stitch it inside the top edge before folding the drawstring channel.