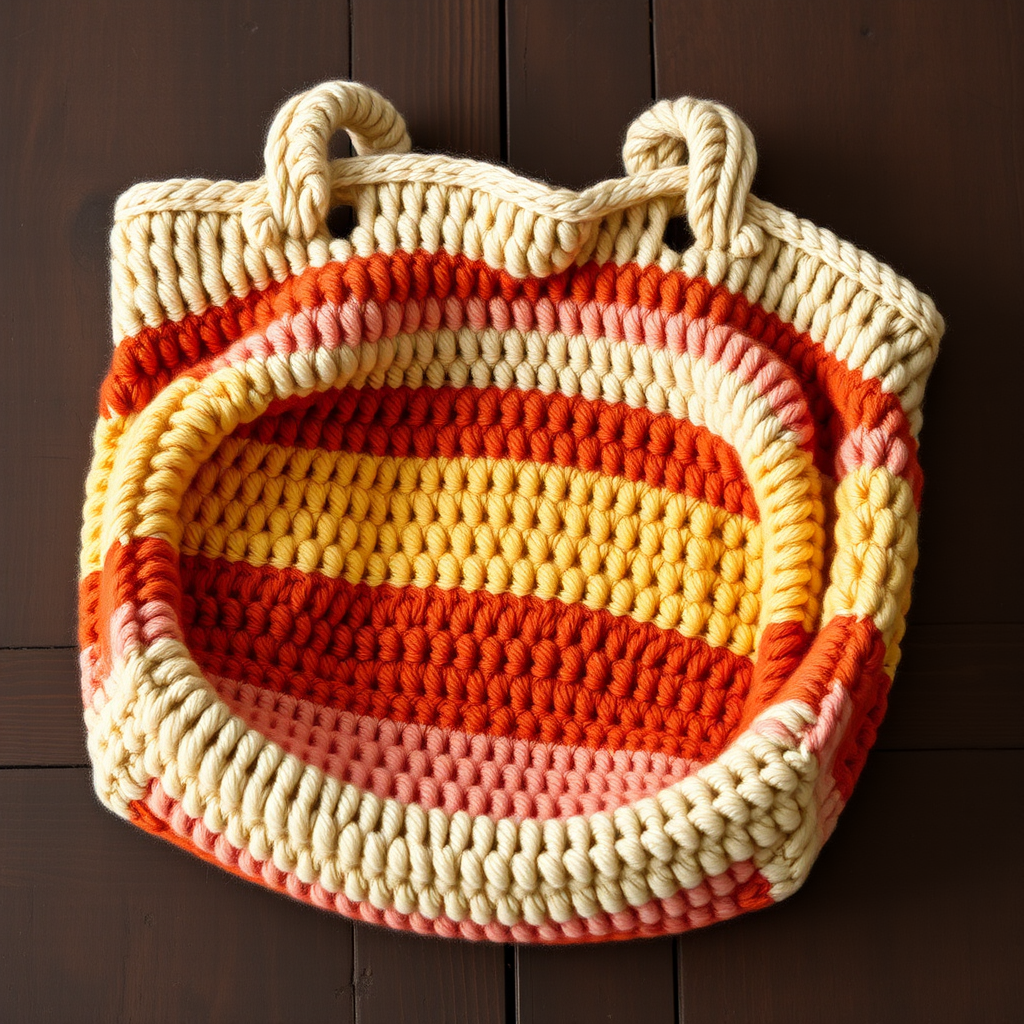
Sunkissed Citrus Tote Free Pattern – Crochet a Vibrant Summer Market Bag

Sunkissed Citrus Tote Free Pattern – Crochet a Vibrant Summer Market Bag
Carry a burst of sunshine with this modern granny square tote, featuring a juicy citrus-inspired palette and a playful scalloped edge. This sturdy, stylish bag is perfect for farmers' markets, beach days, or everyday errands. The classic granny square construction makes it an approachable project for confident beginners, while the vibrant color combination of lemon yellow, tangerine orange, and crisp cream adds a cheerful, handmade touch to any outfit. Let's dive into this delightful crochet project!
Materials Needed
Before you begin, gather the following supplies to ensure a smooth and enjoyable crochet experience:
- Yarn: Worsted weight cotton yarn (e.g., Lion Brand 24/7 Cotton) in Lemon (yellow), Tangerine (orange), and Cream (white). You will need approximately 400g total (roughly 2 skeins of each color for a standard tote).
- Crochet Hook: 5.0 mm (H-8) crochet hook. This size pairs perfectly with worsted weight yarn to create a dense, durable fabric.
- Other Tools: Yarn needle for weaving in ends and sewing squares together, scissors, and stitch markers (optional but helpful for keeping track of rounds).
Gauge: One granny square (3 rounds) = 4 inches (10 cm) square. Achieving this gauge ensures your bag comes out the perfect size, but slight variations are fine for a relaxed tote.
Step-by-Step Instructions
This bag is constructed from 10 granny squares (5 for each side), joined together, then finished with a sturdy strap and a scalloped edge. Follow these detailed instructions carefully, and you'll have a beautiful tote in no time.
Granny Square (Make 10)
Each square is worked in three rounds, with a color change each round. The magic ring technique creates a tight, seamless center.
Round 1 (Lemon Yellow):
- Make a magic ring. (If you're not familiar with this technique, wrap the yarn around your fingers twice, insert hook, and pull up a loop. Chain 1 to secure.)
- Chain 3 (this counts as your first double crochet).
- Work 2 double crochets (dc) into the ring. This gives you 3 dc total.
- Chain 2 (this forms your first corner space).
- Repeat the following sequence 3 more times: Work 3 dc into the ring, chain 2. You should now have 4 groups of 3 dc and 4 chain-2 spaces.
- Join with a slip stitch (sl st) to the top of the beginning chain-3. Fasten off and weave in the end. (Total: 12 dc, 4 ch-2 spaces)
Round 2 (Tangerine Orange):
- Join the Tangerine yarn in any corner chain-2 space by pulling a loop through and chaining 1.
- Chain 3 (counts as first dc).
- Work 2 dc in the same corner space. Then chain 2, and work 3 more dc in the same space. This creates your first corner (6 dc total in that corner).
- Chain 1 (this is the space between corners).
- In the next corner space, work: 3 dc, chain 2, 3 dc. This is your second corner.
- Repeat step 5 for the remaining two corners, always chaining 1 between corners.
- After completing the last corner, chain 1 and join with a slip stitch to the top of the beginning chain-3. Fasten off and weave in the end. (Total: 24 dc, 4 corners, 4 ch-1 spaces)
Round 3 (Cream):
- Join the Cream yarn in any corner chain-2 space.
- Chain 3 (counts as first dc). Work 2 dc in the same corner space, chain 2, then work 3 more dc in the same space. This is your first corner.
- Chain 1. Work 3 dc in the next chain-1 space (the space between corners from Round 2). Chain 1.
- In the next corner space, work: 3 dc, chain 2, 3 dc.
- Repeat steps 3-4 around the square, always chaining 1 between each group of 3 dc and each corner.
- After the last corner, chain 1 and join with a slip stitch to the top of the beginning chain-3. Fasten off and weave in all ends. (Total: 36 dc, 4 corners, 8 ch-1 spaces)
Pro Tip: Block your squares lightly (spray with water and pin flat) to ensure they are all the same size before assembly. This makes sewing them together much easier.
Assembly: Joining the Squares
- Arrange the Squares: Lay out 5 squares in a row for the front panel, alternating colors (e.g., Lemon, Tangerine, Lemon, Tangerine, Lemon). Repeat this exact arrangement for the back panel.
- Create the Panels: With right sides together (the "pretty" sides facing each other), use a whip stitch with Cream yarn to sew the squares together horizontally. Sew through the back loops only for a nearly invisible seam. Repeat for the second panel.
- Join the Panels: Place the two panels with right sides together. Whip stitch along the bottom edge and up both sides, leaving the top open. Turn the bag right side out.
Strap
- Attach Cream yarn to the top edge of one side of the bag with a slip stitch.
- Chain 120 (or your desired strap length—hold it up to your shoulder to check).
- Slip stitch into the opposite side of the bag top to secure the strap in place.
- Work 1 round of single crochet (sc) along the entire top edge of the bag, including across the strap, to reinforce it and give it a clean finish. Fasten off and weave in ends.
Scalloped Edge
- Join Lemon yarn to the top edge of the bag with a slip stitch.
- Work the following pattern all the way around the top edge: Skip 1 stitch, work 5 double crochets (dc) in the next stitch, skip 1 stitch, slip stitch in the next stitch.
- Repeat from * to * around the entire top edge. This creates a beautiful, playful scalloped border.
- Fasten off and weave in all remaining ends.
Your Sunkissed Citrus Tote is complete! This vibrant bag is not only a stylish accessory but also a practical one, thanks to the sturdy cotton yarn and reinforced strap. Enjoy your new handmade companion on all your summer adventures!