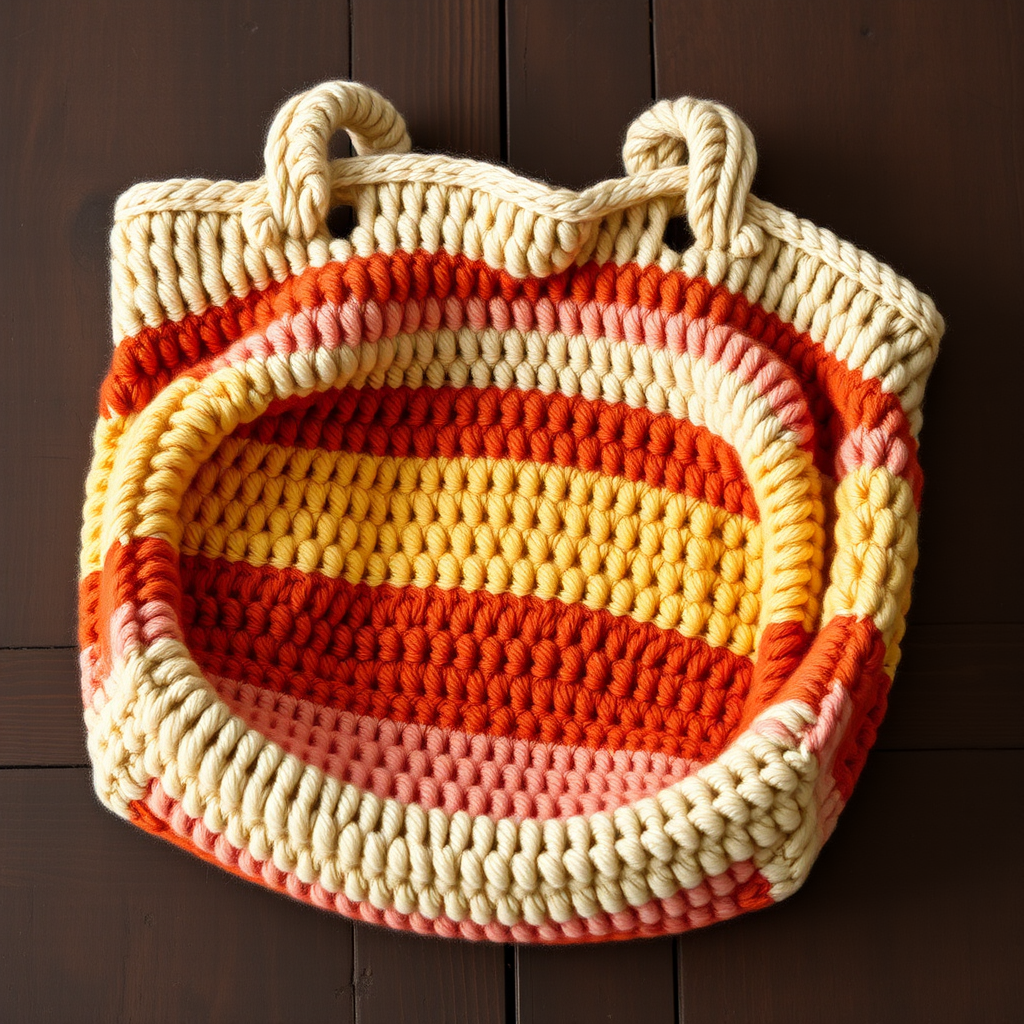
Starlight Slouch Crochet Hobo Bag Free Pattern

Starlight Slouch Crochet Hobo Bag: A Free Beginner-Friendly Pattern
Imagine a bag that feels as cozy as your favorite sweater but sparkles like a midnight sky. That’s the magic of the Starlight Slouch Crochet Hobo Bag. This celestial-inspired accessory combines a soft, slouchy silhouette with delicate silver seed beads, creating a piece that’s equal parts bohemian charm and everyday practicality. The best part? The stitch pattern is deceptively simple—just single crochet and a few strategically placed beads—making it a relaxing, meditative project that yields a stunning, versatile bag you’ll reach for all season long.
Whether you’re a seasoned crocheter looking for a quick weekend make or a confident beginner ready to try something new (hello, first beaded project!), this free pattern walks you through every step. By the end, you’ll have a custom, handmade hobo bag that drapes beautifully over your shoulder and catches the light with every step.
Materials Needed
Before you begin, gather your supplies. This project uses simple, readily available materials—no specialty tools required beyond a beading needle.
- Yarn: Worsted weight cotton or cotton-blend yarn (approx. 400–450 yards) in a deep navy blue. Cotton gives the bag structure while still allowing that lovely slouch.
- Beads: Size 6/0 seed beads in silver or gold (approx. 200 beads). These are large enough to work with easily but small enough to feel delicate.
- Crochet Hook: US H/8 (5.0 mm) hook.
- Beading Needle or Thin Wire: For threading beads onto your yarn before you begin crocheting.
- Yarn Needle: For weaving in ends and sewing the strap.
- Scissors & Tape Measure: For trimming and checking your gauge.
Gauge: Approximately 15 single crochet stitches x 18 rows = 4 inches square. Tip: Always make a gauge swatch first! If your stitches are tighter or looser, adjust your hook size accordingly to ensure your bag comes out the right size.
Step-by-Step Instructions
This bag is worked in one continuous piece from the base up, so there’s minimal seaming. We’ll start with a magic ring, increase in a flat circle to form the base, then work even in the round to create the slouchy body. The beads are added in a staggered pattern for that starry-night effect. Let’s dive in!
Bag Body (Worked in One Piece from Base Up)
Round 1: Make a magic ring. Work 6 single crochet (sc) into the ring. Pull the tail tight to close the circle. (6 stitches)
Round 2: Work 2 sc in each stitch around. (12 stitches)
Round 3: *Sc in the next stitch, 2 sc in the next stitch* — repeat from * to * around. (18 stitches)
Round 4: *Sc in the next 2 stitches, 2 sc in the next stitch* — repeat around. (24 stitches)
Round 5: *Sc in the next 3 stitches, 2 sc in the next stitch* — repeat around. (30 stitches)
Round 6: *Sc in the next 4 stitches, 2 sc in the next stitch* — repeat around. (36 stitches)
Round 7: *Sc in the next 5 stitches, 2 sc in the next stitch* — repeat around. (42 stitches)
Round 8: *Sc in the next 6 stitches, 2 sc in the next stitch* — repeat around. (48 stitches)
Round 9: *Sc in the next 7 stitches, 2 sc in the next stitch* — repeat around. (54 stitches)
Round 10: *Sc in the next 8 stitches, 2 sc in the next stitch* — repeat around. (60 stitches)
Round 11: *Sc in the next 9 stitches, 2 sc in the next stitch* — repeat around. (66 stitches)
Round 12: *Sc in the next 10 stitches, 2 sc in the next stitch* — repeat around. (72 stitches)
Round 13: *Sc in the next 11 stitches, 2 sc in the next stitch* — repeat around. (78 stitches)
Round 14: *Sc in the next 12 stitches, 2 sc in the next stitch* — repeat around. (84 stitches)
Round 15: Sc in each stitch around. (84 stitches)
Your base is now complete and should lie flat. If it’s ruffling, you may have too many increases; if it’s cupping, you may need more. But at 84 stitches, you should have a nice, flat circle approximately 7–8 inches in diameter.
Begin the Beaded Stitch Pattern
Before you start this section, thread all 200 beads onto your yarn using your beading needle or thin wire. Slide them down out of the way—you’ll pull them up one at a time as needed. This pre-threading step is crucial and saves you from stopping mid-row.
Round 16 (Bead Row 1): Sc in each of the next 3 stitches. Then, *slide a bead up to the hook, yarn over and pull through to complete a sc in the next stitch (the bead will sit in front of the stitch, facing you)*. Repeat from * to * around, ending with sc in the last 3 stitches. (84 stitches)
Pro Tip: When you slide the bead up, make sure it sits snugly against the front of the stitch you just made. Don’t pull too tight, or the bead will hide behind the yarn; too loose, and it will dangle. A gentle, consistent tension is key.
Round 17: Sc in each stitch around. (84 stitches) — This plain round lets the beads from Round 16 pop.
Round 18 (Bead Row 2 - Offset): Sc in the next 6 stitches. Then, *slide a bead up and sc in the next stitch (bead in front), sc in the next 3 stitches* — repeat from * to * until 6 stitches remain. Sc in the last 6 stitches. (84 stitches)
Notice how this row staggers the beads? By starting with 6 plain stitches instead of 3, your beads will form a diagonal, scattered pattern rather than straight columns—just like stars in the sky.
Rounds 19–20: Sc in each stitch around. (84 stitches)
Rounds 21–40: Repeat Rounds 16–20 four more times. This means you’ll work the bead pattern (Round 16), a plain round (17), the offset bead round (18), and two plain rounds (19–20) four additional times. After completing Round 40, your bag body should measure approximately 10.5 inches from the center of the base to the top edge. If you want a deeper bag, simply repeat Rounds 16–20 once or twice more.
Top Edging & Fold Line
This next step creates a crisp, professional fold line for the casing that will hold your strap.
Round 41: Sc in each stitch around, but work through the back loop only (BLO). This leaves the front loop free, creating a subtle ridge on the inside of the bag that acts as a natural fold guide. (84 stitches)
Round 42: Sc in each stitch around normally (through both loops). (84 stitches)
Fasten off, leaving a 12-inch tail for sewing. Weave in the starting tail from the magic ring, but leave this final tail for the assembly step.
Strap (Make 2 Identical Pieces)
These long, simple strips will be attached to the sides of the bag. The length given creates a comfortable 22-inch drop, perfect for wearing over the shoulder or across the body.
Row 1: Chain 150 (or your desired length for a 22-inch drop—just remember your chain should be about 1.5 times the desired drop length). Sc in the 2nd chain from the hook and in each chain across. (149 stitches)
Row 2: Chain 1, turn. Sc in each stitch across. (149 stitches)
Fasten off, leaving a long tail (at least 18 inches) for sewing. Repeat to make a second strap.
Assembly
Now it’s time to bring your bag together. This is where the slouchy hobo shape really emerges.
- Fold the top edge: Fold the top 1 inch of the bag down along the back-loop row (Round 41). This creates a neat, rolled edge that will act as a casing for your strap. Pin it in place if needed.
- Sew the casing: Using the long tail from Round 42 and your yarn needle, whipstitch the folded edge down to the inside of the bag. Sew through both layers of the fold, catching the back loops of the round below to keep the seam invisible from the outside. This creates a tunnel or casing around the entire top opening.
- Attach the straps: Take one strap and thread one end through the casing from the inside to the outside at the left side seam. Thread the other end of the same strap through the casing at the right side seam, also from inside to outside. Repeat with the second strap, but thread it in the opposite direction (outside to inside) so the two straps cross over each other inside the casing. This crisscross method adds strength and prevents the bag from sagging unevenly.
- Sew the strap ends: Using the long tails from the straps, whipstitch each strap end securely to the inside of the bag at the side seams. Make sure the straps are evenly spaced and the bag hangs evenly when lifted. Double-knot your thread and weave in the ends thoroughly.
Finishing Touches
Weave in all remaining ends securely with your yarn needle. If your bag looks a little wonky, lightly block it to shape: mist it with water and gently mold it into a slouchy crescent, then let it air dry. The beaded pattern will naturally create a subtle drape and sparkle as the fabric settles.
And there you have it—your very own Starlight Slouch Crochet Hobo Bag! This project is perfect for using up a single skein of lovely yarn and adding a touch of handmade glamour to your wardrobe. The beads catch the light beautifully, making it a conversation starter wherever you go.
Happy crocheting, and may your stitches always sparkle!