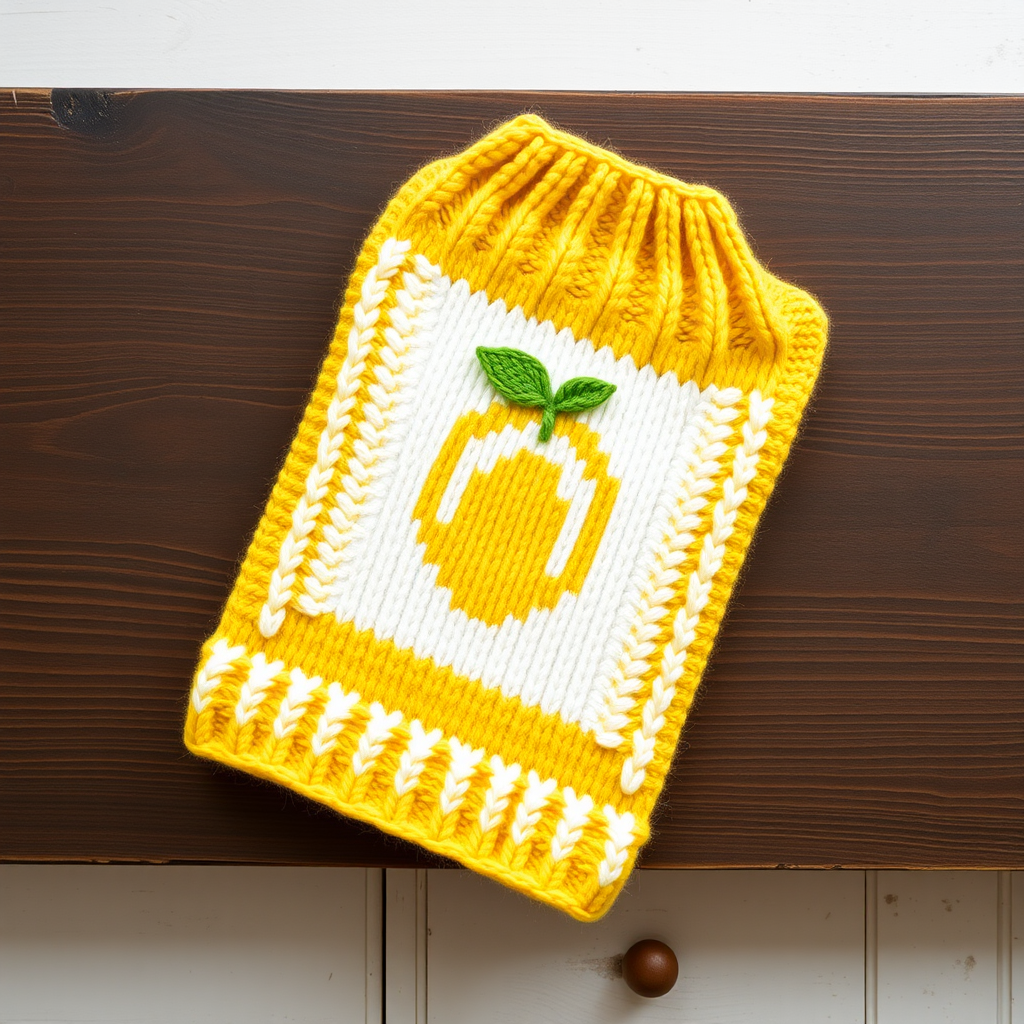
Rustic Linen Weave Towel Topper Free Pattern – A Knitted Farmhouse Essential

Rustic Linen Weave Towel Topper Free Pattern – A Knitted Farmhouse Essential
Elevate your kitchen with this charming knitted towel topper featuring a textured linen stitch and a sturdy button closure. This quick project adds a cozy, handmade touch to any farmhouse or modern rustic decor. Whether you're an experienced knitter looking for a satisfying weekend project or a beginner ready to tackle your first textured pattern, this towel topper is the perfect addition to your crafting repertoire. The combination of oatmeal and sage green creates a subtle, earthy color palette that complements any kitchen aesthetic while remaining functional and durable.
This pattern is designed to be approachable yet rewarding, teaching you the beautiful linen stitch—a technique that mimics the look of woven fabric while remaining entirely knitted. The result is a dense, sturdy fabric that's perfect for hanging dish towels, adding both practicality and rustic charm to your space. Best of all, this free pattern uses readily available worsted weight cotton yarn, making it an affordable and accessible project for knitters of all skill levels.
Materials Needed
Before you begin, gather the following materials to ensure a smooth knitting experience:
- Yarn: Worsted weight cotton yarn (e.g., Lion Brand Kitchen Cotton) in two colors:
- Main Color (MC) – Oatmeal (approximately 100 yards)
- Contrast Color (CC) – Sage Green (approximately 80 yards)
- Needles: US Size 7 (4.5 mm) knitting needles
- Gauge: 20 stitches and 28 rows = 4 inches in stockinette stitch (gauge is important for achieving the correct finished dimensions, though this project is forgiving)
- Extras: Tapestry needle for seaming and weaving in ends, one wooden button (approximately 1 inch in diameter), scissors, and a measuring tape
Cotton yarn is highly recommended for this project because it's absorbent, durable, and machine washable—perfect for kitchen use. The natural fibers also showcase the linen stitch beautifully, giving your finished piece that coveted woven look.
Step-by-Step Instructions
This towel topper is knitted flat in one piece, then folded and seamed to create a loop for the towel. The buttonhole is worked directly into the fabric, creating a clean, professional finish. Follow these detailed instructions carefully, and you'll have a beautiful, functional towel topper in no time.
Abbreviations
- CO: cast on
- K: knit
- P: purl
- K2tog: knit two together (decrease)
- YO: yarn over (increase and creates a hole)
- BO: bind off
- St(s): stitch(es)
- RS: right side of work
- WS: wrong side of work
Getting Started: Cast On and Foundation Rows
With MC, CO 40 sts. Use a long-tail cast-on method for a neat, stretchy edge. Leave a tail of approximately 6 inches for weaving in later.
Row 1 (RS): K all sts.
Row 2 (WS): P all sts.
Rows 3-4: Repeat Rows 1-2. These four rows of stockinette stitch create a clean, stable base for the linen stitch pattern that follows.
Begin Linen Stitch Pattern (using MC and CC)
The linen stitch creates a dense, woven-looking fabric by slipping every other stitch with the yarn held in a specific position. Pay close attention to whether the yarn is held in front or in back—this is the key to achieving the beautiful woven texture.
Row 5 (RS): With MC, K1, slip 1 st purlwise with yarn in front, K1; repeat from * to last st, K1. This means you'll knit the first stitch, then slip the next stitch as if to purl while keeping the yarn at the front of your work, then knit the next stitch. Continue this pattern across the row, ending with a knit stitch.
Row 6 (WS): With MC, P1, slip 1 st purlwise with yarn in back, P1; repeat from * to last st, P1. On the wrong side, you'll purl the first stitch, then slip the next stitch purlwise with the yarn held at the back of your work, then purl the next stitch. This creates the opposite effect of Row 5, locking the slipped stitches in place.
Row 7 (RS): With CC, K1, K1, slip 1 st purlwise with yarn in front; repeat from * to last st, K1. Notice that this row is offset from Row 5—you'll knit the first stitch, then knit the next stitch, then slip the following stitch with yarn in front. This offset creates the woven basket-like texture.
Row 8 (WS): With CC, P1, P1, slip 1 st purlwise with yarn in back; repeat from * to last st, P1. Again, this row mirrors Row 7 on the wrong side, purling the first stitch, then purling the next, then slipping the following stitch with yarn in back.
Repeat Rows 5-8 until the piece measures approximately 12 inches from the cast-on edge, ending with a Row 8. This will create the main body of the towel topper. As you work, you'll see the beautiful alternating stripes of oatmeal and sage green emerge, with the slipped stitches creating a dense, woven appearance.
Creating the Buttonhole
Buttonhole Row (RS): With MC, K1, K2tog, YO, K to last 3 sts, YO, K2tog, K1. This creates a horizontal buttonhole. Here's what's happening: you knit the first stitch, then knit two stitches together (decreasing by one), then yarn over (creating a new stitch and a hole), then knit across until you have 3 stitches remaining. On those last 3 stitches, you'll yarn over, knit two together, and knit the final stitch. This symmetrical decrease/increase pattern creates a neat, centered buttonhole.
Next Row (WS): P all sts. This row secures the yarn overs and completes the buttonhole structure.
Continue in Linen Stitch
Continue in Linen Stitch for 2 more inches, ending with a Row 8. Resume the established linen stitch pattern (Rows 5-8) and work until the piece measures approximately 14 inches total from the cast-on edge. The buttonhole will be positioned about 2 inches from the top of the finished piece, creating a comfortable hanging loop.
Final Rows and Binding Off
Row 1 (RS): With MC, K all sts.
Row 2 (WS): P all sts.
Row 3: Repeat Row 1. These final three rows of stockinette stitch mirror the foundation rows, creating a balanced, finished edge.
BO all sts knitwise. Bind off loosely to maintain the stretchiness of the edge. Cut the yarn, leaving a 6-inch tail, and pull through the last loop to secure.
Finishing: Seaming and Assembly
Now comes the transformation from flat rectangle to functional towel topper. Follow these steps carefully for a professional finish:
- Fold the piece in half lengthwise with the right sides together, aligning the cast-on edge with the bind-off edge. The buttonhole should be at the top of the folded piece. Take a moment to ensure the linen stitch pattern aligns nicely at the fold.
- Sew the side seams together using a mattress stitch or whip stitch with your tapestry needle and matching yarn. Leave the top (buttonhole end) open. The seam should be neat and secure, as it will bear the weight of the towel.
- Turn right side out. Gently push the corners out with a blunt tool or your fingers to create crisp edges.
- Fold the top edge down over the buttonhole to create a casing for the towel bar or cabinet handle. The fold should be approximately 1.5 inches deep, covering the buttonhole. Sew the folded edge down using a slip stitch or whip stitch, leaving the buttonhole exposed. This creates a channel through which you'll thread the towel.
- Attach a button to the front of the topper, aligned with the buttonhole. Position the button approximately 1 inch below the top fold, centered horizontally. Sew it securely with matching thread or yarn. The button will secure the towel in place when threaded through the loop.
- Weave in all ends using your tapestry needle. Thread each tail through the wrong side of the fabric, following the path of the stitches to hide them completely. Trim any excess yarn.
Using Your Towel Topper
To use your finished towel topper, simply fold a hand towel in half lengthwise and thread it through the loop created by the folded top. Pull the towel through until the button can be pushed through the buttonhole, securing the towel in place. Hang the entire assembly over a cabinet handle, towel bar, or oven door handle. The button closure keeps the towel securely in place while allowing for easy removal when it's time to wash.
This towel topper makes a wonderful handmade gift for housewarmings, weddings, or holiday hostess gifts. Consider making a set in different color combinations to match various kitchen decors. The pattern is easily customizable—try using different color pairings, or experiment with variegated yarns for a unique look.
With its combination of practical functionality and rustic charm, this knitted towel topper is sure to become a favorite in your kitchen. The linen stitch creates a durable, absorbent fabric that's perfect for drying dishes, while the thoughtful design ensures your towel stays clean, dry, and beautifully displayed. Happy knitting!