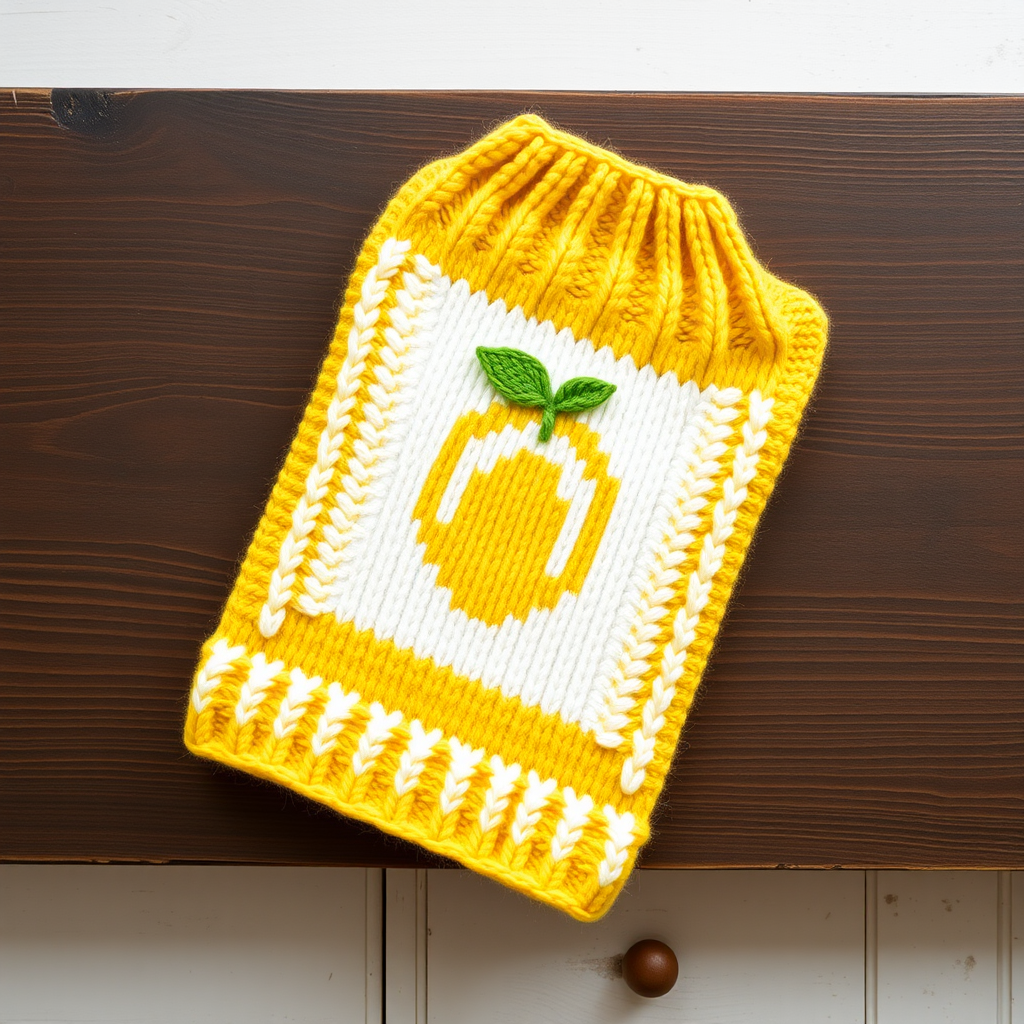
Bubble Bloom Scrubby Free Pattern – A Textured Knitted Dishcloth

Bubble Bloom Scrubby Free Pattern – A Textured Knitted Dishcloth
Transform your kitchen sink into a garden of gentle scrubbing power with this bubbly, textured dishcloth. The unique bubble stitch pattern creates a thick, absorbent cloth that's as beautiful as it is functional. This free knitting pattern is perfect for beginners looking to expand their skills while creating something genuinely useful for their home. The combination of sage green and cream yarn produces a charming, farmhouse-inspired aesthetic that will elevate your daily dishwashing routine.
What makes this dishcloth truly special is the K1B (knit one below) technique, which creates those delightful puffy bubbles across the fabric's surface. Not only does this stitch pattern look impressive, but it also produces a dense, textured surface that's ideal for scrubbing away stubborn food residue without scratching your dishes. The cotton yarn ensures maximum absorbency and durability, making this a project you'll return to again and again.
Materials Needed
Before you begin, gather the following supplies:
- Yarn: Worsted weight cotton yarn (e.g., Lily Sugar'n Cream) in two colors:
- Main Color (MC) – Sage Green (approximately 1 ball)
- Contrast Color (CC) – Cream (approximately 1 ball)
- Needles: US Size 7 (4.5 mm) knitting needles
- Gauge: 20 stitches and 28 rows = 4 inches in stockinette stitch (exact gauge is not critical, but aim for a dense fabric)
- Additional supplies: Tapestry needle for weaving in ends, scissors
Pro tip: Cotton yarn has no elasticity, so choose a needle size that gives you a firm but not overly tight fabric. The dense texture is what makes this scrubby so effective!
Step-by-Step Instructions
Finished Size & Abbreviations
Finished Size: Approximately 9 inches square (can be adjusted by adding or subtracting multiples of 4 stitches).
Abbreviations:
- K = knit
- P = purl
- K1B = knit 1 stitch below (insert needle into the stitch one row below the next stitch on the left needle, knit it, then drop the stitch above off the needle)
- Rep = repeat
- St(s) = stitch(es)
Pattern Notes
- Worked flat in rows.
- The bubble stitch is created by knitting into the row below, which pulls the fabric into a puffy, textured pattern.
- Carry the unused yarn up the side of the work when changing colors, or simply cut and weave in ends. For a cleaner edge, carry the yarn loosely up the side.
Cast On
With MC (Sage Green), cast on 44 stitches loosely. A loose cast-on ensures your edges won't pucker. If you tend to cast on tightly, consider using a larger needle just for the cast-on row, then switch to your US 7 needles.
Border (Garter Stitch)
Rows 1-4: Knit all stitches.
This creates a smooth, flat border that frames your bubble pattern beautifully. The garter stitch border also prevents curling, which is common with stockinette-based patterns.
Main Pattern
Now we begin the bubble stitch pattern. Follow these rows carefully, paying attention to the color changes:
Row 5 (RS): With MC, knit all stitches.
Row 6 (WS): With MC, purl all stitches.
Row 7 (RS): With CC (Cream), knit all stitches.
Row 8 (WS): With CC, purl all stitches.
Row 9 (RS): With MC, *K1B, K3; rep from * to end of row (last 4 sts: K1B, K3).
How to work K1B: Insert your right needle into the stitch one row below the next stitch on your left needle (as if to knit), wrap the yarn around, and pull through. Then, drop the stitch above off the left needle. This creates a longer, puffy stitch that forms the bubble.
Row 10 (WS): With MC, purl all stitches.
Row 11 (RS): With CC, knit all stitches.
Row 12 (WS): With CC, purl all stitches.
Row 13 (RS): With MC, *K3, K1B; rep from * to end of row (last 4 sts: K3, K1B).
Note: Row 13 staggers the bubbles relative to Row 9, creating that beautiful checkerboard effect.
Row 14 (WS): With MC, purl all stitches.
Repeat Rows 5-14 until the piece measures approximately 8.5 inches from the cast-on edge, ending with a Row 14. This ensures you finish at a clean point in the pattern before adding the final border.
Border (Garter Stitch)
With MC, knit all stitches for 4 rows. This mirrors the bottom border and frames your bubble pattern symmetrically.
Bind Off
Bind off all stitches loosely with MC. A loose bind-off is essential to maintain the stretch and drape of your dishcloth. If you find your bind-off is too tight, use a needle one size larger for this step.
Finishing
Weave in all ends using your tapestry needle. Take care to weave in ends on the wrong side of the work, following the path of the yarn to keep them invisible.
Block gently if desired, though cotton dishcloths often soften with use. Simply lay flat to dry after your first wash, and the fabric will relax beautifully.
Tips for Perfect Results
- Keep tension consistent: The K1B stitch can be tempting to pull tight. Keep your tension even for uniform bubbles.
- Count your stitches: After each pattern repeat, count to ensure you still have 44 stitches. This prevents accidental increases or decreases.
- Carry yarn loosely: When changing colors, carry the unused yarn up the side loosely to prevent puckering. Alternatively, cut and weave in ends for a neater side edge.
- Customize size: Add or subtract multiples of 4 stitches to adjust the width. Each multiple of 4 adds approximately 0.75 inches to the width.
This Bubble Bloom Scrubby makes a wonderful gift for housewarmings, hostess presents, or simply as a treat for your own kitchen. The textured surface is gentle enough for delicate glassware yet effective enough for stubborn pots and pans. Plus, cotton yarn is naturally antimicrobial and machine-washable, making it the perfect choice for kitchen use.
Once you've mastered the K1B stitch, you'll find yourself incorporating it into all sorts of projects—from washcloths to scarves to blankets. It's a versatile technique that adds instant visual interest and texture to any knitted piece.
Happy knitting, and enjoy your beautiful new kitchen companion!