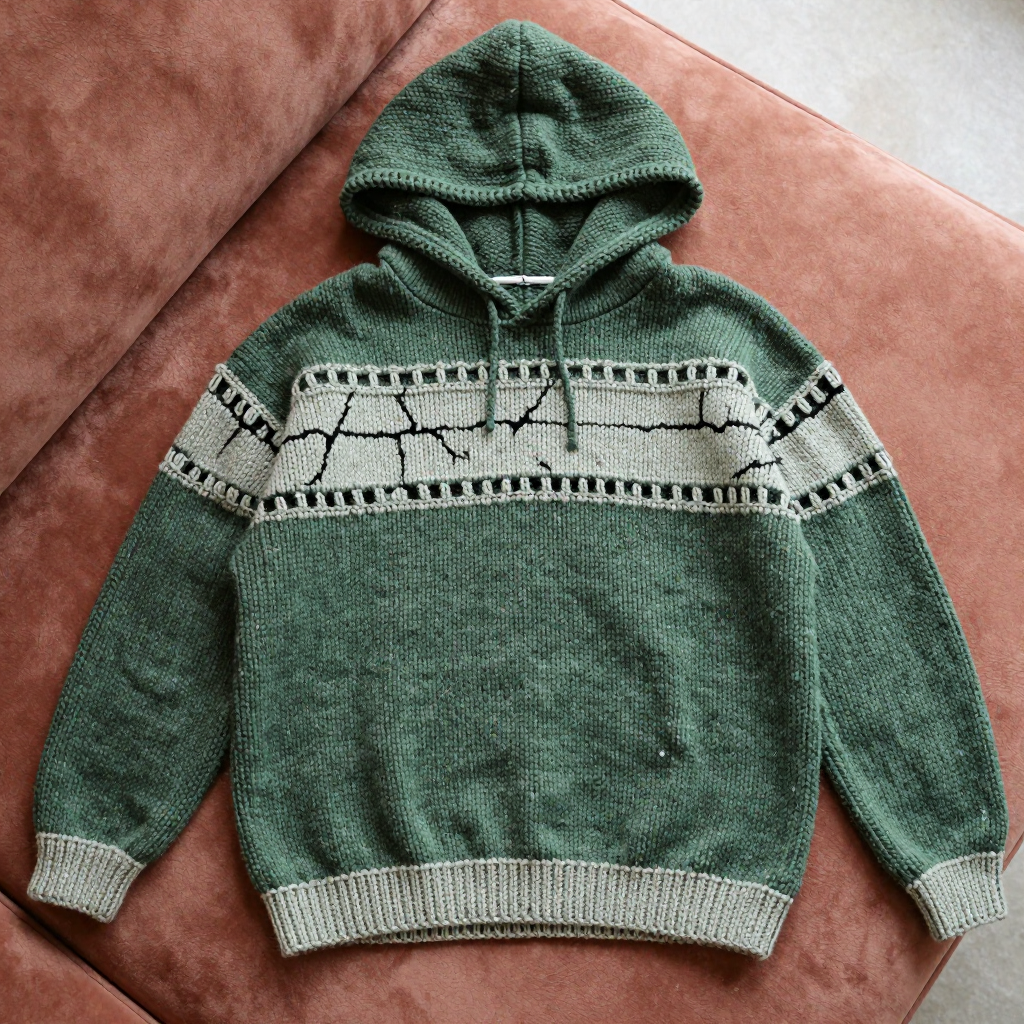
Pink Petal Granny Square Sunsuit Free Crochet Pattern

Pink Petal Granny Square Sunsuit: A Cozy First Project
Welcome, brand-new crocheter! This Pink Petal Granny Square Sunsuit is the perfect first project for anyone who has never held a hook before. It is built from just four simple granny squares, joined into a front and a back panel, then finished with soft single crochet edgings and an adorable little bee appliqué on the chest. Made from plush chenille yarn, the finished sunsuit feels like a warm hug: fuzzy, squishy, and soft against a baby's skin. Sized for 6–12 months, it looks charming in soft pink and cherry red and works up quickly because the yarn is thick and the stitches are big. If you can make a chain and a double crochet, you can absolutely make this.
Materials Needed
- Yarn: Chenille plush yarn, super bulky (weight 6). Total approx. 300 g: 200 g soft pink (Colour A), 80 g cherry red (Colour B), 20 g pale pink (Colour C) for the bee wings.
- Crochet hook: 6.0 mm (US size J-10), or the size that matches the gauge below.
- Stitch markers: at least 4, to mark corners and seam points.
- Tapestry needle: a large blunt needle with an eye big enough for thick chenille yarn, for seaming and weaving in ends.
- Scissors.
- Optional: 3 small buttons or snap fasteners for the crotch, and a small amount of stuffing (or yarn scraps) for the bee body.
- Finished size: 6–12 months. Approx. 30 cm wide (chest) and 42 cm total length. Each granny square measures 15 cm x 15 cm after blocking.
Abbreviations and Beginner Glossary
- ch – chain: wrap yarn over hook, pull it through the loop on your hook. This makes a small loop.
- sl st – slip stitch: insert hook into stitch, yarn over, pull through both the stitch and the loop on your hook at once. Used to join rounds.
- sc – single crochet: insert hook into stitch, yarn over, pull up a loop (2 loops on hook), yarn over, pull through both loops.
- hdc – half double crochet: yarn over, insert hook into stitch, yarn over, pull up a loop (3 loops on hook), yarn over, pull through all 3 loops.
- dc – double crochet: yarn over, insert hook into stitch, yarn over, pull up a loop (3 loops on hook), yarn over, pull through 2 loops, yarn over, pull through last 2 loops.
- sc2tog – single crochet two together (a decrease): insert hook into first stitch, pull up a loop, insert hook into next stitch, pull up a loop (3 loops on hook), yarn over, pull through all 3 loops. Turns 2 stitches into 1.
- st(s) – stitch(es).
- sp – space (the gap made by a chain).
- beg – beginning.
- rep – repeat.
- magic ring – an adjustable loop you make with your yarn, crochet into it, then pull the tail tight to close the centre hole.
- fasten off – cut the yarn, pull the tail through the last loop, and tighten.
Gauge
One solid granny square = 15 cm x 15 cm after blocking. 4 dc x 2 rows = 5 cm x 5 cm.
Gauge means how big your stitches turn out. It matters because if your stitches are too loose, the sunsuit will be too big; if too tight, it will be too small. To check: crochet one full granny square following the instructions below, block it (dampen it, pin it to 15 cm x 15 cm, let it dry), then measure. If your square is bigger than 15 cm, switch to a smaller hook; if smaller, use a larger hook. Always make a swatch first — it saves time later!
Beginner Tips Before You Start
- Count your stitches every round. Granny squares grow fast, and a missed stitch shows. The stitch counts in brackets tell you exactly what you should have.
- Use stitch markers in the ch-2 corner spaces. This makes it easy to see where the corners are and keeps your square from turning into a wobbly shape.
- Do not pull the yarn too tight. Chenille yarn is fluffy and can snap if you tug hard. Keep a relaxed, even tension.
- Keep the right side facing you. The "right side" is the smoother, prettier side of the fabric. When joining squares, place right sides together.
- Work in good light and take breaks. Chenille can be slippery; a bright lamp helps you see your stitches.
- Block each square before joining. Blocking evens out the edges so the panels line up neatly.
Step-by-Step Instructions
Solid Granny Square (make 4: 2 in Colour A, 2 in Colour B)
Round 1: With your chosen colour, make a magic ring. Ch 3 (this counts as your first dc), 2 dc into the ring, ch 2, [3 dc, ch 2] three times, join with sl st to the top of the beg ch-3. (12 dc, 4 ch-2 sps)
Round 2: Ch 3, dc in each of the next 2 dc, *(2 dc, ch 2, 2 dc) in the next ch-2 sp, dc in each of the next 3 dc; rep from * around, join with sl st. (28 dc, 4 ch-2 sps)
Round 3: Ch 3, dc in each dc to the next ch-2 sp, *(2 dc, ch 2, 2 dc) in the ch-2 sp, dc in each dc to the next ch-2 sp; rep from * around, join with sl st. (44 dc, 4 ch-2 sps)
Round 4: Repeat Round 3. (60 dc, 4 ch-2 sps)
Round 5: Repeat Round 3. (76 dc, 4 ch-2 sps)
Round 6: Repeat Round 3. (92 dc, 4 ch-2 sps)
Fasten off and weave in the ends. Block each square to 15 cm x 15 cm. Make 2 squares in Colour A and 2 squares in Colour B.
Joining the Panels
Front panel: Take one Colour A square and one Colour B square. Place them side by side with right sides facing. Join along one edge using a single crochet seam (work sc through both layers) or a whipstitch with your tapestry needle. This makes a rectangle approx. 30 cm wide x 15 cm tall.
Back panel: Join the remaining Colour A and Colour B squares the same way.
Body Construction
Side seams: With right sides facing, place the front and back panels together. Seam the side edges from the bottom up 15 cm, leaving the top 15 cm open for armholes.
Shoulder seams: Join 8 cm from each outer edge toward the centre on both shoulders, leaving a 14 cm neck opening in the middle.
Bottom Band (Crotch and Leg Openings)
Round 1: With Colour A, join yarn at the bottom edge of the front panel. Sc evenly around the entire bottom edge of the joined body, approx. 60 sc. Join with sl st. (approx. 60 sc)
Round 2: Ch 1, sc in each sc around, join. (60 sc)
Round 3: Ch 1, sc in each sc around, join. Fasten off. (60 sc)
Leg openings: With Colour A, join yarn at one leg opening. Sc evenly around, approx. 30 sc, join. Work 2 more rounds of sc the same way. Fasten off. Repeat for the second leg opening. (approx. 30 sc per round)
Neck and Armhole Edging
Neck: With Colour A, join yarn at the neck edge. Sc evenly around the neck opening, approx. 40 sc, join. Work 1 more round of sc. Fasten off. (approx. 40 sc per round)
Armholes: Repeat the neck edging for each armhole, approx. 28 sc per round, working 2 rounds total. Fasten off. (approx. 28 sc per round)
Bee Appliqué (make 1)
Body: With Colour B (cherry red), make a magic ring.
Round 1: 6 sc into the ring. (6 sc)
Round 2: 2 sc in each sc around. (12 sc)
Round 3: [sc in next sc, 2 sc in next sc] around. (18 sc)
Round 4: sc in each sc around. (18 sc)
Round 5: [sc in next 2 sc, 2 sc in next sc] around. (24 sc)
Round 6: sc in each sc around. (24 sc)
Round 7: [sc2tog] around. Stuff lightly. (12 sc)
Round 8: [sc2tog] around. Fasten off and close the opening. (6 sc)
Stripes: With Colour A (soft pink), embroider 2 horizontal stripes across the bee body using duplicate stitch or surface slip stitch.
Wings (make 2): With Colour C (pale pink), ch 4. Row 1: sc in 2nd ch from hook, hdc in next ch, dc in last ch. Fasten off. (3 sts) Sew the wings to the top of the bee body.
Antennae: With Colour B, embroider 2 small straight stitches at the top of the head.
Sew the bee appliqué centred on the front chest, approx. 5 cm below the neckline.
Assembly and Finishing
Weaving in ends: Thread each yarn tail onto your tapestry needle and weave it back and forth through the back of several stitches, then trim. Never knot the ends — knots can work loose and feel lumpy.
Seaming: If you used whipstitch, keep the stitches small and even so the seam lies flat. If you used a single crochet seam, work through both layers at once and keep your tension loose.
Blocking: Lightly dampen the finished sunsuit with a spray bottle, lay it flat on a towel, and gently pat it into shape to the measurements (30 cm wide, 42 cm long). Pin the edges if needed and let it dry completely. This relaxes the chenille and makes the fabric even softer.
Optional closure: Add 3 small buttons or snap fasteners at the crotch for easy changing.
Pro Tips and Variations
- Change the colours: Swap soft pink and cherry red for any two colours you love, or make all four squares the same shade for a calmer look.
- Adjust the size: For a smaller or larger sunsuit, add or remove one round from each granny square (each round adds about 2.5 cm). Always re-check your gauge.
- Substitute yarn: Any super bulky (weight 6) yarn works; a smooth yarn is easier for absolute beginners, while chenille gives the plush hygge feel.
- Personalise the appliqué: Swap the bee for a flower, a heart, or a star — the same simple rounds and wings technique applies.