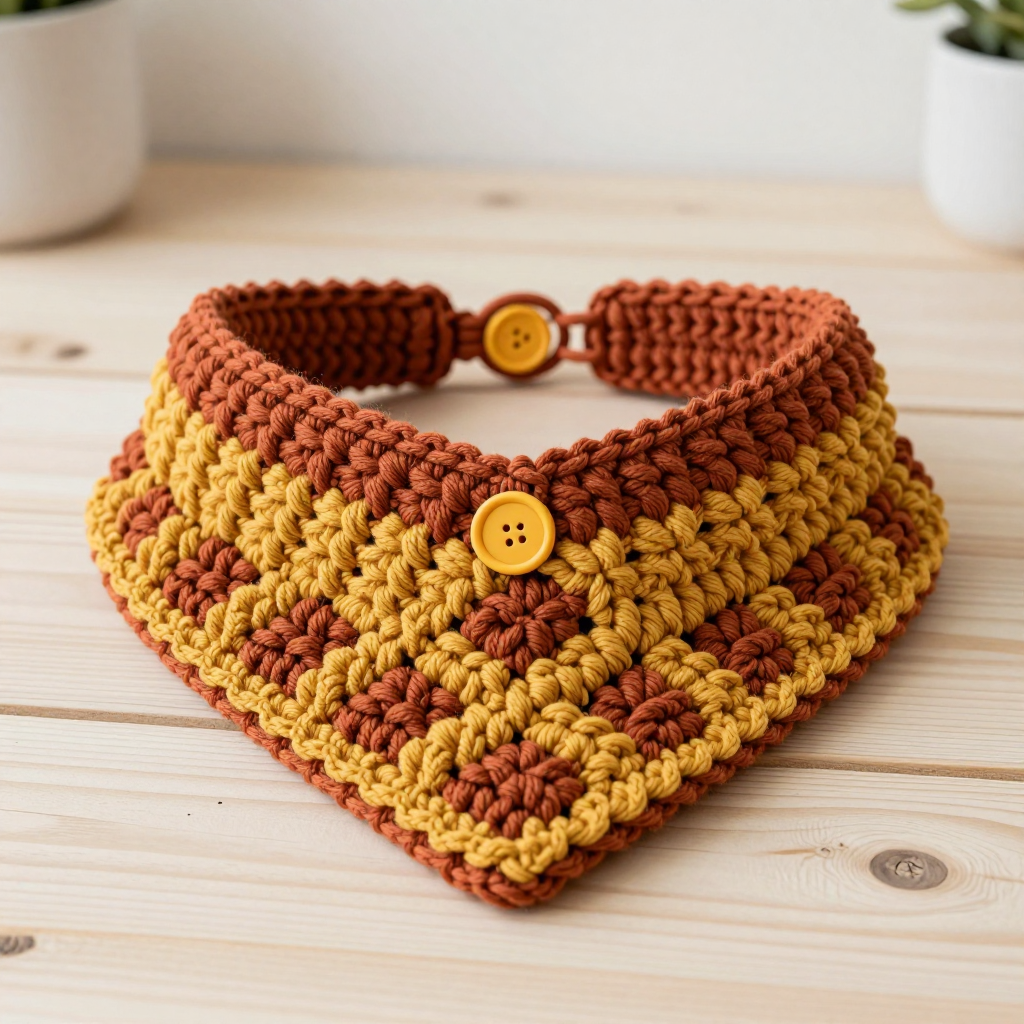
Moonbeam Baby's Crochet Halo Crown Free Pattern

Crochet a Dreamy Moonbeam Halo Crown for Your Little One
There is something truly magical about adorning a baby in handmade accessories, especially ones that carry a celestial, ethereal charm. Today, I am thrilled to share a pattern that has captured my heart: the Moonbeam Baby's Crochet Halo Crown. This delicate circlet, crafted from soft lace thread, looks like it was plucked straight from a fairy tale or a starry night sky. It features a smooth, snug base that flares into soft, rounded scalloped points, mimicking a gentle halo or a flickering flame. Whether for a newborn photoshoot, a christening, or simply a whimsical everyday outfit, this crown adds a royal, dreamy touch that is simply irresistible. Best of all, it is a free pattern that works up quickly and is perfect for beginners looking to try their hand at lacework.
In this comprehensive guide, I will walk you through every single step, from gathering your materials to weaving in those final ends. By the end, you will have a gorgeous, heirloom-quality accessory that you will be proud to say you made yourself. Let's dive into this enchanting project!
Materials Needed for Your Halo Crown
Before we begin, let's ensure you have everything you need. The beauty of this project lies in its simplicity—you only need a few basic supplies to create something truly spectacular.
Essential Supplies
- Yarn: Lace weight cotton thread (e.g., Aunt Lydia's Classic Crochet Thread Size 10) in soft white or ivory. You will need approximately 50 yards. The cotton thread gives the crown its structure and crisp stitch definition, while the ivory color adds to its vintage, celestial feel.
- Crochet Hook: A D/3 (3.25 mm) crochet hook. This smaller hook size is essential for creating tight, firm stitches that will hold the crown's shape.
- Stitch Marker: Since we will be working in continuous rounds, a stitch marker is crucial for keeping track of where each round begins.
- Scissors & Tapestry Needle: For cutting your yarn and weaving in those pesky ends neatly.
Optional Embellishments
- Fabric Stiffener or Spray Starch: This is optional but highly recommended if you want the crown to stand up with more structure rather than lying flat.
- Small Seed Beads or Sequins: To add a touch of sparkle to the center of each scallop point, as suggested in the pattern.
Note on Gauge: The pattern specifies that the first 4 rounds should measure 2 inches in diameter. However, do not stress too much about this! Since this is a wearable item for a baby, the exact gauge is not critical. Just ensure your stitches are tight and even for the best result.
Step-by-Step Instructions: Crafting the Moonbeam Crown
Now, for the fun part! This crown is worked in continuous rounds, meaning you will not join with a slip stitch at the end of each round unless specifically instructed. Instead, you will work in a spiral. This technique creates a seamless, smooth fabric that is perfect for the base of the crown.
Pro-Tip: Place your stitch marker in the first stitch of each round and move it up as you go. This will save you from a major headache when trying to count your rounds later!
Creating the Base of the Crown
We will start by creating a flat circle that will form the top of the baby's head. We begin with a magic ring, which gives a beautifully closed, tight center.
Round 1: Make a magic ring. Work 6 single crochet (sc) into the ring. Pull the tail to tighten the ring closed. (6 sc)
Round 2: Work 2 single crochet (sc) in each single crochet around. This is an increase round. (12 sc)
Round 3: *Sc in the next sc, 2 sc in the next sc* (this is a standard increase). Repeat from * to * around. (18 sc)
Round 4: *Sc in the next 2 sc, 2 sc in the next sc* repeat from * to * around. (24 sc)
Round 5: *Sc in the next 3 sc, 2 sc in the next sc* repeat from * to * around. (30 sc)
At this point, you should have a flat, circular disc. If it is curling up like a bowl, your tension is too tight. If it is ruffling, your tension is too loose. For a baby crown, a slight curve is fine, but we want it relatively flat before we move to the sides.
Shaping the Sides of the Crown
Now that we have our flat circle, we need to create the sides of the crown that will hug the baby's head. We achieve this by working into the back loop only for one round, which creates a crisp, neat fold line.
Round 6: Working in the back loop only (insert hook into the loop furthest away from you), sc in each sc around. (30 sc) This creates a neat edge for the base.
Round 7: Now, working through both loops again (as you normally would), sc in each sc around. (30 sc)
After this round, your work will naturally start to turn downward, forming the "walls" of the crown. Continue to keep your tension even here so the crown fits snugly.
Creating the Scalloped Halo Points
This is where the magic happens! We will now create the beautiful, fan-like scallops that give the crown its halo appearance. This round uses double crochet clusters and slip stitches.
Round 8: *Skip the next sc, work 5 double crochet (dc) into the next sc, skip the next sc, slip stitch (sl st) into the next sc* Repeat from * to * around.
Let's break that down to make sure it is crystal clear:
- Skip one stitch (do not work into it).
- In the very next stitch, work 5 double crochet stitches. This creates a "shell" or fan.
- Skip the next stitch.
- Slip stitch into the following stitch to anchor the shell down.
- Repeat this sequence all the way around the crown.
Because you have 30 stitches, and each repeat uses 4 stitches (1 skipped + 1 for the shell + 1 skipped + 1 for the slip stitch), you will end up with a series of scallops that perfectly fit around the edge. The math works out beautifully!
To finish, end with a slip stitch into the first single crochet of the round (the very first sc you made in Round 8). Fasten off, leaving a tail long enough to weave in with your tapestry needle.
Finishing Touches and Stiffening
Now that your crown is complete, it is time to give it that professional, polished look.
1. Weave in Ends: Thread your tapestry needle with the yarn tails and weave them carefully through the wrong side of the crown. Trim any excess.
2. Stiffening (Optional but Recommended): To help the crown hold its halo shape and stand up nicely, lightly spray it with spray starch or dip it in a liquid fabric stiffener. Gently shape the crown over a small bowl or a rolled-up towel to dry. This will help the scallops stand up and maintain their form.
3. Adding Sparkle: For that extra touch of magic, sew a small seed bead or sequin onto the center of each scallop point. This catches the light beautifully and elevates the crown from lovely to absolutely enchanting.
And there you have it! Your very own Moonbeam Baby's Crochet Halo Crown. This project is quick enough for a weekend afternoon but yields a result that looks like it took hours of intricate work. It is the perfect gift for a baby shower, a new parent, or a special photoshoot for your own little star. I hope you enjoyed this tutorial as much as I enjoyed creating it for you. Happy crocheting, and may your days be filled with soft yarn and gentle stitches!