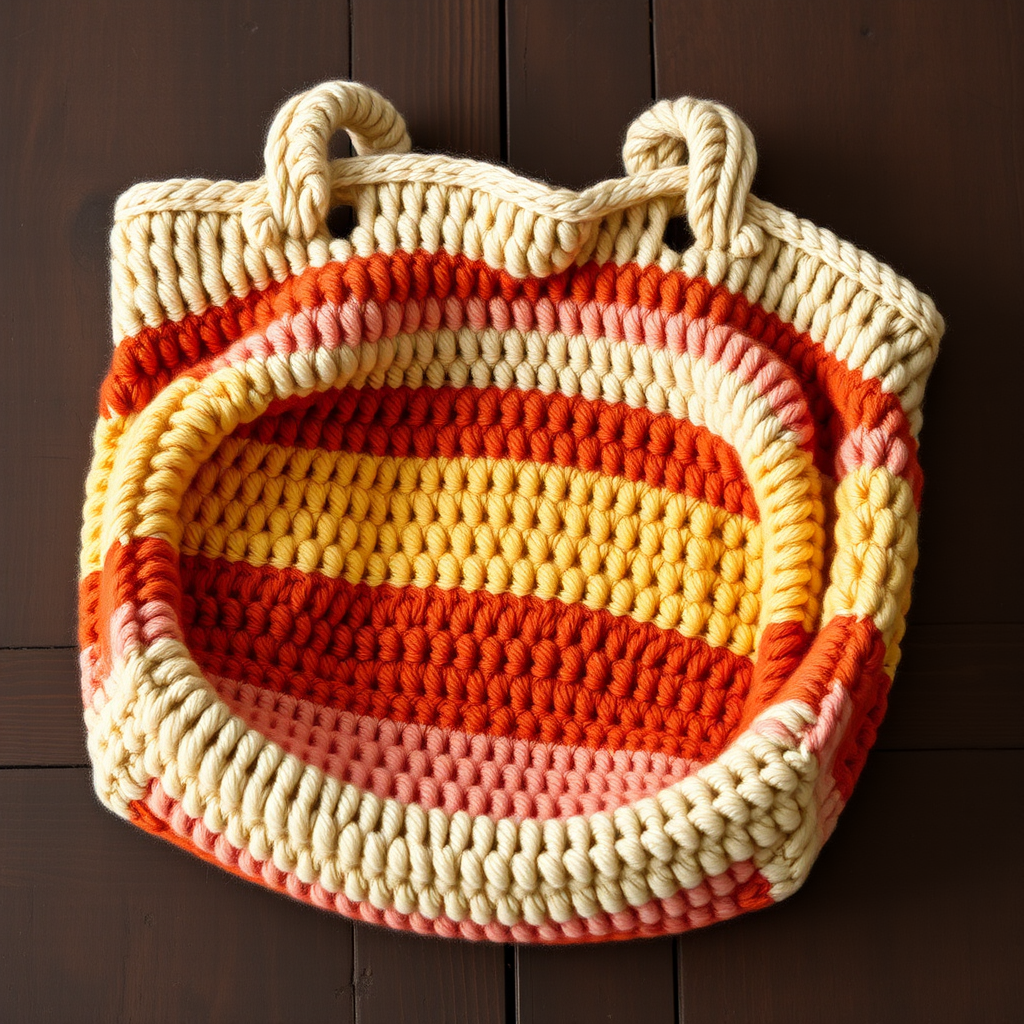
Patchwork Picnic Tote Free Pattern – Scrappy Crochet Market Bag

Turn Your Yarn Scraps into a Boho Masterpiece: The Patchwork Picnic Tote
Are you staring at a basket overflowing with leftover yarn, wondering what to make that's both beautiful and useful? Look no further. The Patchwork Picnic Tote is the perfect scrappy crochet project to transform those odds and ends into a stunning, textured market bag. With its boho-chic aesthetic and sturdy cotton construction, this tote is ideal for farmers market hauls, beach days, or even carrying your latest work-in-progress. Best of all, this free pattern is beginner-friendly, breaking down the process into simple granny squares that come together into a professional-looking bag.
This pattern is designed to be your new favorite stash-buster. By using 12 individual granny squares, you can mix and match colors to create a unique, personalized accessory. The classic granny stitch provides a beautiful, open texture that's durable yet flexible, while the solid single crochet border and sturdy straps ensure your tote can handle everything you throw in it. Let's dive in and create something wonderful!
Materials Needed
Before you begin your crafting journey, gather these simple supplies. The beauty of this pattern is its flexibility—feel free to raid your stash!
- Yarn: Worsted weight cotton or cotton-blend yarn in assorted scrap colors (approx. 400-500 yards total). The sample uses warm earthy tones like terracotta, mustard, sage, and cream.
- Crochet Hook: 5.5 mm (I-9) crochet hook.
- Notions: Yarn needle for weaving in ends and sewing, stitch markers, and scissors.
- Optional: Fabric for lining (if you want extra durability for heavy items).
Gauge & Size
Gauge: 14 sc x 16 rows = 4 x 4 inches. While gauge isn't critical for a bag, matching it ensures your tote is the intended size. The finished bag is a roomy rectangle, perfect for everyday essentials.
Step-by-Step Instructions
This pattern is worked in continuous spiral rounds unless otherwise stated. Always use a stitch marker to track your rounds. The bag is constructed from 12 individual granny squares (6 for each side) that are then joined and finished with a sturdy strap.
Part 1: The Granny Squares (Make 12)
Each square is worked in 4 rounds, with a new color introduced each round. This is where you can get creative with your color placement!
Round 1 (Color A): Make a magic ring. Chain 3 (counts as first double crochet). Work 2 double crochet (dc) into the ring. Chain 2. Repeat *(3 dc, ch 2)* three more times. Join with a slip stitch (sl st) to the top of the starting chain-3. Fasten off and weave in the tail.
Round 2 (Color B): Join Color B in any chain-2 corner space. Chain 3 (counts as dc). Work *(2 dc, ch 2, 3 dc)* in the same corner space. Chain 1. In each remaining corner space, work *(3 dc, ch 2, 3 dc)*, followed by a ch 1 between corners. Join with a sl st to the top of the starting chain-3. Fasten off.
Round 3 (Color C): Join Color C in any corner space. Chain 3. Work *(2 dc, ch 2, 3 dc)* in the corner. Chain 1. In the next chain-1 space (the side), work 3 dc. Chain 1. Repeat this pattern around: corner cluster, ch 1, side cluster of 3 dc, ch 1. Join with a sl st. Fasten off.
Round 4 (Color D): Join Color D in any corner space. Chain 3. Work *(2 dc, ch 2, 3 dc)* in the corner. Chain 1. Work *3 dc* in each chain-1 space across the side, with a ch 1 between each cluster. At the corners, work the corner cluster. Continue around, joining with a sl st at the end. Fasten off and weave in all ends securely.
Part 2: Assembling the Bag Body
Now that you have 12 beautiful squares, it's time to turn them into a bag!
Step 1: Create the Panels. Arrange 6 squares in a 2x3 rectangle (2 squares wide, 3 squares tall) for each side of the bag. Play with the color layout until you're happy with the design.
Step 2: Whip Stitch the Squares. Using a tapestry needle and a length of matching yarn, whip stitch the squares together along their edges. To do this, place two squares with right sides together and sew through the back loops only, creating a flat, invisible seam. Join all 6 squares to form one large rectangle. Repeat for the second panel.
Step 3: Join the Panels. Place the two large rectangles together with right sides facing out (the "wrong" sides together). Using the whip stitch method, sew along the bottom edge and up both side edges, leaving the top open. Turn the bag right side out so the seams are on the inside.
Part 3: The Top Border
The border gives the bag a clean, finished look and a sturdy edge.
Round 1: Join your yarn at the top edge of the bag. Work a round of single crochet (sc) evenly around the top opening. Aim for about 2 sc per double crochet cluster edge. Join with a sl st to the first sc.
Rounds 2 & 3: Chain 1 (does not count as a stitch). Work 1 sc in each sc around. Join with a sl st. Repeat this round once more for a total of 3 border rounds. Fasten off and weave in the end.
Part 4: Creating the Straps (Make 2)
These simple, sturdy straps are crocheted flat and sewn on.
Row 1: With your chosen strap color (Color E), chain 120 (or your desired strap length). Single crochet in the 2nd chain from the hook and in each chain across. Chain 1 and turn.
Row 2: Single crochet in each single crochet across. Fasten off, leaving a long tail for sewing.
Attaching the Straps: Using a tapestry needle and the yarn tail, securely sew one end of each strap to the inside top edge of the bag. Position them evenly on each side. Sew back and forth several times to ensure they are strong enough to hold the bag's weight.
Finishing Touches
Weave in all remaining ends with your yarn needle. For extra durability and to prevent small items from falling through the granny square holes, consider sewing a fabric lining into the bag. Simply cut a rectangle of fabric slightly larger than the bag, sew the sides, and hand-stitch it inside the tote.
Congratulations! You've just created a gorgeous, one-of-a-kind Patchwork Picnic Tote. This bag is not only a stylish accessory but a testament to your creativity and skill. Enjoy using it, and don't be surprised if you get asked where you bought it!