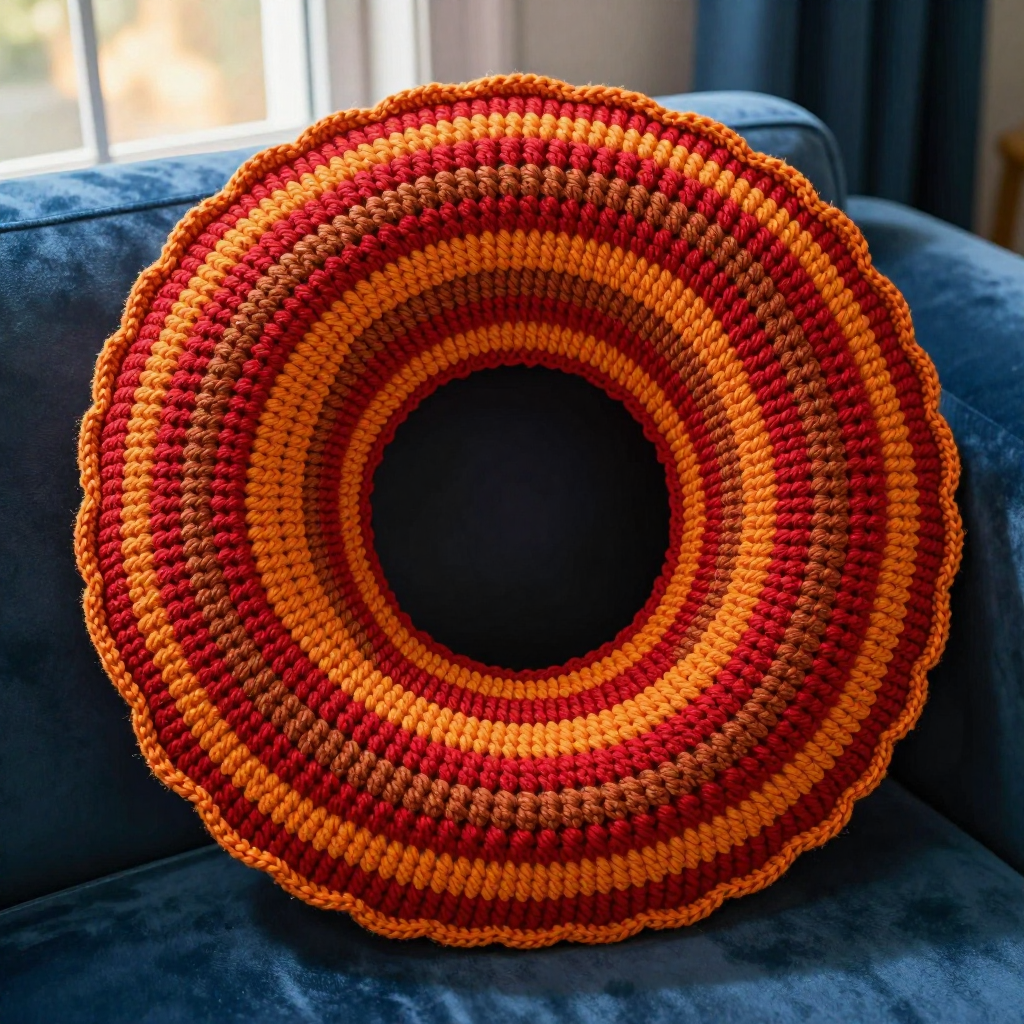
Mushroom Garden Coaster Mat Free Crochet Pattern

Mushroom Garden Coaster Mat Free Crochet Pattern
Introduction
This sweet little mushroom mat is the perfect first "grown-up" project for a brand-new crocheter who has already learned a few basic stitches and wants to make something truly adorable. It is a flat, circular coaster mat shaped like a woodland mushroom, with a bright red cap center, a soft cream stem ring, and a red border finished with a tiny picot edge. Eight little white dots are sewn around the border to give it that kawaii, storybook look. The finished mat is about 8.5 inches (21.5 cm) across, lies perfectly flat, and has a soft matte cotton texture that feels lovely under a mug, a small plant pot, or a candle. Best of all, it is worked almost entirely in one simple stitch, so you can relax and enjoy watching the circle grow.
Materials Needed
- Yarn: DK / Light (3) weight cotton or cotton-blend yarn, approximately 60–70 yards total: about 35 yards red, 20 yards cream, and 5 yards white.
- Crochet hook: 3.5 mm (US size E/4).
- Stitch marker (one is enough, but a few are handy).
- Tapestry needle (a blunt, large-eyed needle for sewing in ends and attaching dots).
- Scissors.
- Finished size: approximately 8.5 inches (21.5 cm) in diameter. The red cap center measures about 5 inches (12.5 cm) across, the cream ring is about 0.75 inch (2 cm) wide, and each white dot is about 0.5 inch (1.25 cm) across.
Abbreviations and Beginner Glossary
- ch – chain. Make a loop of yarn on your hook and pull a new loop through it. Each chain looks like a tiny "V."
- sl st – slip stitch. Insert your hook into the stitch, yarn over, and pull that loop straight through the loop already on your hook. It joins stitches without adding height.
- sc – single crochet. Insert hook into stitch, yarn over, pull up a loop (2 loops on hook), yarn over again, pull through both loops. One loop remains.
- hdc – half double crochet. Yarn over, insert hook into stitch, yarn over, pull up a loop (3 loops on hook), yarn over, pull through all 3 loops. (Listed for reference; not used in this pattern.)
- dc – double crochet. Yarn over, insert hook, yarn over, pull up a loop (3 loops), yarn over, pull through 2 loops, yarn over, pull through last 2 loops. (Listed for reference; not used in this pattern.)
- sc2tog – single crochet 2 together (a decrease). Insert hook into first stitch, pull up a loop, insert hook into next stitch, pull up a loop, yarn over, pull through all 3 loops. (Listed for reference; not used in this pattern.)
- st / sts – stitch / stitches.
- rnd – round. One complete circle of stitches worked around the center.
- [ ] – repeat the instructions inside the brackets the number of times stated after them.
- 2 sc in next st – work two single crochets into the same stitch. This is an increase and makes the circle grow.
- magic ring – an adjustable loop of yarn you crochet into, then pull closed so there is no hole in the center. If you prefer, chain 4 and join with a sl st to form a ring instead.
- picot – a tiny bump made by chaining 2 and slip stitching back into the second chain from the hook.
- fasten off – cut the yarn, pull the tail all the way through the last loop, and tighten.
- weave in ends – thread a yarn tail onto the tapestry needle and sew it back and forth through the back of the work so it disappears.
Gauge
Gauge: 18 sc x 20 rounds = 4 inches (10 cm). Another way to check: 4 rounds of single crochet in the round = 2 inches (5 cm) in diameter.
Gauge matters because it tells you whether your mat will come out the right size. If your stitches are bigger than the gauge, your mat will be too large and may ripple; if they are smaller, it will be too small. To make a gauge swatch, work the first 4 rounds of the red cap center, then measure straight across the circle. It should be about 2 inches (5 cm). If it is bigger, try a smaller hook; if smaller, try a larger hook. Because this is a coaster, a small difference is fine, but checking first saves you from surprises.
Beginner Tips Before You Start
- Use a stitch marker. Because the mat is worked in a continuous spiral, there is no visible seam. Place a marker in the first stitch of each round and move it up each time so you always know where a round begins and ends.
- Do not pull your yarn too tight. Tension that is too tight makes the circle cup upward. Keep your stitches relaxed and even.
- Count every round. The stitch counts in parentheses are your safety net. If a round does not match, undo it and try again before moving on.
- Keep the center flat. After the first few rounds, lay the circle on the table. If it ruffles, your increases are too close together; if it cups, you may have missed an increase.
- Work the increases in different spots. The pattern shifts the increase position each round, which keeps the circle round instead of hexagonal.
- Save your tails. Leave 6-inch tails when you fasten off so you have plenty of yarn to weave in and to sew on the dots.
Step-by-Step Instructions
Notes: The mat is worked in continuous rounds in a flat spiral. Do not join or turn unless the instructions say to. Place a stitch marker in the first stitch of each round and move it up as you go. The red cap center is worked first, then the cream stem ring is added around it, then a final red border round, and the white dot appliqués are sewn on last.
Red Cap Center
With red yarn, make a magic ring.
Rnd 1: 6 sc into the ring. Pull the ring closed. (6 sc)
Rnd 2: 2 sc in each st around. (12 sc)
Rnd 3: [Sc in next st, 2 sc in next st] around. (18 sc)
Rnd 4: [Sc in next 2 sts, 2 sc in next st] around. (24 sc)
Rnd 5: [Sc in next 3 sts, 2 sc in next st] around. (30 sc)
Rnd 6: [Sc in next 4 sts, 2 sc in next st] around. (36 sc)
Rnd 7: [Sc in next 5 sts, 2 sc in next st] around. (42 sc)
Rnd 8: [Sc in next 6 sts, 2 sc in next st] around. (48 sc)
Rnd 9: [Sc in next 7 sts, 2 sc in next st] around. (54 sc)
Rnd 10: [Sc in next 8 sts, 2 sc in next st] around. (60 sc)
Rnd 11: [Sc in next 9 sts, 2 sc in next st] around. (66 sc)
Rnd 12: [Sc in next 10 sts, 2 sc in next st] around. (72 sc)
Rnd 13: Sc in each st around. (72 sc)
Fasten off red. The cap center should measure about 5 inches (12.5 cm) across.
Cream Stem Ring
Join cream yarn with a sl st in any stitch of Rnd 13.
Rnd 14: Ch 1, sc in same st and in each st around. Join with sl st to first sc. (72 sc)
Rnd 15: Ch 1, sc in same st and in each st around. Join with sl st to first sc. (72 sc)
Rnd 16: Ch 1, [sc in next 5 sts, 2 sc in next st] around. Join with sl st to first sc. (84 sc)
Rnd 17: Ch 1, sc in same st and in each st around. Join with sl st to first sc. (84 sc)
Fasten off cream. The cream ring should form a visible band about 0.75 inch (2 cm) wide around the red cap.
Red Border Round
Join red yarn with a sl st in any stitch of Rnd 17.
Rnd 18: Ch 1, sc in same st and in each st around. Join with sl st to first sc. (84 sc)
Rnd 19: Ch 1, [sc in next 6 sts, 2 sc in next st] around. Join with sl st to first sc. (96 sc)
Rnd 20: Ch 1, sc in same st and in each st around. Join with sl st to first sc. (96 sc)
Rnd 21 (picot edging): Ch 1, sc in same st, [ch 2, sl st in second ch from hook (picot made), sc in next 2 sts] around, ending with sl st to first sc. Fasten off red and weave in ends.
The finished mat should measure approximately 8.5 inches (21.5 cm) in diameter.
White Dot Appliqués (make 8)
With white yarn, make a magic ring.
Rnd 1: 6 sc into the ring. Join with sl st to first sc. Fasten off, leaving a 6-inch tail for sewing. (6 sc)
Pull the ring closed and weave in the starting tail. Each dot should measure about 0.5 inch (1.25 cm) across.
Assembly and Finishing
- Place the dots. Arrange the 8 white dots evenly around the red border round, spacing them about 1 inch apart and placing them just inside the picot edging. Pin each one in place so it does not shift while you sew.
- Sew the dots. Thread a white tail onto the tapestry needle. Sew each dot securely to the mat with small whipstitches (bring the needle up through the dot and down through the mat, over and over around the edge), catching only the surface of the red stitches so the stitches do not show through to the back. Repeat for all 8 dots.
- Weave in ends. Turn the mat to the wrong side. Thread each remaining tail onto the tapestry needle and sew it back and forth through the back of nearby stitches for about an inch, then trim close to the work.
- Block. Lightly mist the mat with water and pin it flat to a towel or blocking mat, shaping it into a perfect circle. Let it dry completely before removing the pins. This evens out the stitches and makes the mat lie beautifully flat.
Pro Tips and Variations
- Change the colors. Try a brown cap with a tan stem for a more natural woodland look, or a pastel pink cap with a white stem for an extra-sweet kawaii version. Keep the dot color contrasting so it stands out.
- Make it bigger or smaller. To make a larger mat, keep adding increase rounds in the same pattern (each round adds 6 stitches and increases the "sc in next X sts" number by one), then finish with the cream ring, border, and picot edging. To make a smaller coaster, stop the red cap after Rnd 10 or 11 and adjust the cream and border rounds to match your stitch count.
- Substitute yarn. Worsted weight yarn with a 4.0 mm (G/6) hook makes a thicker, faster mat; sport weight with a 3.0 mm hook makes a finer, daintier one. Always check your gauge first so the size stays close to 8.5 inches.
- Skip the picot edge. If you are short on time or want a cleaner rim, replace Rnd 21 with a plain round of sc in each stitch around, then fasten off. The mat will still look charming and lie flat.
Care: Hand wash gently in cool water with mild soap. Roll in a towel to remove excess water and dry flat. Do not wring or tumble dry.