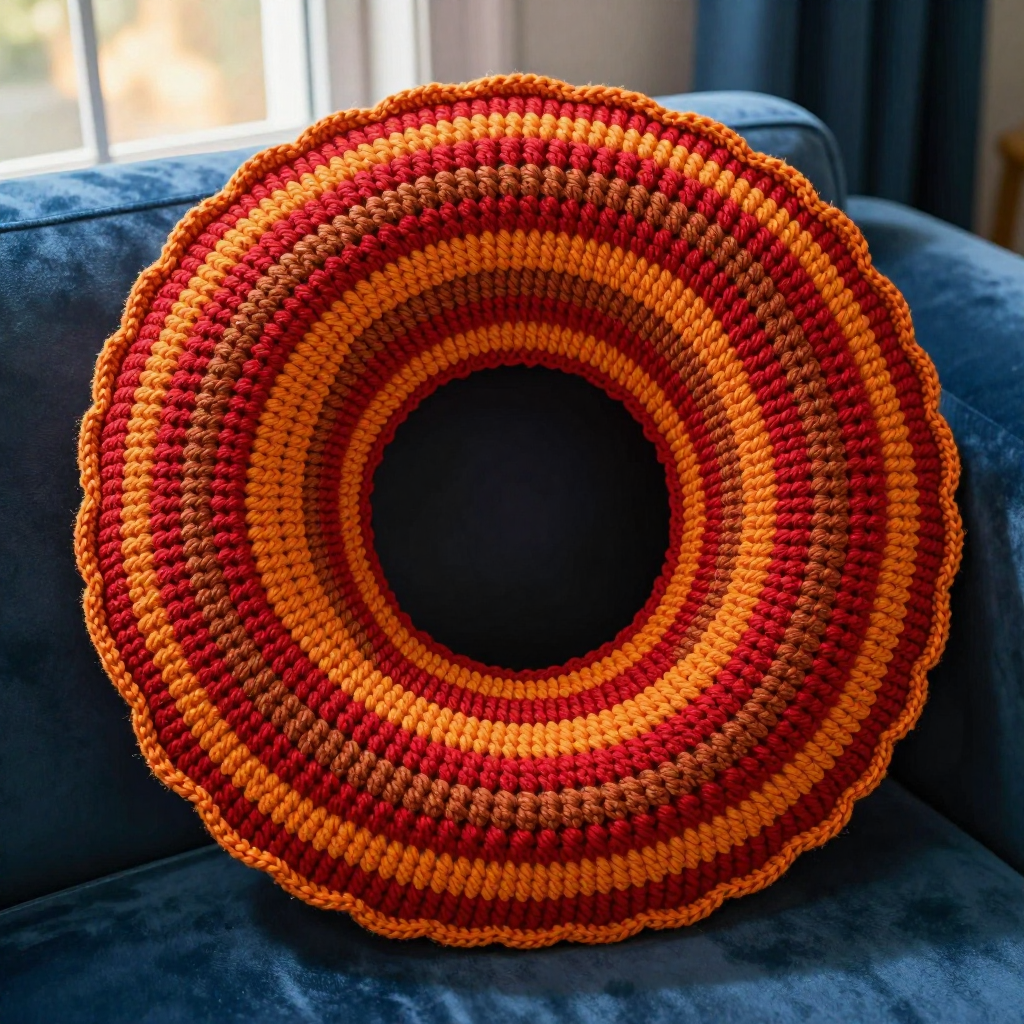
Cream Acorn Hot-Water Cover Crochet Free Pattern

Cream Acorn Hot-Water Cover Crochet Pattern
If you have ever wanted to make something that looks like it came from a cozy, candlelit study, this is your project. The Cream Acorn Hot-Water Cover is a dome-shaped cozy worked in simple single crochet, with a sage-green "acorn cap" drawn in near the top and finished with a tiny crocheted knot. It is perfect for a complete beginner who has just learned the single crochet stitch, because it uses only a handful of basic stitches and almost no shaping tricks. The finished cover is dense, even, and soft, with a quiet dark-academia feel — cream body, muted sage crown, and a snug, stretchy fit that hugs a standard hot-water bottle. By the end you will have a warm, handmade object you can actually use on cold evenings, and you will have practiced working in the round, increasing, and decreasing.
Materials Needed
- Yarn: Worsted weight (CYC 4) wool or wool-blend yarn, approx. 180 yd (165 m) total — 130 yd (120 m) cream (MC) and 50 yd (46 m) sage green (CC). Wool or a wool blend holds the dome shape best.
- Crochet hook: Size G/6 (4.0 mm), or whatever size you need to match the gauge below.
- Stitch marker: At least one, to mark the first stitch of each round.
- Tapestry needle (yarn needle): For weaving in ends.
- Scissors: For cutting yarn.
- Hot-water bottle: One standard bottle, approx. 13 in (33 cm) tall x 8 in (20 cm) wide, for fitting and blocking.
- Finished size: The cover measures approx. 14 in (35.5 cm) tall from base to top of knot and approx. 9 in (23 cm) wide at the widest point, stretching to fit the bottle. The flat base circle measures approx. 4.5 in (11.5 cm) across.
Abbreviations and Beginner Glossary
- ch — chain. Make a loop of yarn on the hook and pull another loop through it. This creates a small linked loop.
- sc — single crochet. Insert your hook into the stitch, wrap yarn over the hook, pull up a loop (you now have 2 loops on the hook), wrap yarn over again, and pull through both loops. One single crochet made.
- sc2tog — single crochet 2 together. This is a decrease that turns 2 stitches into 1. Insert hook into the first stitch, pull up a loop, insert hook into the next stitch, pull up a loop (3 loops on hook), wrap yarn over, pull through all 3 loops. One stitch is removed.
- sl st — slip stitch. Insert hook into the stitch, wrap yarn over, and pull that loop straight through the loop on your hook. Used here only for the optional hanging loop.
- st(s) — stitch or stitches.
- rnd(s) — round or rounds. One complete circle of stitches worked around.
- MC — main color (cream).
- CC — contrast color (sage green).
- Magic ring — an adjustable loop you crochet into, then pull closed so there is no hole in the center. If you prefer, you can chain 2 and work your first stitches into the first chain instead.
- 2 sc in next st — an increase. Work two single crochets into the same stitch, adding one stitch.
- Work in continuous rounds — you spiral around and around without joining at the end of each round, so the rounds blend together.
- Fasten off — cut the yarn, pull the tail through the last loop, and tighten.
Gauge
16 sc x 18 rnds = 4 in (10 cm) in single crochet worked in the round.
Gauge matters because it tells you whether your cover will actually fit the bottle. If your stitches are too big, the cover will be baggy; if they are too small, it will not stretch over the bottle. To check, work a small swatch in the round — about 20 single crochets for 20 rounds — then lay it flat and measure a 4 in (10 cm) section with a ruler. Count the stitches across and the rounds up. If you have more stitches than 16, your tension is tight; try a larger hook. If you have fewer, try a smaller hook. Always make the swatch before starting the real cover.
Beginner Tips Before You Start
- Use a stitch marker. Because you work in a spiral, it is very easy to lose track of where a round begins. Place the marker in the first stitch of each round and move it up as you go.
- Do not pull the yarn too tight. Keep an even, relaxed tension. Tight stitches make the cover stiff and hard to stretch over the bottle.
- Count your stitches at the end of every round. The stitch count in parentheses tells you exactly how many you should have. If it is off, fix it before moving on.
- Keep the base circle flat. If the base starts to ruffle or cup, your increases are uneven. Lay it on a table after each round to check.
- Change color cleanly. When you switch from cream to sage at Round 31, finish the last cream stitch, then pull the sage through to complete it. This hides the join.
- Try it on as you go. Once the body is long enough, slip the cover over the bottle to check the fit before you start the cap.
Step-by-Step Instructions
Base Circle (MC)
Work in continuous rounds. Ch 1 at the beginning of a round does not count as a stitch.
Rnd 1: Make a magic ring, ch 1, work 6 sc into the ring, pull the ring closed. (6 sc)
Rnd 2: 2 sc in each st around. (12 sc)
Rnd 3: [2 sc in next st, sc in next st] around. (18 sc)
Rnd 4: [2 sc in next st, sc in next 2 sts] around. (24 sc)
Rnd 5: [2 sc in next st, sc in next 3 sts] around. (30 sc)
Rnd 6: [2 sc in next st, sc in next 4 sts] around. (36 sc)
Rnd 7: [2 sc in next st, sc in next 5 sts] around. (42 sc)
Rnd 8: [2 sc in next st, sc in next 6 sts] around. (48 sc)
Rnd 9: [2 sc in next st, sc in next 7 sts] around. (54 sc)
Rnd 10: [2 sc in next st, sc in next 8 sts] around. (60 sc)
Rnd 11: [2 sc in next st, sc in next 9 sts] around. (66 sc)
Rnd 12: [2 sc in next st, sc in next 10 sts] around. (72 sc)
The base circle should now measure approx. 4.5 in (11.5 cm) across. Do not fasten off.
Body (MC)
Rnds 13–30: Sc in each st around. (72 sc)
The work should measure approx. 7.5 in (19 cm) from the base edge. Do not fasten off.
Acorn-Cap Section (CC)
Change to CC. Continue in continuous rounds.
Rnd 31: Sc in each st around. (72 sc)
Rnd 32: [Sc2tog, sc in next 10 sts] around. (66 sc)
Rnd 33: Sc in each st around. (66 sc)
Rnd 34: [Sc2tog, sc in next 9 sts] around. (60 sc)
Rnd 35: Sc in each st around. (60 sc)
Rnd 36: [Sc2tog, sc in next 8 sts] around. (54 sc)
Rnd 37: Sc in each st around. (54 sc)
Rnd 38: [Sc2tog, sc in next 7 sts] around. (48 sc)
Rnd 39: Sc in each st around. (48 sc)
Rnd 40: [Sc2tog, sc in next 6 sts] around. (42 sc)
Rnd 41: Sc in each st around. (42 sc)
Rnd 42: [Sc2tog, sc in next 5 sts] around. (36 sc)
Rnd 43: Sc in each st around. (36 sc)
Rnd 44: [Sc2tog, sc in next 4 sts] around. (30 sc)
Rnd 45: Sc in each st around. (30 sc)
Rnd 46: [Sc2tog, sc in next 3 sts] around. (24 sc)
Rnd 47: Sc in each st around. (24 sc)
Rnd 48: [Sc2tog, sc in next 2 sts] around. (18 sc)
Rnd 49: Sc in each st around. (18 sc)
Rnd 50: [Sc2tog, sc in next st] around. (12 sc)
Rnd 51: Sc in each st around. (12 sc)
Rnd 52: [Sc2tog] around. (6 sc)
Do not fasten off.
Knot (CC)
Rnd 53: Sc in each st around. (6 sc)
Rnd 54: [Sc2tog] around. (3 sc)
Fasten off, leaving a 6 in (15 cm) tail. Thread the tail through the remaining 3 sts, pull tight to close, and weave in the end.
Optional Hanging Loop (CC)
With CC, join yarn at the top of the knot, ch 8, sl st to the same st to form a loop, fasten off, and weave in ends.
Assembly and Finishing
This cover has no seams to sew, which makes finishing quick and beginner-friendly. Start by weaving in all loose ends on the wrong side (the inside of the cover). Thread each tail onto the tapestry needle, run it through the back of several stitches, then trim close to the fabric so it will not show.
Next, block the cover to set the dome shape. Lightly steam-block it over the hot-water bottle itself (or a similar form): hold a steam iron a few inches above the fabric, let the steam relax the stitches, and smooth the sage cap so it looks crisp. Do not press the iron directly onto the wool. Let the cover dry completely on the form.
Finally, slip the cover over the bottle. The flat base circle should sit against the bottom, the cream body should stretch snugly around the sides, and the sage cap should draw in at the crown with the knot resting at the top. If you made the hanging loop, check that it sits neatly at the top of the knot.
Pro Tips and Variations
- Change the colors. Try a deep mustard body with a rust cap for an autumn look, or keep the cream body and use charcoal for the cap for a more modern feel. Any worsted weight wool or wool blend will work.
- Adjust the size. To fit a slightly larger bottle, add one more increase round to the base (Rnd 13: [2 sc in next st, sc in next 11 sts] around = 78 sc) and work the body straight for the same number of rounds. To fit a smaller bottle, stop the base circle one round earlier.
- Add texture. Work the cream body in half double crochet instead of single crochet for a slightly softer, quicker fabric — just remember to check your gauge again.
- Make it a gift set. Crochet a matching small coaster or a simple cord tie in the sage yarn, and present the cover with a ribbon around the knot for a handmade gift.