Mossy Glen Knitted Throw Pillow Free Pattern – A Textured Forest Floor Cushion

Mossy Glen Knitted Throw Pillow Free Pattern – A Textured Forest Floor Cushion
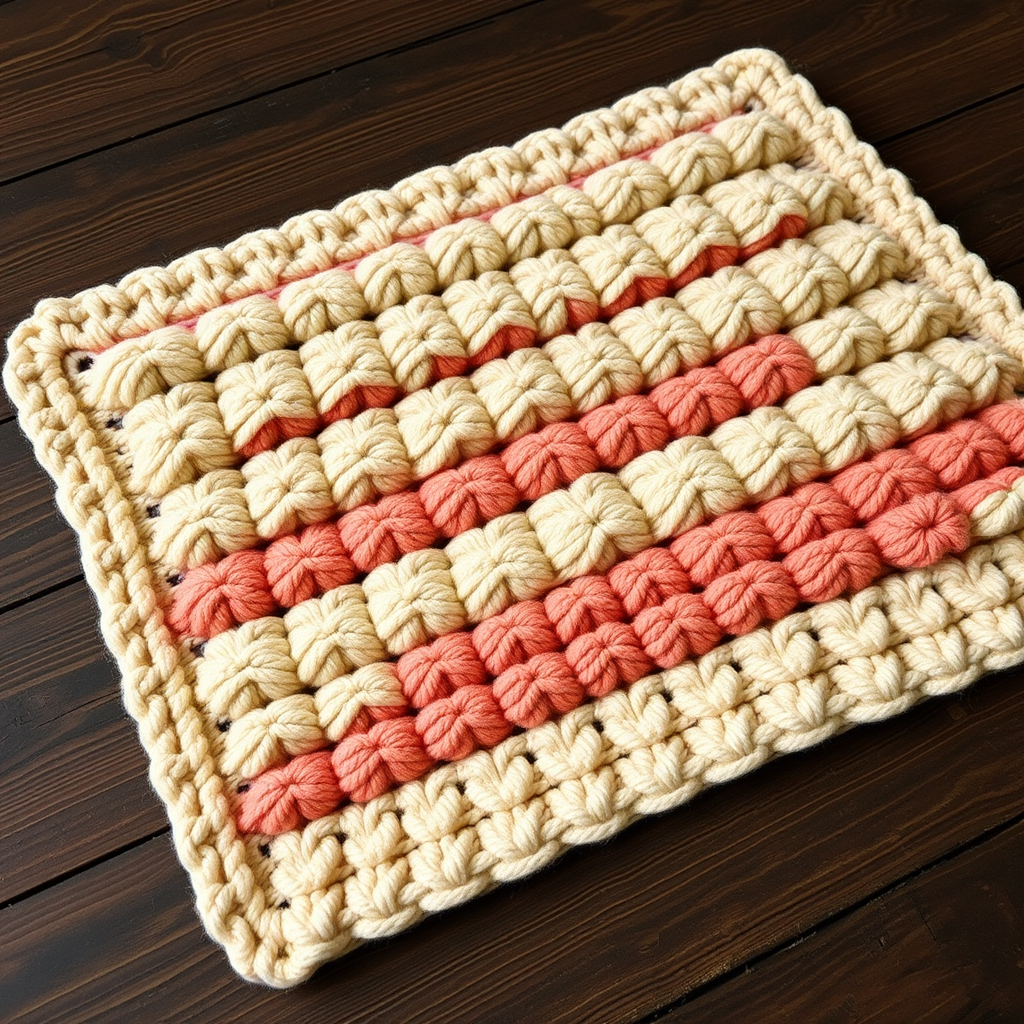
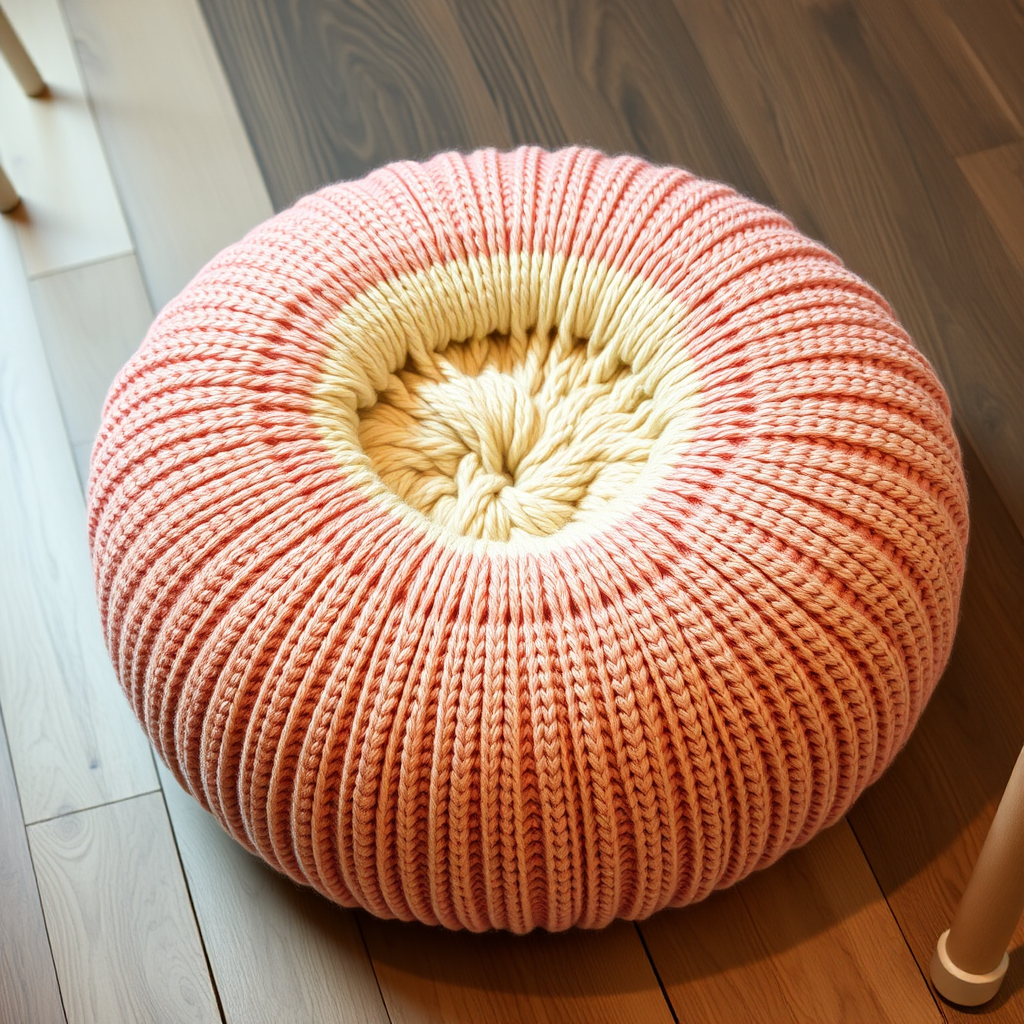
Bring the serene hush of a woodland floor into your living space with this plush, textured throw pillow. The intricate moss stitch pattern and earthy palette create a cozy, organic accent that invites you to sink in and unwind. Whether you're curling up with a book or adding a touch of boho charm to your sofa, this handcrafted cushion is the perfect project for knitters looking to create something beautiful and functional.
This pattern is designed with beginners in mind, yet offers enough texture and variety to keep more experienced crafters engaged. The result is a stunning 18-inch square pillow that mimics the bumpy, organic surface of moss and lichen, using three harmonious shades of worsted weight yarn. Let's dive into this rewarding project!
Materials Needed
Before you begin, gather the following supplies:
- Yarn: Worsted weight yarn in three shades:
- Deep forest green (MC) – approximately 200g
- Soft sage green (CC1) – approximately 100g
- Warm oatmeal (CC2) – approximately 100g
- Knitting Needles: US 8 (5mm) knitting needles
- Crochet Hook: US H/8 (5mm) crochet hook (for finishing)
- Other: Tapestry needle for weaving in ends, scissors, and an 18-inch pillow insert
Gauge: 18 stitches and 24 rows = 4 inches in stockinette stitch. Always check your gauge to ensure the correct finished size.
Step-by-Step Instructions
Finished Size
18 inches square (fits an 18-inch pillow insert).
Abbreviations
- K = knit
- P = purl
- K2tog = knit two together
- P2tog = purl two together
- Sl = slip stitch
- MC = main color (deep forest green)
- CC1 = contrast color 1 (soft sage green)
- CC2 = contrast color 2 (warm oatmeal)
Pattern Notes
- The pillow is knitted in two identical panels, then seamed together with a crochet slip stitch border.
- The moss stitch pattern creates a bumpy, organic texture reminiscent of moss and lichen.
- Take your time with the color changes – weave in ends as you go or leave them for the finishing stage.
Panel 1 (Make 2)
With MC, cast on 80 stitches.
Rows 1-4: Work in garter stitch (knit every row). This creates a sturdy, non-curling edge for your pillow panel.
Row 5 (RS): Switch to CC1. *K1, P1; repeat from * to end.
Row 6 (WS): *P1, K1; repeat from * to end.
Rows 7-10: Repeat Rows 5-6 twice more. This creates a ribbed moss texture in sage green.
Row 11 (RS): Switch to MC. *K2tog, P2tog; repeat from * to end. (40 stitches)
Row 12 (WS): *K1, P1; repeat from * to end.
Row 13 (RS): *P1, K1; repeat from * to end.
Rows 14-17: Repeat Rows 12-13 twice more. The decreases create a subtle taper, giving the pillow its dimensional, organic shape.
Row 18 (WS): Switch to CC2. *K1, P1; repeat from * to end.
Row 19 (RS): *P1, K1; repeat from * to end.
Rows 20-23: Repeat Rows 18-19 twice more. The warm oatmeal adds a lovely contrast to the greens.
Row 24 (WS): Switch to MC. *K2tog, P2tog; repeat from * to end. (20 stitches)
Row 25 (RS): *K1, P1; repeat from * to end.
Row 26 (WS): *P1, K1; repeat from * to end.
Rows 27-30: Repeat Rows 25-26 twice more.
Row 31 (RS): Switch to CC1. *K1, P1; repeat from * to end.
Row 32 (WS): *P1, K1; repeat from * to end.
Rows 33-36: Repeat Rows 31-32 twice more.
Row 37 (RS): Switch to MC. *K2tog, P2tog; repeat from * to end. (10 stitches)
Row 38 (WS): *K1, P1; repeat from * to end.
Row 39 (RS): *P1, K1; repeat from * to end.
Rows 40-43: Repeat Rows 38-39 twice more.
Row 44 (WS): Switch to CC2. *K1, P1; repeat from * to end.
Row 45 (RS): *P1, K1; repeat from * to end.
Rows 46-49: Repeat Rows 44-45 twice more.
Row 50 (WS): Switch to MC. *K2tog, P2tog; repeat from * to end. (5 stitches)
Row 51 (RS): *K1, P1; repeat from * to end.
Row 52 (WS): *P1, K1; repeat from * to end.
Rows 53-56: Repeat Rows 51-52 twice more.
Row 57 (RS): Switch to CC1. *K1, P1; repeat from * to end.
Row 58 (WS): *P1, K1; repeat from * to end.
Rows 59-62: Repeat Rows 57-58 twice more.
Row 63 (RS): Switch to MC. *K2tog, P2tog; repeat from * to end. (3 stitches)
Row 64 (WS): *K1, P1; repeat from * to end.
Row 65 (RS): *P1, K1; repeat from * to end.
Rows 66-69: Repeat Rows 64-65 twice more.
Row 70 (WS): Switch to CC2. *K1, P1; repeat from * to end.
Row 71 (RS): *P1, K1; repeat from * to end.
Rows 72-75: Repeat Rows 70-71 twice more.
Row 76 (WS): Switch to MC. *K2tog, P2tog; repeat from * to end. (2 stitches)
Row 77 (RS): K2tog. (1 stitch)
Row 78 (WS): P1.
Bind off all stitches.
Repeat for the second panel. Make sure both panels are identical in size and stitch count.
Finishing
- Place the two panels with right sides together. Using MC and a crochet hook, slip stitch along three sides, leaving one side open. Work your slip stitches evenly along the edges, keeping them loose enough to maintain the fabric's drape.
- Turn the pillow cover right side out. Gently push out the corners with a blunt tool or your fingers to create crisp edges.
- Insert an 18-inch pillow form through the open side. Adjust the filling so it sits evenly in all corners.
- Slip stitch the remaining side closed, using the same technique as before. Make sure your stitches are secure but not too tight.
- Weave in all ends with a tapestry needle. Take care to hide them within the texture of the moss stitch so they're completely invisible.
Optional Embellishment
Add a few decorative crochet stitches (like a simple chain loop) at the corners for extra charm. This is a lovely way to personalize your pillow and add a handcrafted finishing touch.
Tips for Success
- Count your stitches after each decrease row to ensure accuracy.
- Keep your tension consistent – the moss stitch pattern looks best when the knit and purl bumps are uniform.
- Use stitch markers to keep track of your pattern repeats if you find it helpful.
- Block your panels before seaming to ensure they're perfectly square and the texture is even.
This Mossy Glen Knitted Throw Pillow is more than just a home decor piece – it's a tactile journey through a forest floor, captured in yarn. The combination of earthy greens and warm oatmeal creates a palette that complements any neutral or nature-inspired interior. Whether you're making it for yourself or as a thoughtful handmade gift, this pillow is sure to become a cherished piece in any home.
Happy knitting, and enjoy bringing a little bit of the woodland into your living space!