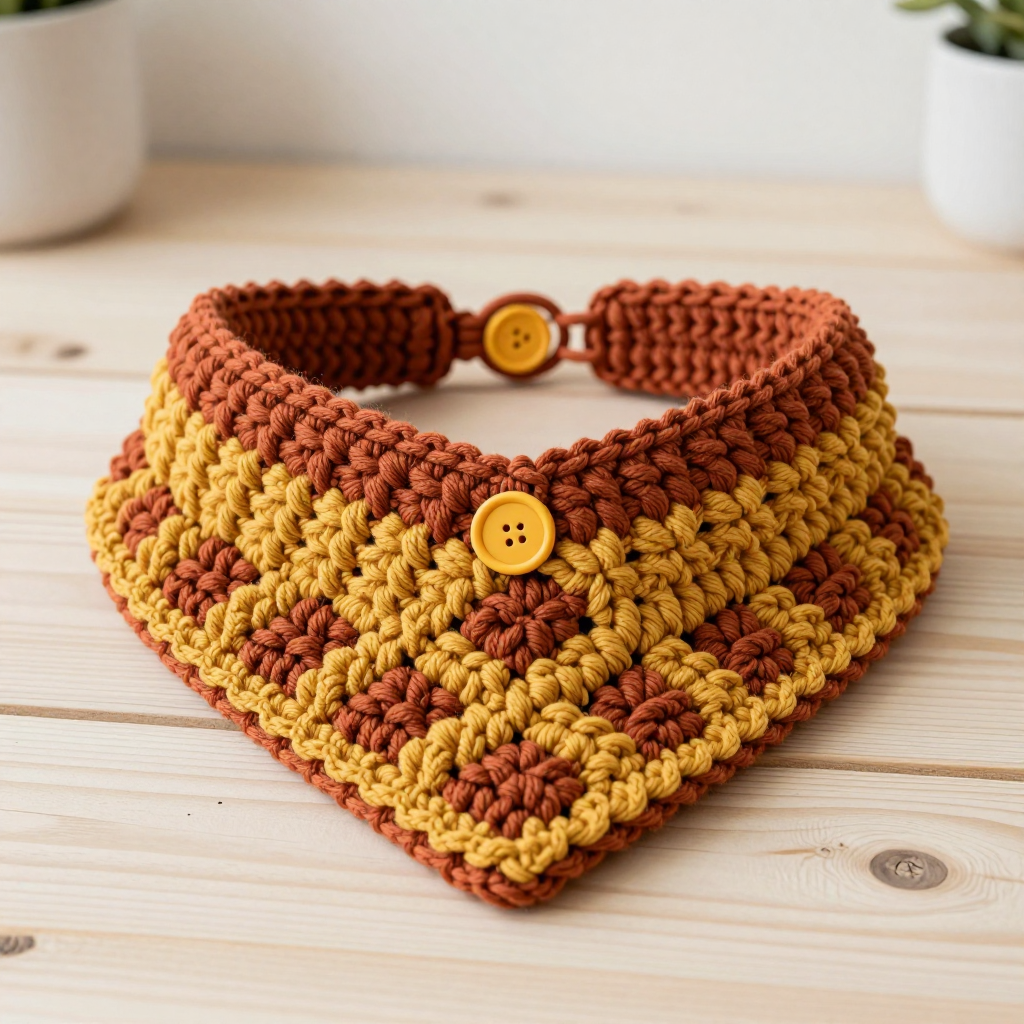
Mint Maple Collar Slip-On: Free Crochet Pattern for Cats

Mint Maple Collar Slip-On: Free Crochet Pattern for Cats
Introduction
If you have ever wanted to make something sweet for your cat but felt intimidated by complicated patterns, this is the project for you. The Mint Maple Collar Slip-On is a soft, plush tube collar made from four simple granny squares in fuzzy mint chenille, finished with one little lavender maple leaf at the front. It is perfect for brand-new crocheters because it uses only the most basic stitches, and every square is identical, so you get lots of practice with the same easy repeat. The finished collar looks like a cozy little 90s throwback: thick, squishy, and gentle against your cat's neck, with no buckles or clasps to fuss with. Best of all, it simply slips over the head, so dressing your pet takes about two seconds.
Materials Needed
- Yarn: Chenille plush yarn, super bulky (weight 6). Mint (main color, MC): approximately 55 yards. Lavender (contrast color, CC): approximately 12 yards.
- Hook: 6.5 mm (US K-10.5) crochet hook.
- Stitch marker (one is plenty, but a few help).
- Tapestry needle (a large-eye, blunt-tip needle for sewing and weaving in ends).
- Scissors.
- Finished size: Fits a cat neck of 8–10 inches (20–25 cm) with a slip-on fit. The finished collar measures about 10 inches (25 cm) in circumference and 2.5 inches (6.5 cm) tall.
Abbreviations and Beginner Glossary
- ch – chain: wrap the yarn over your hook and pull it through the loop on your hook. This makes a small link.
- sl st – slip stitch: insert your hook into the stitch, wrap yarn over, and pull it through both the stitch and the loop on your hook at once. It joins things without adding height.
- sc – single crochet: insert hook into stitch, pull up a loop (2 loops on hook), yarn over, pull through both loops. One loop remains.
- dc – double crochet: yarn over, insert hook into stitch, pull up a loop (3 loops on hook), yarn over, pull through 2 loops, yarn over, pull through last 2 loops.
- sp – space: the gap created by a chain (for example, a "ch-2 sp" is the little hole made by two chains).
- st(s) – stitch(es).
- beg – beginning.
- MC – main color (mint).
- CC – contrast color (lavender).
- magic ring – an adjustable loop you make with your yarn so you can pull the center hole closed tight. If it feels tricky, you can chain 4 and join with a sl st into a ring instead.
- picot – a tiny bump made by chaining 2 and slip stitching into the stitch below; it creates a little point.
- fasten off – cut the yarn, pull the tail through the last loop, and tighten.
Gauge
Gauge: One solid granny square = 2.5 inches (6.5 cm) square after blocking. In double crochet, 4 dc = 1 inch (2.5 cm) and 2 dc rows = 1 inch (2.5 cm).
Why gauge matters: The collar is a slip-on tube, so the size must be right or it will be too tight to go over the head or too loose to stay on. Four squares at 2.5 inches each give exactly the 10-inch circumference we need.
How to make a gauge swatch: Crochet one complete granny square following the instructions below, then gently steam it and let it dry. Measure across the middle. If your square is bigger than 2.5 inches, try a smaller hook; if it is smaller, try a larger hook. One square is your whole swatch, so nothing is wasted.
Beginner Tips Before You Start
- Count your stitches at the end of every round. The stitch counts in parentheses tell you exactly what you should have. If the number is off, fix it before moving on.
- Use a stitch marker in the top of your beginning chain-3 so you always know where to join and where each round starts.
- Do not pull your yarn too tight. Chenille yarn is fluffy and wants to be worked loosely. Tight tension makes the tube stiff and hard to slip on.
- Keep your chain-2 corners consistent. Those little corner spaces are what make a granny square square. Always work (2 dc, ch 2, 2 dc) into them.
- Make all four squares before joining. This lets you compare them and redo any that came out a different size.
- Block before joining. A quick steam press turns slightly wobbly squares into neat, even ones.
Step-by-Step Instructions
Part 1: Solid Granny Square (make 4 in MC)
Round 1: With MC, make a magic ring. Ch 3 (this counts as your first dc), work 2 dc into the ring, [ch 2, 3 dc into the ring] 3 times, ch 2, join with a sl st to the top of the beginning ch-3. (12 dc, 4 ch-2 sps)
Round 2: Ch 3, dc in each of the next 2 dc, *(2 dc, ch 2, 2 dc) in the next ch-2 sp, dc in each of the next 3 dc; repeat from * around, join with a sl st to the top of the beginning ch-3. (28 dc, 4 ch-2 sps)
Round 3: Ch 3, dc in each dc to the next ch-2 sp, *(2 dc, ch 2, 2 dc) in the next ch-2 sp, dc in each dc to the next ch-2 sp; repeat from * around, join with a sl st to the top of the beginning ch-3. (44 dc, 4 ch-2 sps)
Fasten off and weave in the ends. Block each square to 2.5 inches (6.5 cm).
Part 2: Joining the Band
Arrange your 4 squares in a horizontal row. Join the squares side by side using single crochet worked through both layers along matching edges: work 1 sc in each dc and 1 sc in each ch-2 corner space (about 11 sc per seam). Join the first and last square the same way to form a tube. Do not join the top or bottom edges yet.
Part 3: Top and Bottom Edging
Round 1 (top edge): Join MC with a sl st at any seam. Ch 1, sc evenly around the top edge, working 1 sc in each dc and 1 sc in each corner sp (about 44 sc). Join with a sl st to the first sc.
Round 2: Ch 1, sc in each sc around. Join with a sl st. Fasten off.
Bottom edge: Repeat Rounds 1–2 exactly as written along the bottom edge. Weave in the ends.
Part 4: Lavender Maple-Leaf Applique (make 1 in CC)
This piece is worked flat in rows, then shaped with tiny picot points for the leaf tips.
Row 1: With CC, ch 9. Sc in the 2nd ch from the hook and in each ch across. (8 sc) Turn.
Row 2: Ch 1, sc in the first 3 sc, ch 3, skip 1 sc, sc in the next 3 sc, ch 3, skip 1 sc, sc in the last sc. Turn. (6 sc, 2 ch-3 sps)
Row 3: Ch 1, sc in the first 2 sc, [ch 2, sl st in the next ch-3 sp] twice, ch 2, sc in the next 2 sc, ch 2, sl st in the next ch-3 sp, ch 2, sc in the last 2 sc. Turn.
Row 4: Ch 1, sc in each sc and in each ch-2 sp across, working 3 sc in each point sp. (about 16 sc) Turn.
Row 5: Ch 1, sc in the first 2 sc, *ch 2, sl st in the next sc (this makes a picot point); repeat from * across, ending with sc in the last sc. Fasten off, leaving a 10-inch (25 cm) tail.
Assembly and Finishing
Sewing on the leaf: Pin the leaf to the center front of the collar, with the stem at the bottom edge. Thread the 10-inch tail onto your tapestry needle and sew the leaf securely through all layers with small whipstitches (bring the needle up through both pieces, over the edge, and down again, repeating closely around the shape).
Weaving in ends: Thread each remaining tail onto the tapestry needle and run it back and forth through the inside of the stitches for about an inch, then trim close to the work. Never knot your ends; weaving hides them and keeps them secure.
Blocking: Lightly steam the finished collar, holding the iron just above the surface (never pressing down on chenille, which can flatten it). Gently shape the tube and let it dry completely, keeping the tube open so it stays easy to slip on.
Pro Tips and Variations
- Change the colorway: Swap mint for sage, dusty rose, or mustard, and pick a contrasting leaf in cream or rust for a different seasonal look.
- Adjust the size: For a smaller cat, make 3 squares for a 7.5-inch tube; for a larger cat or small dog, make 5 squares for a 12.5-inch tube. Keep the same square size so the height stays consistent.
- Substitute yarn: Any super bulky (weight 6) yarn works, but chenille gives the softest, plushest result. Always check your gauge square if you change yarn.
- Add a second leaf: Make two lavender leaves and place them side by side at the front for a fuller autumn look.