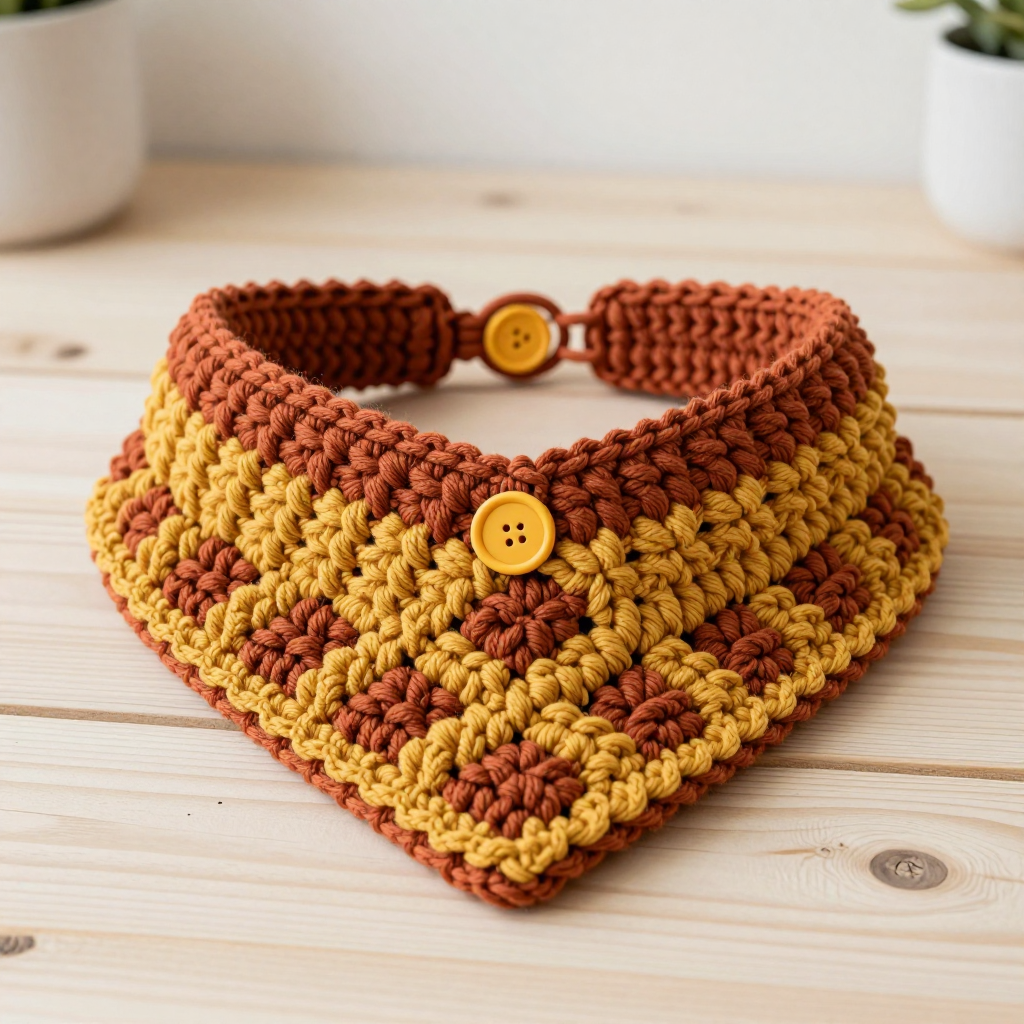
Cherry Spot Snood Collar Free Crochet Pattern for Small Dogs

Cherry Spot Snood Collar: A Cozy First Crochet Project for Your Small Dog
If you have never held a crochet hook before, this is the perfect project to start with. The Cherry Spot Snood Collar is a soft, tube-shaped neck warmer for small dogs, worked in thick, fuzzy cherry-red chenille yarn that feels like a plush toy against your fingers. The alpine stitch gives it raised vertical columns and a nubby, cozy texture, and six little pink polka-dot circles sewn on top make it look like a sweet cherry-spotted scarf. It works up quickly (only 13 rounds!), uses just one main stitch pattern, and the finished snood is about 9 inches around and 3 inches tall — small enough to finish in an evening, special enough to make your pup look adorable on an autumn walk.
Materials Needed
- Yarn (main color): Chenille plush yarn, super bulky / weight 6, in cherry red — approx. 60–70 yd (55–65 m).
- Yarn (dots): Chenille plush yarn, super bulky / weight 6, in soft pink — approx. 8–10 yd (7–9 m).
- Crochet hook: Size 8.0 mm (US L-11), or the size you need to match gauge.
- Stitch markers: At least 2, to mark the first stitch of each round.
- Tapestry needle: A large-eye, blunt-tip needle (chenille yarn is thick, so a big eye helps).
- Scissors for cutting yarn.
- Finished size: Approx. 9 in (23 cm) circumference x 3 in (7.5 cm) tall, fitting a small-dog neck of 7–8 in (18–20 cm).
Abbreviations and Beginner Glossary
Every term below is explained as if you have never crocheted. Read this once before you begin — you will refer back to it often.
- ch — chain. Make a loop of yarn on your hook, then pull the yarn through the loop. Each one you make is a "chain."
- sl st — slip stitch. Insert your hook into the stitch, yarn over (wrap yarn around hook), and pull that loop straight through both the stitch and the loop on your hook. It joins rounds together without adding height.
- sc — single crochet. Insert hook into stitch, yarn over, pull up a loop (2 loops on hook), yarn over again, pull through both loops. One loop remains.
- dc — double crochet. Yarn over first, insert hook into stitch, yarn over, pull up a loop (3 loops on hook), yarn over, pull through 2 loops, yarn over, pull through last 2 loops.
- FPdc — front post double crochet. Work a double crochet, but instead of going into the top of a stitch, insert your hook from front to back around the vertical "post" (the body) of the stitch two rounds below. This pushes the stitch forward and creates the raised column.
- st / sts — stitch / stitches.
- rnd — round. One complete circle of stitches worked around the tube.
- magic ring — an adjustable loop of yarn you crochet into, then pull tight so there is no hole in the center.
- join with sl st — finish a round by making a slip stitch into the first stitch of that round, closing the circle.
- yarn over — wrap the working yarn over your hook from back to front.
- fasten off — cut the yarn a few inches from your work and pull the tail all the way through the last loop to lock it.
Gauge
8 sts x 6 rows = 4 in (10 cm) in alpine stitch after light steaming.
Gauge means how big your stitches come out. If your stitches are bigger than this, the snood will be too loose and may slip off your dog's head; if smaller, it may be too tight to pull on. To check: crochet a small square about 4 in (10 cm) wide in the alpine stitch pattern (Rounds A–C repeated), steam it lightly, lay it flat, and count the stitches across 4 inches. If you have more than 8, go up a hook size; if fewer, go down. Chenille yarn is stretchy and fuzzy, so measure gently and do not pull the swatch.
Beginner Tips Before You Start
- Use stitch markers. Place one in the first stitch of every round. In joined rounds it is easy to lose your place, and the marker tells you exactly where to join.
- Do not pull the yarn too tight. Chenille yarn sheds and snaps if you tug hard. Keep your tension relaxed and even — loose, fluffy stitches are the goal.
- Count every round. Every round in this pattern has a stitch count in parentheses. Stop and count before moving on; it takes 30 seconds and saves an hour of unraveling.
- Work the FPdc loosely. The front post stitch wraps around a stitch below, so it needs a little extra room. If it feels tight, ease up rather than forcing the hook.
- Keep the right side out. As you work in joined rounds, the tube can curl inward. Push the fabric so the raised columns face you as you go.
- Steam, don't press. Chenille flattens permanently under an iron. A light hover of steam is all it needs.
Step-by-Step Instructions
All instructions use US terms. The snood is a short cylinder worked in joined rounds. The alpine stitch pattern repeats three rounds: an sc round (Rnd A), a dc round (Rnd B), and a post round (Rnd C).
Set-Up (Foundation)
With cherry red, make a magic ring.
Rnd 1: ch 1, work 18 sc into the ring, join with sl st to first sc. (18 sc)
Rnd 2: ch 1, 2 sc in each st around, join with sl st to first sc. (36 sc)
Rnd 3: ch 1, sc in each st around, join with sl st to first sc. (36 sc) — this is the foundation round for the alpine stitch.
Body (Alpine Stitch)
Rnd 4 (dc rnd): ch 2 (does not count as a st), dc in each st around, join with sl st to top of first dc. (36 dc)
Rnd 5 (post rnd): ch 2, FPdc around post of first dc of Rnd 4, *skip the st directly behind the FPdc just made, dc in next st, FPdc around post of next dc of Rnd 4; repeat from * around, join with sl st to top of first FPdc. (18 FPdc, 18 dc)
Rnd 6 (sc rnd): ch 1, sc in each st around, join with sl st to first sc. (36 sc)
Rnd 7 (dc rnd): ch 2, dc in each st around, join with sl st to top of first dc. (36 dc)
Rnd 8 (post rnd): ch 2, FPdc around post of first FPdc two rnds below, *skip st behind FPdc, dc in next st, FPdc around post of next FPdc two rnds below; repeat from * around, join with sl st to top of first FPdc. (18 FPdc, 18 dc)
Rnd 9 (sc rnd): ch 1, sc in each st around, join with sl st to first sc. (36 sc)
Rnd 10 (dc rnd): ch 2, dc in each st around, join with sl st to top of first dc. (36 dc)
Rnd 11 (post rnd): Work as Rnd 8. (18 FPdc, 18 dc)
Rnd 12 (sc rnd): ch 1, sc in each st around, join with sl st to first sc. (36 sc)
Do not fasten off yet.
Top Edging
Rnd 13: ch 1, sc in each st around, join with sl st to first sc. (36 sc)
Fasten off cherry red and weave in ends. Turn the snood so the raised alpine columns face outward.
Polka-Dot Circles (make 6, soft pink)
With pink, make a magic ring.
Rnd 1: ch 1, work 8 sc into the ring, join with sl st to first sc. (8 sc)
Rnd 2: ch 1, 2 sc in each st around, join with sl st to first sc. (16 sc)
Fasten off, leaving a 10 in (25 cm) tail for sewing. Each dot measures approx. 1 in (2.5 cm) across.
Assembly and Finishing
Step 1 — Arrange the dots. Lay the snood flat and place the 6 pink dots evenly around it in two staggered rows of 3, spacing them approx. 1.5 in (4 cm) apart and keeping them clear of the top and bottom edges. Staggering means the dots in the second row sit between the dots of the first row, like polka dots.
Step 2 — Sew each dot. Thread a dot's tail onto your tapestry needle. Stitch the dot flat to the surface with small whip stitches (simple over-and-over stitches) all around its edge. Catch only the front loops of the dot and the surface of the snood, so the inside of the collar stays smooth against your dog's neck. Repeat for all 6 dots.
Step 3 — Weave in ends. Thread each remaining tail onto the tapestry needle and run it back and forth through the inside of the fabric for about an inch, then trim close. Never knot chenille yarn; knots work loose and feel lumpy.
Step 4 — Steam and shape. Hold a steam iron an inch or two above the wrong side of the snood and let the steam relax the stitches. Shape it into a neat cylinder with your hands. Do not press flat, so the alpine texture stays raised. Let it dry completely before your dog wears it.
Care: Hand wash cold, squeeze gently (never wring), and dry flat away from direct heat.
Pro Tips and Variations
- Change the colors. Make the body soft pink and the dots cherry red for an inverted look, or use cream yarn with red dots for a classic polka-dot snood. Any two super bulky chenille colors will work.
- Adjust the size. For a slightly larger neck, add one more repeat of Rnds 6–8 (3 rounds) before the top edging — this adds about 3/4 in (2 cm) of height and keeps the stitch counts consistent. For a wider collar, add a Set-Up round of sc increases (2 sc in every other st) before Rnd 4.
- Substitute yarn. If chenille is hard to find, any super bulky (weight 6) yarn works — just check your gauge again, since acrylic and wool behave differently from plush yarn.
- Add more dots. Make 8 or 9 dots instead of 6 and arrange them in three staggered rows for a denser cherry-spot look. Each extra dot takes only a few minutes.