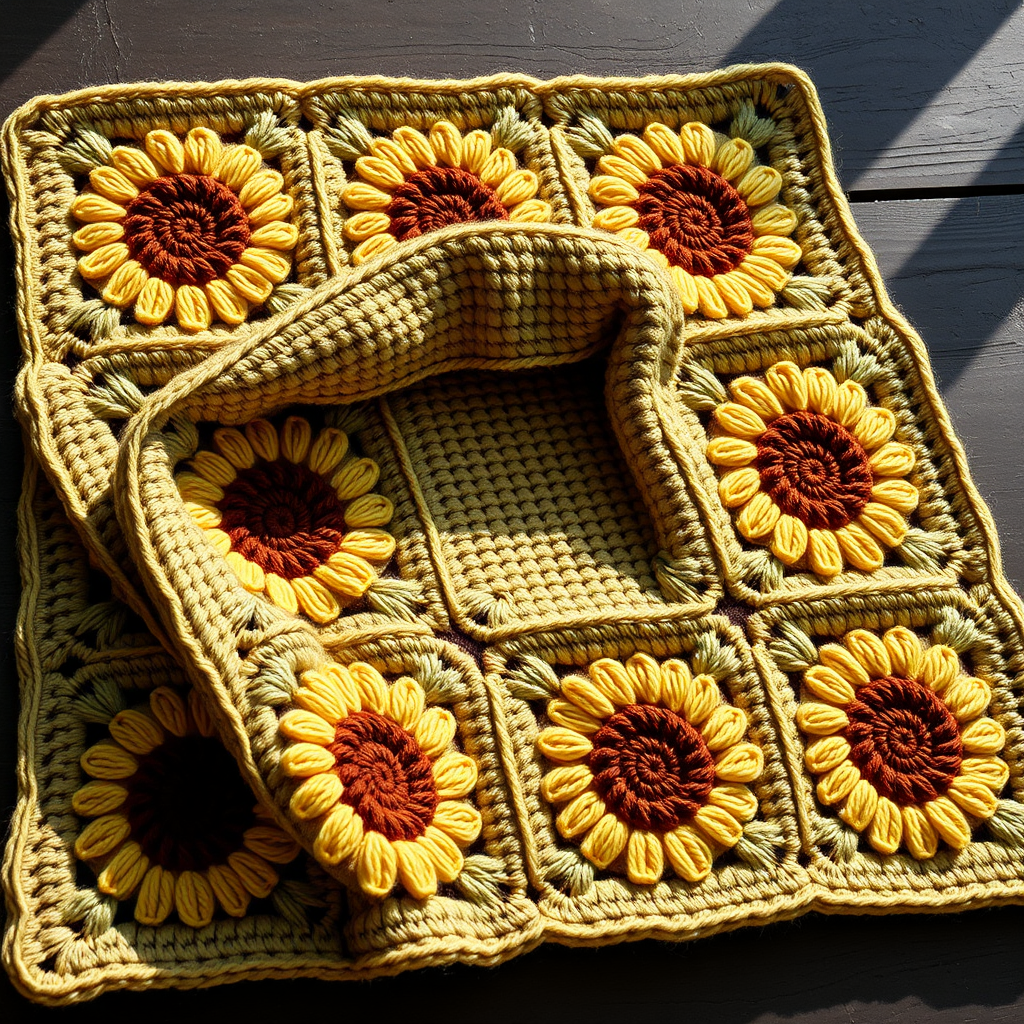
Midnight Meadow Granny Square Blanket Free Pattern – A Crocheted Moonlit Garden

Midnight Meadow Granny Square Blanket Free Pattern – A Crocheted Moonlit Garden
Wrap yourself in a whimsical night-blooming garden with this enchanting granny square blanket, featuring a mysterious black cat silhouette nestled among textured florals. Each square is a miniature work of art, joining together to create a cozy, storybook-worthy heirloom. This pattern is perfect for intermediate crocheters looking to expand their skills while creating something truly magical. The deep midnight blues and charcoals are punctuated by soft lavender, dusty rose, and golden yellow accents, evoking the feeling of a moonlit garden where curious cats roam among the flowers.
Materials Needed
Before you begin your crochet journey, gather the following supplies:
- Yarn: Worsted weight yarn in the following colors:
- Deep charcoal (for cat motifs and joining)
- Midnight blue (for square centers and border)
- Soft lavender (for Round 3)
- Dusty rose (for Round 4)
- Sage green (for Round 2)
- Golden yellow (for Round 8 border)
- Hook: 5.0 mm (H-8) crochet hook
- Gauge: One granny square = 6 inches x 6 inches (15 cm x 15 cm) after blocking
- Notions: Tapestry needle for weaving in ends and joining squares, scissors, stitch markers (optional)
Step-by-Step Instructions
Understanding the Pattern Structure
This blanket is made of 36 individual granny squares (arranged in a 6x6 grid) that are joined together. Each square features a central black cat motif surrounded by a textured floral border. The pattern builds the cat motif over several rounds, creating a charming silhouette with pointed ears and a curved tail. Take your time with each square – the magic happens when they all come together!
Square Pattern (Make 36)
Round 1: The Foundation
With midnight blue, make a magic ring. Chain 3 (counts as first double crochet), then work 2 double crochet into the ring. Chain 2, then work (3 double crochet, chain 2) three more times into the ring. Join with a slip stitch to the top of the beginning chain-3. Fasten off. You should have 12 double crochet stitches and 4 chain-2 corner spaces.
Round 2: Adding Sage Green
Join sage green yarn in any chain-2 corner space. Chain 3 (counts as first double crochet), then work (2 double crochet, chain 2, 3 double crochet) in the same space – this creates your first corner. *Chain 1, then work (3 double crochet, chain 2, 3 double crochet) in the next chain-2 space.* Repeat from * around, ending with chain 1. Join with a slip stitch to the top of the beginning chain-3. Fasten off. You'll now have 24 double crochet stitches, 4 corners, and 4 chain-1 spaces.
Round 3: Soft Lavender Layer
Join soft lavender yarn in any corner chain-2 space. Chain 3, then work (2 double crochet, chain 2, 3 double crochet) in the same space. *Chain 1, work 3 double crochet in the next chain-1 space, chain 1, then work (3 double crochet, chain 2, 3 double crochet) in the next corner space.* Repeat from * around, ending with chain 1. Join with a slip stitch to the top of the beginning chain-3. Fasten off. You'll have 36 double crochet stitches and 4 corners.
Round 4: Dusty Rose Accent
Join dusty rose yarn in any corner chain-2 space. Chain 3, then work (2 double crochet, chain 2, 3 double crochet) in the same space. *Chain 1, work 3 double crochet in the next chain-1 space, chain 1, work 3 double crochet in the next chain-1 space, chain 1, then work (3 double crochet, chain 2, 3 double crochet) in the next corner space.* Repeat from * around, ending with chain 1. Join with a slip stitch to the top of the beginning chain-3. Fasten off. You'll have 48 double crochet stitches and 4 corners.
Round 5: Beginning the Black Cat Motif
Join deep charcoal yarn in any corner chain-2 space. Chain 1, then single crochet in the same space. *Single crochet in each double crochet across to the next corner, then work (single crochet, chain 2, single crochet) in the corner space.* Repeat from * around, ending with a slip stitch to the first single crochet. Fasten off. You'll have 56 single crochet stitches and 4 chain-2 corners.
Round 6: Creating the Cat's Face and Ears
With deep charcoal, join in any corner chain-2 space. Chain 1, then work (single crochet, chain 3, slip stitch in the 2nd chain from hook, single crochet in the next chain, single crochet) in the same space – this creates the first ear. *Single crochet in the next 14 single crochet stitches, then work (single crochet, chain 3, slip stitch in the 2nd chain from hook, single crochet in the next chain, single crochet) in the next corner space to create the second ear. Single crochet in the next 14 single crochet stitches.* Repeat from * around, ending with a slip stitch to the first single crochet. Fasten off. You'll have 64 single crochet stitches and 4 ears.
Pro Tip: The chain-3 loops create the pointed cat ears. When you slip stitch into the 2nd chain from the hook, it forms a small picot-like point that gives the ears their distinctive shape.
Round 7: Shaping the Cat's Body
Join deep charcoal in any corner chain-2 space. Chain 1, then work (single crochet, chain 2, single crochet) in the same space. *Single crochet in the next 16 single crochet stitches, then work (single crochet, chain 2, single crochet) in the next corner space.* Repeat from * around, ending with a slip stitch to the first single crochet. Fasten off. You'll have 72 single crochet stitches and 4 chain-2 corners.
Round 8: Golden Yellow Border
Join golden yellow yarn in any corner chain-2 space. Chain 3, then work (2 double crochet, chain 2, 3 double crochet) in the same space. *Chain 1, skip 1 single crochet, work 3 double crochet in the next single crochet, chain 1, skip 1 single crochet, work 3 double crochet in the next single crochet, chain 1, skip 1 single crochet, work 3 double crochet in the next single crochet, chain 1, then work (3 double crochet, chain 2, 3 double crochet) in the next corner space.* Repeat from * around, ending with chain 1. Join with a slip stitch to the top of the beginning chain-3. Fasten off. You'll have 84 double crochet stitches and 4 corners.
Finishing Your Blanket
Step 1: Blocking
Block all 36 squares to exactly 6 inches square. This is crucial for ensuring your squares align perfectly when joining. Wet block or steam block according to your yarn's care instructions, pinning each square to the correct dimensions and allowing them to dry completely.
Step 2: Arranging Your Squares
Arrange the squares in a 6x6 grid, alternating the orientation of the cat motif. Some cats should face up, some should face sideways, and some can face down – this creates a playful, organic feel that mimics cats wandering through a garden. Play with the arrangement until you're happy with the overall composition before joining.
Step 3: Joining the Squares
With deep charcoal yarn and a tapestry needle, whip stitch the squares together through the back loops only. This creates a subtle, almost invisible seam that allows the cat motifs to take center stage. Match corner to corner carefully, and keep your tension consistent for a neat finish. Join all squares in horizontal rows first, then join the rows vertically.
Step 4: Adding the Outer Border
Join midnight blue yarn in any corner of the assembled blanket. Chain 3, then work (2 double crochet, chain 2, 3 double crochet) in the same space. *Chain 1, work 3 double crochet in the next chain-1 space, repeat from * across to the next corner, then work (3 double crochet, chain 2, 3 double crochet) in the corner space. Repeat this pattern around the entire blanket, joining with a slip stitch at the end. Fasten off.
Step 5: Weaving in Ends
Weave in all ends securely using your tapestry needle. Take your time with this step – properly secured ends will ensure your blanket lasts for generations. Trim any excess yarn close to the work.
Tips for Success
- Maintain consistent tension: This is key to achieving uniform squares. If your tension varies, your squares may not match up perfectly when joining.
- Count your stitches: Each round has a specific stitch count. Count after each round to catch any mistakes early.
- Block before joining: Never skip the blocking step – it makes joining infinitely easier and gives your blanket a professional finish.
- Use stitch markers: Mark your corner spaces to avoid confusion, especially when working multiple rounds.
Your Midnight Meadow Granny Square Blanket is now complete! This heirloom-quality piece will bring warmth and whimsy to any room, telling the story of a moonlit garden where curious cats play among the flowers. The textured florals and charming cat motifs make this a conversation piece that will be treasured for years to come. Happy crocheting!