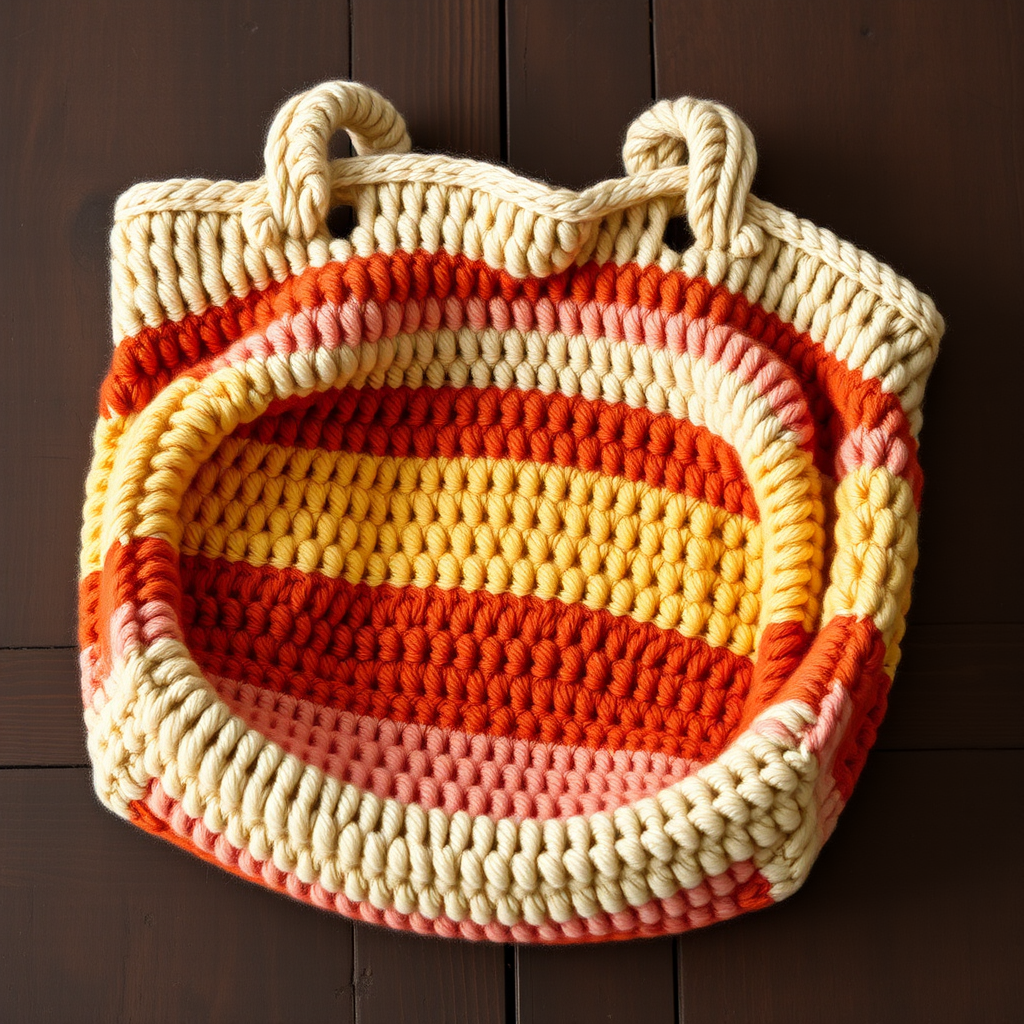
Meadow Breeze Granny Square Bag Free Pattern – Crochet Tote with Floral Motifs

Meadow Breeze Granny Square Bag Free Pattern – Crochet Tote with Floral Motifs
Carry a piece of a sunlit meadow with this charming crochet tote, featuring delicate floral granny squares in soft pastels. This free pattern is perfect for adding a handmade touch to your everyday style. Whether you're heading to the farmer's market, the beach, or just need a roomy everyday bag, this boho-inspired design combines classic granny square technique with a modern, functional shape. The soft cotton yarn and pastel palette—cream, blush pink, sage green, butter yellow, and sky blue—evoke a fresh, airy feel that brightens any outfit.
This pattern is beginner-friendly, as it uses only basic stitches (chain, double crochet, slip stitch) and simple joining techniques. With 12 granny squares, you'll create a sturdy, spacious tote that's as beautiful as it is practical. Let's dive in and create your own Meadow Breeze bag!
Materials Needed
Before you begin, gather the following supplies. Having everything ready will make the process smooth and enjoyable.
- Yarn: Worsted weight cotton yarn in 5 colors:
- Color A: Cream (approx. 200 g / 400 m)
- Color B: Blush Pink (approx. 100 g / 200 m)
- Color C: Sage Green (approx. 100 g / 200 m)
- Color D: Butter Yellow (approx. 100 g / 200 m)
- Color E: Sky Blue (approx. 100 g / 200 m)
- Crochet Hook: 5.0 mm (US H-8) hook
- Yarn Needle: For weaving in ends and sewing squares together
- Scissors
- Stitch Markers (optional): Helpful for keeping track of rounds
- Fabric for lining (optional): To add extra durability and structure
Gauge: One granny square measures 4 inches (10 cm) across. Be sure to check your gauge to ensure your bag turns out the right size. If your square is smaller, try a larger hook; if larger, use a smaller hook.
Step-by-Step Instructions
Follow these detailed instructions carefully. The bag is constructed in three main parts: crocheting the granny squares, joining them into panels, and assembling the bag with handles. Take your time and enjoy the process!
Part 1: Granny Square (Make 12)
Each square is worked in rounds, starting from the center and building outward. You'll make 12 identical squares—6 for each side of the bag.
Round 1 (Color A – Cream):
- Make a magic ring. (If you're not familiar with the magic ring, you can chain 4 and slip stitch to form a ring instead.)
- Chain 3 (this counts as your first double crochet).
- Work 2 double crochet (dc) into the ring. Chain 2.
- Work (3 dc, ch 2) three more times into the ring.
- Slip stitch (sl st) to the top of the beginning chain-3 to close the round.
- Fasten off Color A and weave in the end.
You should have 12 dc and 4 ch-2 spaces (corners).
Round 2 (Color B – Blush Pink):
- Join Color B in any ch-2 corner space with a slip stitch.
- Chain 3 (counts as first dc).
- Work (2 dc, ch 2, 3 dc) in the same corner space. This creates your first corner.
- Chain 1.
- In the next ch-2 space, work (3 dc, ch 2, 3 dc). This is your second corner.
- Chain 1. Repeat step 5 in the next two ch-2 spaces.
- Chain 1, then slip stitch to the top of the beginning chain-3 to close the round.
- Fasten off Color B and weave in the end.
You should have 24 dc, 4 corners (each with 6 dc), and 4 ch-1 spaces along the sides.
Round 3 (Color C – Sage Green):
- Join Color C in any corner ch-2 space.
- Chain 3 (counts as first dc).
- Work (2 dc, ch 2, 3 dc) in the same corner space.
- Chain 1.
- Work 3 dc in the next ch-1 space (this is the side space from Round 2).
- Chain 1.
- In the next corner ch-2 space, work (3 dc, ch 2, 3 dc).
- Chain 1. Work 3 dc in the next ch-1 space. Chain 1.
- Repeat steps 7-8 for the remaining two corners and side spaces.
- After the last side space, chain 1 and slip stitch to the top of the beginning chain-3.
- Fasten off Color C and weave in the end.
You should have 36 dc total (9 dc per side, including corners).
Round 4 (Color D – Butter Yellow):
- Join Color D in any corner ch-2 space.
- Chain 3 (counts as first dc).
- Work (2 dc, ch 2, 3 dc) in the same corner space.
- Chain 1.
- Work 3 dc in the next ch-1 space. Chain 1.
- Work 3 dc in the next ch-1 space. Chain 1.
- In the next corner ch-2 space, work (3 dc, ch 2, 3 dc).
- Chain 1. Work 3 dc in each of the next two ch-1 spaces, chaining 1 between each group.
- Repeat steps 7-8 for the remaining corners and side spaces.
- After the last side space, chain 1 and slip stitch to the top of the beginning chain-3.
- Fasten off Color D and weave in the end.
You should have 48 dc total (12 dc per side, including corners).
Round 5 (Color E – Sky Blue):
- Join Color E in any corner ch-2 space.
- Chain 3 (counts as first dc).
- Work (2 dc, ch 2, 3 dc) in the same corner space.
- Chain 1.
- Work (3 dc in next ch-1 space, ch 1) across the side until you reach the next corner. You will have 3 groups of 3 dc along each side.
- In the next corner ch-2 space, work (3 dc, ch 2, 3 dc).
- Repeat steps 4-6 for the remaining three sides.
- After the last side, chain 1 and slip stitch to the top of the beginning chain-3.
- Fasten off Color E and weave in the end.
You should have 60 dc total (15 dc per side, including corners). Your square should measure 4 inches across.
Repeat these steps to make a total of 12 granny squares. Weave in all ends as you go to keep your work tidy.
Part 2: Joining Squares
Now we'll assemble the squares into two panels—one for the front and one for the back of the bag. Each panel is a 2×3 grid (2 squares wide, 3 squares tall).
- Arrange your squares: Lay out 6 squares in a 2×3 grid for the front panel. Arrange them so the color pattern is pleasing to you. Repeat for the back panel with the remaining 6 squares.
- Join the squares in rows: Using Color A (Cream) and a yarn needle, whip stitch the squares together through the back loops only. This creates a flat, nearly invisible seam.
- First, join 3 squares horizontally to form a row. Place two squares with right sides together (or wrong sides together, depending on your preference—through back loops works well either way). Whip stitch along the edge, matching corners and stitches.
- Repeat to make a second row of 3 squares.
- Join the rows: Place the two rows together, aligning the seams. Whip stitch along the long edge to connect them. You now have a 2×3 panel.
- Repeat for the second panel.
Tip: To ensure your bag is symmetrical, make sure the squares are oriented the same way in both panels.
Part 3: Assembling the Bag
With both panels complete, it's time to sew them together and add the handles.
- Position the panels: Place the two panels together with right sides facing out (the pretty side of the stitches should be on the outside). Align the edges carefully.
- Sew the sides and bottom: Using Color A and a whip stitch, sew along the bottom edge and up both side edges. Leave the top edge open. Take your time to match the stitches and corners for a neat finish.
- Turn the bag right side out: Since you sewed with right sides out, the bag is already right side out. Gently shape it, making sure the corners are defined.
Part 4: Handles
Now for the finishing touch—the handles. These are crocheted directly onto the bag for a seamless look.
- Attach yarn: With Color A, attach the yarn to the top edge of one side of the bag, at the corner, using a slip stitch.
- Chain the handle: Chain 80 stitches. This will create a long strap. (Adjust the number of chains for a longer or shorter handle.)
- Attach the other end: Slip stitch to the opposite corner of the same side of the bag. This creates the first handle.
- Reinforce the handle: To make the handle stronger and more comfortable, work a row of slip stitches along the top edge of the bag, from the starting corner to the ending corner, effectively "catching" the handle and securing it. Then, work a row of slip stitches over the chain handle itself. This adds thickness and durability.
- Fasten off: Once you've reinforced the handle, fasten off and weave in the end.
- Repeat for the other side: Attach yarn to the top edge of the other side of the bag and repeat steps 2-5 to create the second handle.
Part 5: Finishing Touches
- Weave in all ends: Use your yarn needle to carefully weave in any remaining loose ends on the inside of the bag.
- Optional lining: For extra durability and to prevent items from slipping through the granny square holes, consider adding a fabric lining. Cut a piece of fabric slightly larger than the bag, sew the sides and bottom, and hand-stitch it inside the bag.
- Block your bag (optional): If desired, gently block the bag to even out the stitches and give it a crisp shape. Dampen the bag and lay it flat to dry, shaping it as needed.
Congratulations! You've completed your Meadow Breeze Granny Square Bag. This beautiful, handmade tote is perfect for everyday use, and the pastel floral motifs are sure to draw compliments. Enjoy carrying a little piece of a sunlit meadow wherever you go!
Happy crocheting!