Luminous Driftwood Crescent Shawl Free Pattern – Textured Knit Wrap

Introducing the Luminous Driftwood Crescent Shawl
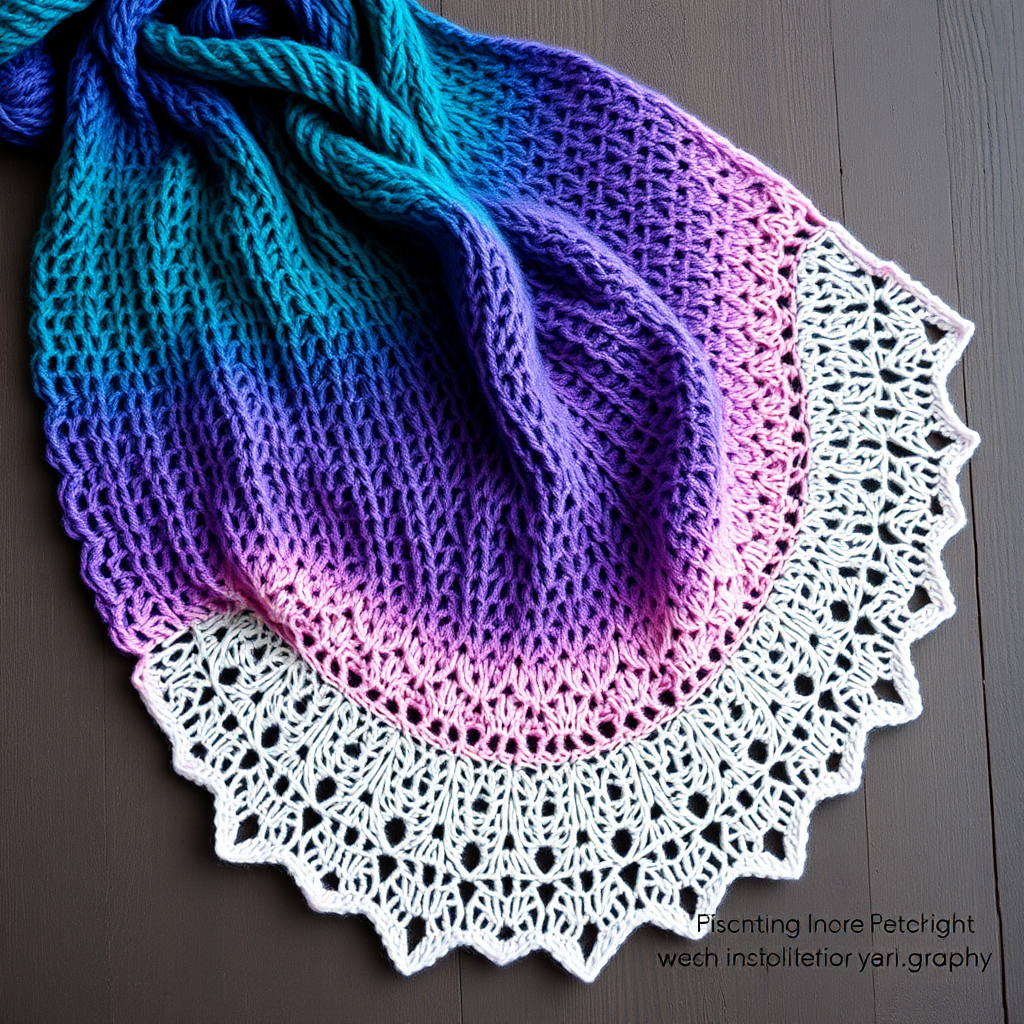
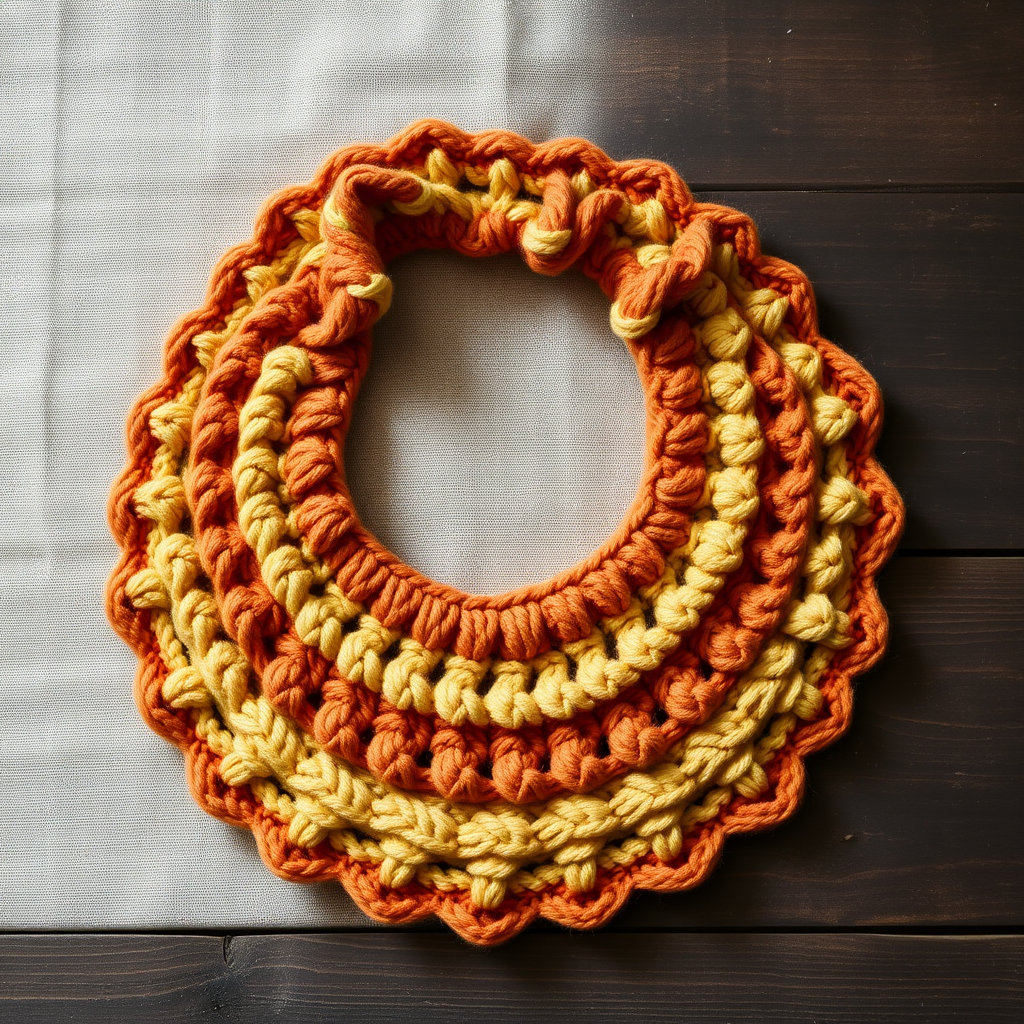
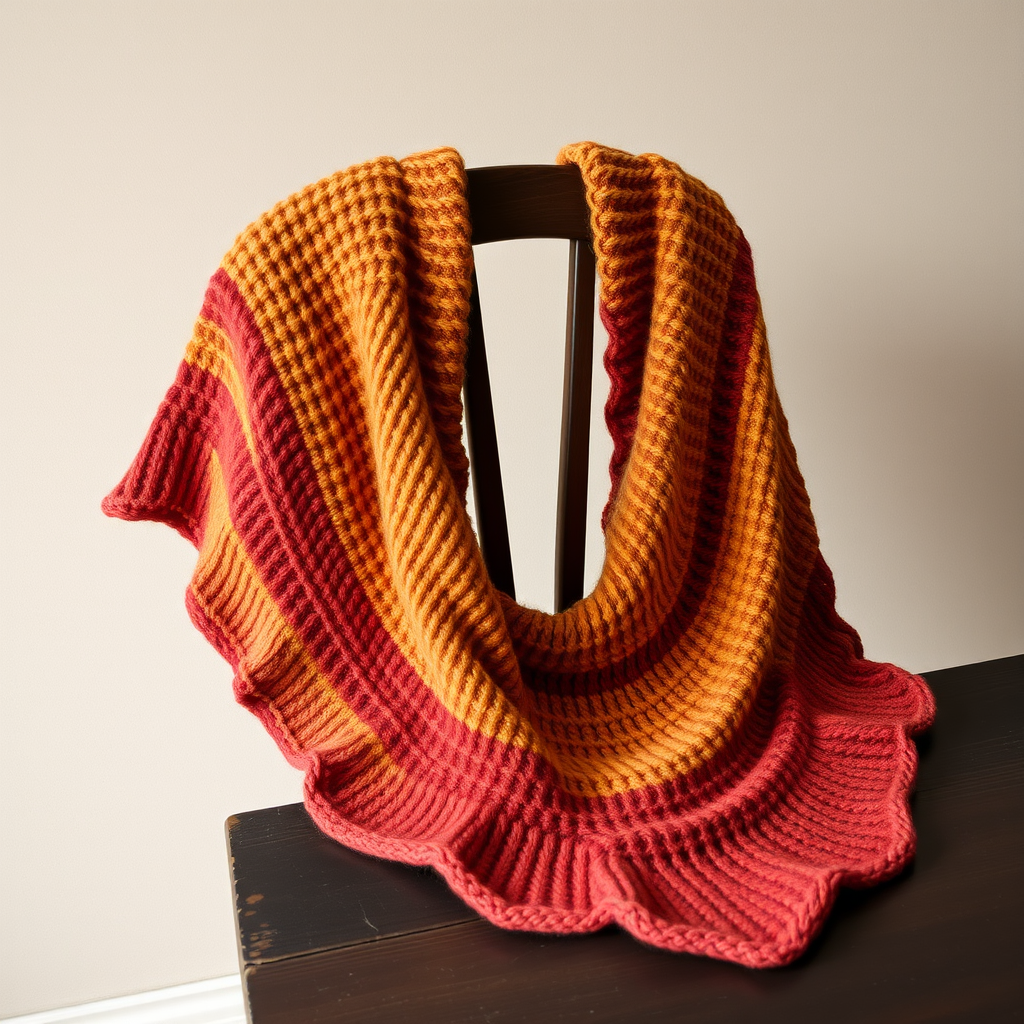
Wrap yourself in the organic elegance of the Luminous Driftwood Crescent Shawl, a modern knit that mimics the soft, weathered beauty of shoreline treasures. This crescent-shaped wrap features a unique slipped-stitch texture and a gentle gradient of coastal neutrals, perfect for cool evenings and mindful crafting. Whether you're a seasoned knitter or a curious beginner, this pattern offers a rewarding journey into texture and shape—all while creating a stunning, wearable piece of art.
The design flows from a warm sand beige at the top center, through soft driftwood gray in the textured middle, to a delicate seafoam green at the outer edges. The result is a harmonious, gradient effect that evokes the tranquility of a beach walk. The shawl's crescent silhouette drapes elegantly over the shoulders, and the delicate lace eyelet border adds a touch of refinement. This is more than a pattern; it's an invitation to slow down, connect with your craft, and create something truly luminous.
Materials Needed
Before you begin, gather the following materials. Having everything ready will make your knitting experience smooth and enjoyable.
Yarn
- Worsted weight yarn in 3 shades:
- Yarn A (Sand): Warm beige
- Yarn B (Driftwood Gray): Soft, weathered gray
- Yarn C (Seafoam): Delicate green
- Approximate total yardage: 400g (about 800-900 yards, depending on your yarn choice)
Needles & Notions
- US 8 (5mm) circular needle, 32-inch or longer (to accommodate the growing number of stitches)
- Stitch markers (at least 2, to mark the center and edges)
- Tapestry needle for weaving in ends
- Blocking mats and pins (for finishing)
Gauge
- 18 stitches and 24 rows = 4 inches in stockinette stitch (blocked)
Note: Gauge is important for achieving the correct size and drape. Always knit a swatch and block it before starting.
Step-by-Step Instructions
This shawl is worked from the top center outwards in a crescent shape. The pattern is intuitive and repetitive, making it perfect for relaxing knitting sessions. Follow these detailed instructions carefully, and you'll be amazed at what you create.
Pattern Notes
- The shawl is worked from the top center outwards in a crescent shape.
- Slip stitches (sl1 wyib): Slip the stitch purlwise with the yarn in the back of the work.
- Use a stitch marker to mark the center stitch. This is crucial for the increases.
- All increases are made with a yarn over (yo), which creates the decorative eyelets along the edges and center.
Getting Started: Cast On & Foundation
Cast On: With Yarn A, cast on 5 stitches.
Row 1 (RS): K2, yo, k1, yo, k2. (You will now have 7 stitches.)
Row 2 (WS): Purl all stitches.
Row 3: K2, yo, k1, yo, k1, yo, k1, yo, k2. (You will now have 11 stitches.)
Row 4: Purl all stitches.
You've just created the foundation for your crescent shape. The yarn overs at the edges and center will form the gentle curves.
Increase Section (Worked with Yarn A)
This section establishes the rhythmic increase pattern that shapes the shawl.
Row 5 (RS): K2, yo, knit to center marker, yo, k1 (center stitch), yo, knit to last 2 stitches, yo, k2. (This increases 4 stitches: 1 at each edge and 1 on each side of the center.)
Row 6 (WS): Purl all stitches.
Repeat Rows 5-6 until you have 51 stitches on your needle, ending with a WS row (a purl row).
Tip: Place a marker after the first 2 stitches and before the last 2 stitches to help you keep track of the edge increases.
Texture Section (Introducing Yarn B)
Now we introduce the beautiful slipped-stitch texture that mimics rippled sand. This section uses a 4-row repeat, alternating colors every 2 rows.
Row 1 (RS): With Yarn B, k2, yo, *sl1 wyib, k1; repeat from * to center marker, yo, k1 (center), yo, repeat from * to last 2 stitches, yo, k2. (4 stitches increased)
Row 2 (WS): With Yarn B, purl all stitches.
Row 3 (RS): With Yarn A, k2, yo, *k1, sl1 wyib; repeat from * to center marker, yo, k1 (center), yo, repeat from * to last 2 stitches, yo, k2. (4 stitches increased)
Row 4 (WS): With Yarn A, purl all stitches.
Repeat these 4 rows, alternating colors every 2 rows (as written), until the shawl measures 18 inches from the cast-on edge, ending with a WS row.
Note: The slipped stitches create vertical columns of texture. The pattern alternates which stitch is slipped to create a subtle, woven effect.
Gradient Section (Introducing Yarn C)
As you transition to the seafoam green, the texture gives way to a smooth, serene stockinette stitch, allowing the color to shine.
Work in stockinette stitch (knit on RS, purl on WS) with Yarn C, continuing the 4-stitch increase on every RS row as established (K2, yo, knit to center, yo, k1, yo, knit to last 2 sts, yo, k2).
Continue this pattern until the shawl measures 24 inches from the cast-on edge, ending with a WS row.
Edging
The delicate lace eyelet border adds the perfect finishing touch.
Row 1 (RS): With Yarn C, k2, yo, *k2tog, yo; repeat from * to center marker, yo, k1 (center), yo, repeat from * to last 2 stitches, yo, k2. (4 stitches increased)
Row 2 (WS): Purl all stitches.
Row 3 (RS): Knit all stitches, increasing 4 stitches as before (K2, yo, knit to center, yo, k1, yo, knit to last 2 sts, yo, k2).
Row 4 (WS): Purl all stitches.
Bind off loosely knitwise. A loose bind-off is essential to maintain the stretchy, elegant drape of the edge.
Finishing
Your shawl is almost complete! The final steps are crucial for achieving that professional, polished look.
- Weave in all ends using your tapestry needle. Be sure to weave them in securely but invisibly.
- Block the shawl gently to shape. Soak it in lukewarm water with a mild wool wash for about 20 minutes. Gently squeeze out excess water (do not wring).
- Lay the shawl on blocking mats and pin out the crescent curves, stretching it gently to the desired shape and measurements. Pay special attention to the points of the crescent and the lace edge.
- Allow it to dry completely before unpinning. This can take 24-48 hours.
Once dry, your Luminous Driftwood Crescent Shawl is ready to be worn and admired. The gentle gradient, the soothing texture, and the perfect crescent shape will make it a cherished piece in your wardrobe—a true testament to your skill and creativity. Happy knitting!