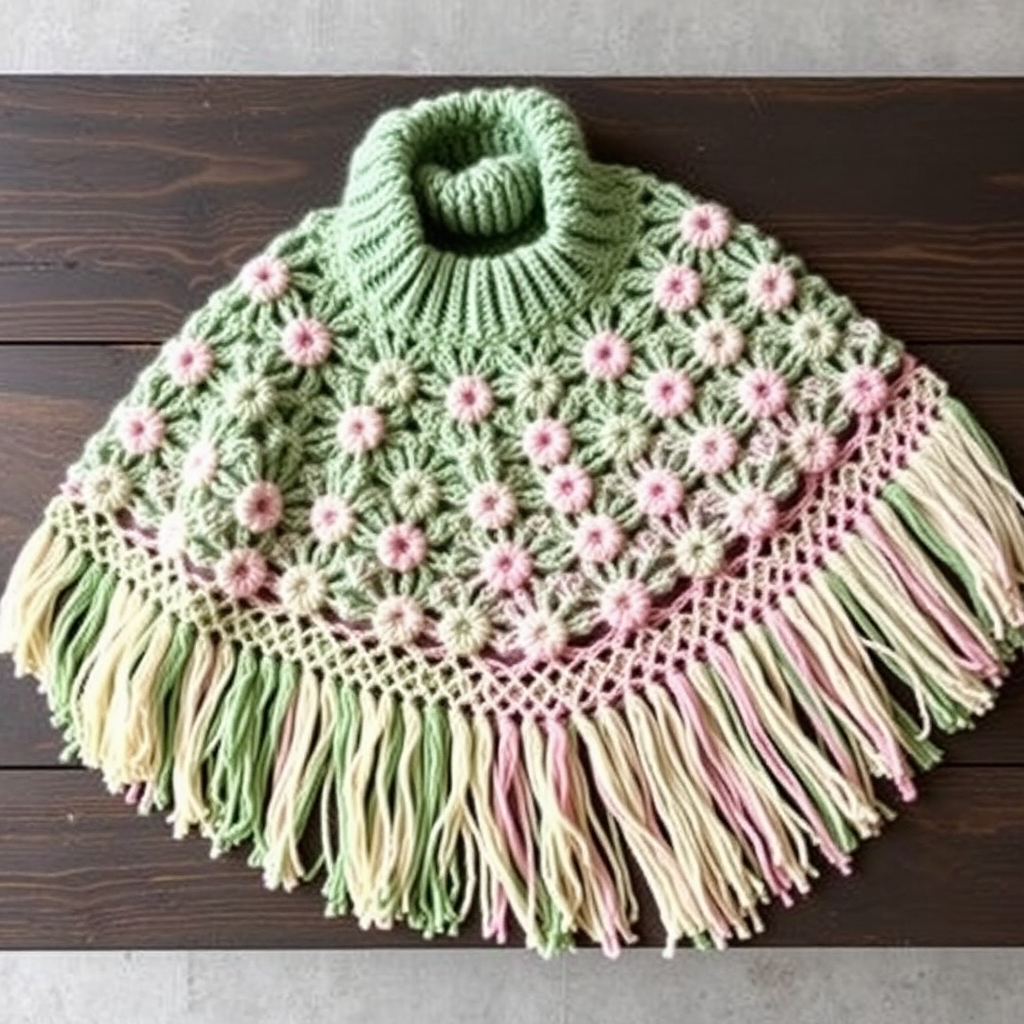
Highland Heather Striped Poncho Free Pattern – Cozy Knit Wrap

Wrap Yourself in Highland Warmth: The Highland Heather Striped Poncho
Imagine wrapping yourself in the soft, misty hues of the Scottish Highlands on a crisp winter evening. That's the feeling you'll get with this stunning Highland Heather Striped Poncho. This free knitting pattern is perfect for intermediate beginners looking to create a stylish, cozy, and timeless piece. The clever use of a constant base color combined with two contrasting yarns creates a beautiful, marled "heather" effect that looks far more complex than it actually is. Knitted flat in two simple rectangles and seamed together, this project is surprisingly straightforward and yields a dramatic, wearable wrap that you'll reach for all season long.
This pattern is all about simplicity and texture. By holding two strands of yarn together, we create a dense, plush fabric that's incredibly warm and drapes beautifully. The wide, horizontal stripes add a modern twist to a classic silhouette, making it a versatile addition to any wardrobe. Whether you're curled up on the couch or heading out for a walk, this poncho is your new best friend.
Materials Needed
Before you begin, gather your supplies. This project uses super bulky yarn, so it works up quickly and satisfyingly.
- Yarn: Super bulky weight yarn (size 6) in three colors:
- Color A (Main): Deep Heather Purple – approximately 400g (about 4 skeins)
- Color B: Moss Green – approximately 300g (about 3 skeins)
- Color C: Cream – approximately 300g (about 3 skeins)
- Needles: US 13 (9 mm) circular knitting needles, 24-inch or longer. The circular needle is used to accommodate the large number of stitches, but you will be knitting back and forth in rows, not in the round.
- Notions: A tapestry needle for weaving in ends and seaming, and a pair of scissors.
- Gauge: 10 stitches and 14 rows = 4 inches in stockinette stitch (knit on RS, purl on WS) with two strands held together. Always check your gauge to ensure the correct size.
Step-by-Step Instructions
This poncho is knitted flat in two identical rectangles, then seamed at the shoulders to create a classic poncho shape with a front opening. Follow these detailed instructions carefully, and you'll have a beautiful poncho in no time.
Abbreviations
- CO: Cast on
- K: Knit
- P: Purl
- St(s): Stitch(es)
- RS: Right side
- WS: Wrong side
- Rep: Repeat
- BO: Bind off
Pattern Notes
- Holding Yarn: You will always hold one strand of Color A (Deep Heather Purple) together with one strand of another color. This creates the marled, heathered effect and makes the fabric extra thick and cozy.
- Stripes: The stripes are created by switching the second color while keeping Color A constant. This is a simple and effective way to create a sophisticated color block.
Rectangle 1 (Make 2)
With Color A + Color B held together:
- Cast On: CO 40 sts. Leave a long tail for seaming if you prefer.
- Row 1 (RS): K all sts.
- Row 2 (WS): P all sts.
- Repeat: Rep Rows 1-2 until piece measures 12 inches from cast-on edge, ending with a WS row. This is the bottom section of your poncho.
Switch to Color A + Color C held together:
- Cut Color B, leaving a 6-inch tail to weave in later. Join Color C.
- Continue: Continue in stockinette stitch (K on RS, P on WS) for 6 inches, ending with a WS row. This is your first stripe.
Switch back to Color A + Color B held together:
- Cut Color C, leaving a 6-inch tail. Rejoin Color B.
- Continue: Continue in stockinette stitch for another 6 inches, ending with a WS row. This is your second stripe.
Switch to Color A + Color C held together:
- Cut Color B, leaving a 6-inch tail. Rejoin Color C.
- Continue: Continue in stockinette stitch for the final 6 inches, ending with a WS row. This is your top stripe.
Bind Off:
- BO all sts loosely on the next RS row. A loose bind-off is crucial to prevent the edge from being too tight. You can use a larger needle to bind off if needed.
Repeat to make a second identical rectangle.
Finishing: Seaming and Assembly
Now that you have two beautiful rectangles, it's time to turn them into a poncho.
- Lay Flat: Lay both rectangles flat with the RS facing up.
- Position: Place the rectangles side by side so that the long edges are horizontal. The cast-on edges should be at the bottom, and the bind-off edges at the top.
- Seam the Shoulders: Seam the top 8 inches of the two rectangles together along the long edges, leaving the center 24 inches open for the neck opening. This creates the shoulder seams. Use a tapestry needle and a length of Color A yarn to whip stitch or mattress stitch the edges together securely.
- Fold and Shape: Fold the piece so that the seamed edges are at the top and the open edges hang down. The front will have a slit opening. This is your poncho shape!
- Weave in Ends: Weave in all loose ends with a tapestry needle. Be sure to secure them well so they don't unravel with wear.
Optional: Adding a Fringe
For an extra touch of rustic charm, you can add a simple fringe to the bottom edges.
- Cut Yarn: Cut 12-inch lengths of yarn, using a mix of all three colors (A, B, and C).
- Attach: Fold a length of yarn in half. Insert a crochet hook through the bottom edge of the poncho, pull the folded loop through, and then pull the yarn ends through the loop. Pull tight to secure. This is called a lark's head knot.
- Spacing: Attach fringe every 2 inches along the entire bottom edge of both the front and back of the poncho.
And there you have it—a gorgeous, handcrafted Highland Heather Striped Poncho. This project is a joy to knit, and the result is a warm, stylish, and uniquely yours garment. Enjoy the process, and even more, enjoy wearing your new cozy creation!