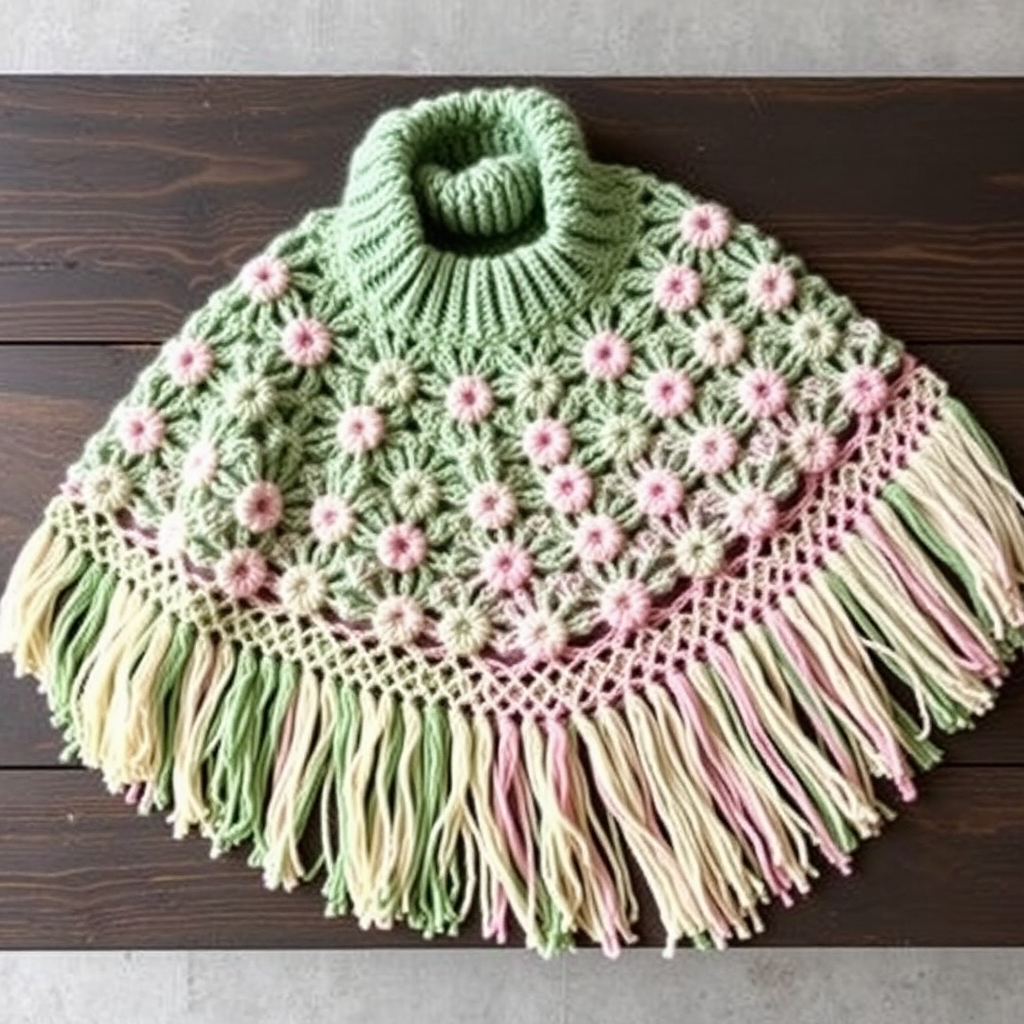
Emberfall Fringed Poncho Free Pattern – Knit a Cozy Autumn Wrap

Emberfall Fringed Poncho Free Pattern – Knit a Cozy Autumn Wrap
Wrap yourself in the warm hues of a sunset with this textured poncho, featuring a rich gradient of burnt orange, deep rust, and golden amber. The chunky knit and playful fringe make it the perfect layering piece for crisp fall days. Whether you're sipping apple cider on the porch or taking a woodland stroll, this oversized, handcrafted wrap will keep you snug while turning heads with its seasonal charm. Best of all, this free pattern is beginner-friendly—if you can knit and purl, you can create this stunning statement piece.
Materials Needed
Before you begin, gather the following supplies. All items are readily available at your local craft store or online.
- Yarn: Worsted weight yarn in 3 colors:
- Color A: Burnt Orange (approx. 200g)
- Color B: Deep Rust (approx. 200g)
- Color C: Golden Amber (approx. 200g)
Total: approx. 600g - Needles: US 9 (5.5 mm) circular knitting needles, 24-inch or longer (circular needles accommodate the large number of stitches comfortably)
- Extras: Tapestry needle for weaving in ends, scissors, measuring tape, and stitch markers (optional but helpful)
Gauge
16 stitches and 22 rows = 4 inches in stockinette stitch. Always knit a gauge swatch before starting to ensure your poncho matches the intended dimensions. If your gauge is off, adjust your needle size accordingly.
Step-by-Step Instructions
This poncho is knitted flat in two rectangles and seamed at the shoulders, leaving an opening for the head. The fringe is added at the bottom edge. Follow each step carefully, and you'll have a beautiful, cozy wrap in no time.
Rectangle 1 (Front)
- Cast On: With Color A (Burnt Orange), cast on 80 stitches using your preferred method (long-tail cast-on works well).
- Garter Stitch Border: Work in garter stitch (knit every row) for 10 rows. This creates a sturdy, non-curling edge at the top of the poncho.
- Stockinette Stitch Body: Switch to stockinette stitch (knit on the right side, purl on the wrong side). Continue working in stockinette until the piece measures 20 inches from the cast-on edge. Tip: Use a measuring tape to check length periodically—this ensures accuracy.
- Bottom Garter Border: Work in garter stitch (knit every row) for 10 rows to mirror the top border.
- Bind Off: Bind off loosely. Tip: To avoid a tight edge, use a larger needle for binding off or bind off in pattern (knit stitches).
Rectangle 2 (Back)
- Cast On: With Color C (Golden Amber), cast on 80 stitches.
- Garter Stitch Border: Work in garter stitch for 10 rows.
- Stockinette Stitch Body: Switch to stockinette stitch and work until the piece measures 20 inches from the cast-on edge.
- Bottom Garter Border: Work in garter stitch for 10 rows.
- Bind Off: Bind off loosely.
Seaming the Poncho
Now it's time to join the two rectangles to create the poncho shape. Lay both rectangles flat on a table with the right sides facing up (the side you want visible when worn).
- Shoulder Seams: Place the two rectangles on top of each other, aligning the cast-on edges. Using a tapestry needle and matching yarn (Color A for the front, Color C for the back, or any color you prefer), seam the top edges together for 6 inches from each side. Leave the center 8 inches open—this will be the neck opening.
- Side Seams: With the rectangles still aligned, seam the side edges together for 8 inches down from the top (shoulder seam). Leave the bottom 12 inches open—these will be the armholes. Repeat on the other side.
Adding the Fringe
The fringe adds that playful, bohemian touch. Here's how to make it perfectly even and secure.
- Cut Strands: Cut strands of yarn in all three colors (A, B, and C), each 12 inches long. You'll need approximately 40-50 strands total, depending on how dense you want the fringe.
- Attach Fringe: Take one strand, fold it in half to create a loop. Insert a crochet hook (or your fingers) through the bottom edge of the poncho (the bind-off edge). Pull the loop through the fabric, then thread the two ends of the strand through the loop and pull tight. This creates a secure knot.
- Spacing: Add fringe evenly along the entire bottom edge, spacing each strand about 1 inch apart. Alternate colors (A, B, C, A, B, C...) for a beautiful gradient effect.
- Trim: Once all fringe is attached, trim the ends to an even length. Use sharp scissors for a clean cut.
Finishing Touches
- Weave in Ends: Using a tapestry needle, weave in all loose yarn ends on the wrong side of the fabric. Be sure to secure them well so they don't unravel with wear.
- Block the Poncho: Gently block your poncho to shape. Lay it flat on a blocking mat or towel, mist with water, and pin to the desired dimensions. Allow it to dry completely. This step smooths out the stitches and gives your poncho a professional finish.
Tips for Success
- Color Placement: Feel free to swap the colors or use a single color for a more minimalist look. The pattern is versatile!
- Custom Fit: To make a larger or smaller poncho, adjust the cast-on stitch count (in multiples of 4) or the length of the rectangles. Remember to re-calculate yarn needs.
- Stitch Markers: Place markers at the 6-inch and 8-inch points on the top edge before seaming to ensure accurate measurements.
Your Emberfall Fringed Poncho is now complete! Slip it on over a cozy sweater, grab a warm drink, and enjoy the compliments. This pattern is perfect for gifting, too—imagine the joy on a loved one's face when they receive a handmade autumn wrap in their favorite colors. Happy knitting!