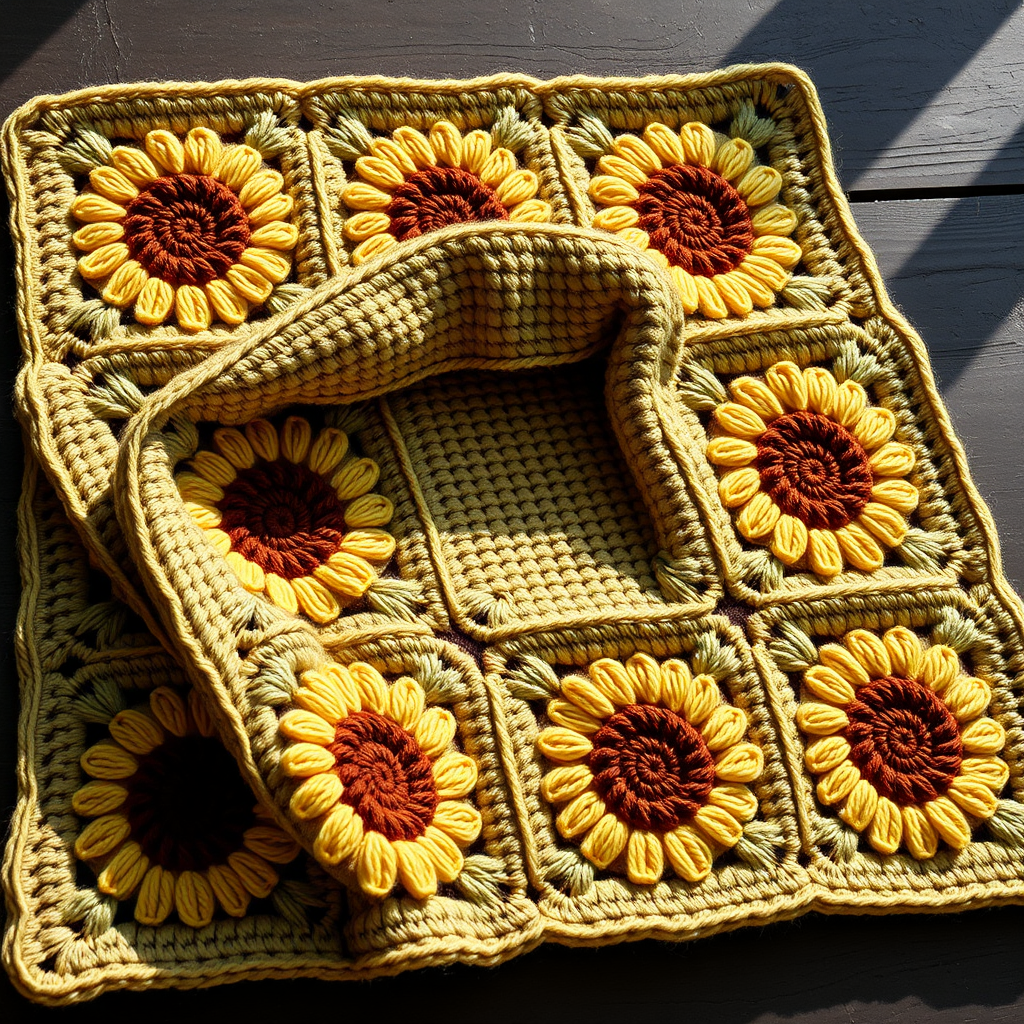
Hearthside Herringbone Throw Free Pattern – Crochet a Cozy Textured Blanket

Wrap Yourself in Texture: The Hearthside Herringbone Throw
There are certain crochet projects that feel like a hug the moment you begin them. The Hearthside Herringbone Throw is exactly that—a modern heirloom piece designed to bring warmth and rustic elegance to your living space. By reimagining the classic woven herringbone pattern with the plush, cloud-like softness of Bernat Blanket yarn, this pattern delivers a dense, textured fabric that is as beautiful to look at as it is cozy to snuggle under. The earthy palette of oatmeal, clay, and forest green creates a grounding, organic aesthetic that complements any sofa or bed. Whether you are a seasoned crocheter looking for a satisfying project or a confident beginner ready for a new challenge, this throw is designed to be your new favorite make.
This free pattern is crafted to be your complete guide. We will walk you through every step, from gathering your materials to mastering the unique herringbone half double crochet stitch, ensuring you can recreate this stunning textured blanket right at home. Let's get started on creating a piece that will be treasured for years to come.
Materials Needed
Before you begin, gather the following supplies to ensure a smooth and enjoyable crochet session. This list is tailored specifically for the Hearthside Herringbone Throw to achieve the exact size and look described.
- Yarn: Bernat Blanket Yarn (super bulky weight, 300g/201m per skein). You will need a total of 12 skeins in the following colors:
- Color A (Oat Heather): 6 skeins
- Color B (Clay): 4 skeins
- Color C (Forest Green): 2 skeins
- Crochet Hook: 9.0 mm (M/N) crochet hook. A hook with a comfortable grip is recommended for this dense stitch.
- Other Tools: A yarn needle for weaving in ends, a pair of scissors, and a tape measure to check your gauge.
Understanding Your Gauge
To ensure your throw measures approximately 50" x 60", it's crucial to match the gauge. The pattern calls for 8 herringbone stitches x 6 rows = 4 inches (10 cm) in pattern. Before starting your main project, crochet a small swatch (about 4" x 4") using the herringbone half double crochet stitch. If your swatch is too large, try a smaller hook. If it's too small, switch to a larger hook. Getting the gauge right ensures you use the correct amount of yarn and achieve the intended dimensions.
Step-by-Step Instructions
This pattern is worked in horizontal rows. The special stitch, the Herringbone Half Double Crochet (HHDC), is what creates the beautiful woven texture. Don't worry if it feels a little different at first—once you get the rhythm, it's very meditative. The throw is approximately 50" x 60". If you wish to adjust the size, simply chain in multiples of 2 + 1 for the foundation row.
Mastering the Herringbone Half Double Crochet (HHDC)
This is the core stitch of the entire pattern. It's a simple variation of the half double crochet that creates a slanted, braided look. Here is the step-by-step tutorial:
- Yarn over your hook.
- Insert your hook into the next stitch.
- Yarn over and pull up a loop. You will now have 3 loops on your hook.
- Yarn over and pull through the first loop on your hook. This is the key step that creates the slant. You will now have 2 loops on your hook.
- Yarn over and pull through both loops on your hook. Your HHDC is complete.
Pro Tip: The stitch will naturally lean to the right. This is what creates the herringbone effect, so embrace the slant!
Starting Your Throw: The Foundation
Foundation Row: With Color A (Oat Heather), chain 121. Work a HHDC into the 3rd chain from your hook and into each chain across. When you finish, you should have 120 HHDC stitches. Turn your work.
Creating the Herringbone Stripe Pattern
Now we will build the body of the blanket by repeating a single row pattern and changing colors at specific intervals. The main row is simple and repetitive, allowing you to relax into the rhythm.
Row 1 (and all subsequent rows): Chain 2 (this counts as your first HHDC). Skip the first stitch (the one directly below the chain 2). Work a HHDC into the next stitch. *Skip the next stitch, work a HHDC into the next stitch.* Repeat from * to * across the row until you reach the last stitch. Work a HHDC into the top of the turning chain from the previous row. Turn your work. (120 HHDC)
Now, follow this color sequence to create the beautiful stripes. Simply repeat Row 1 for the specified number of rows in each color.
- Rows 2-10: Continue with Color A (Oat Heather).
- Row 11: Switch to Color B (Clay). Repeat Row 1.
- Rows 12-20: Continue with Color B, repeating Row 1.
- Row 21: Switch to Color C (Forest Green). Repeat Row 1.
- Rows 22-30: Continue with Color C, repeating Row 1.
- Rows 31-40: Switch to Color B (Clay). Repeat Row 1.
- Rows 41-50: Switch to Color A (Oat Heather). Repeat Row 1.
- Rows 51-60: Switch to Color B (Clay). Repeat Row 1.
- Rows 61-70: Switch to Color C (Forest Green). Repeat Row 1.
- Rows 71-80: Switch to Color B (Clay). Repeat Row 1.
- Rows 81-90: Switch to Color A (Oat Heather). Repeat Row 1.
After completing Row 90, do not fasten off. We will move directly into the border.
Adding the Finishing Border
A neat, clean border is the perfect finish for this textured throw. It frames the herringbone pattern beautifully and gives the edges a polished look.
Border Round: With Color A (Oat Heather) still attached, chain 1. Work a round of single crochet (sc) around the entire blanket. Work 1 sc in each stitch across the top and bottom edges. Work 1 sc in the end of each row along the sides. At each of the 4 corners, work 3 sc in the corner stitch to ensure the border lies flat and turns the corner smoothly. When you return to your starting point, join with a slip stitch to the first sc. Fasten off.
Weaving in the Ends
This is the final, crucial step. Thread your yarn needle with the loose ends from your color changes and your fasten-off tails. Weave them carefully through the backs of the stitches in the same color to hide them. Trim any excess yarn. This secures your work and ensures your throw is durable and beautiful from every angle.
Once all your ends are woven in, give your throw a gentle shake or lay it flat to settle. You've just created a stunning, cozy, and textured masterpiece! The Hearthside Herringbone Throw is perfect for draping over a couch for movie nights, or as a beautiful layer on the foot of your bed. Enjoy the warmth and the well-earned pride of your handmade creation.