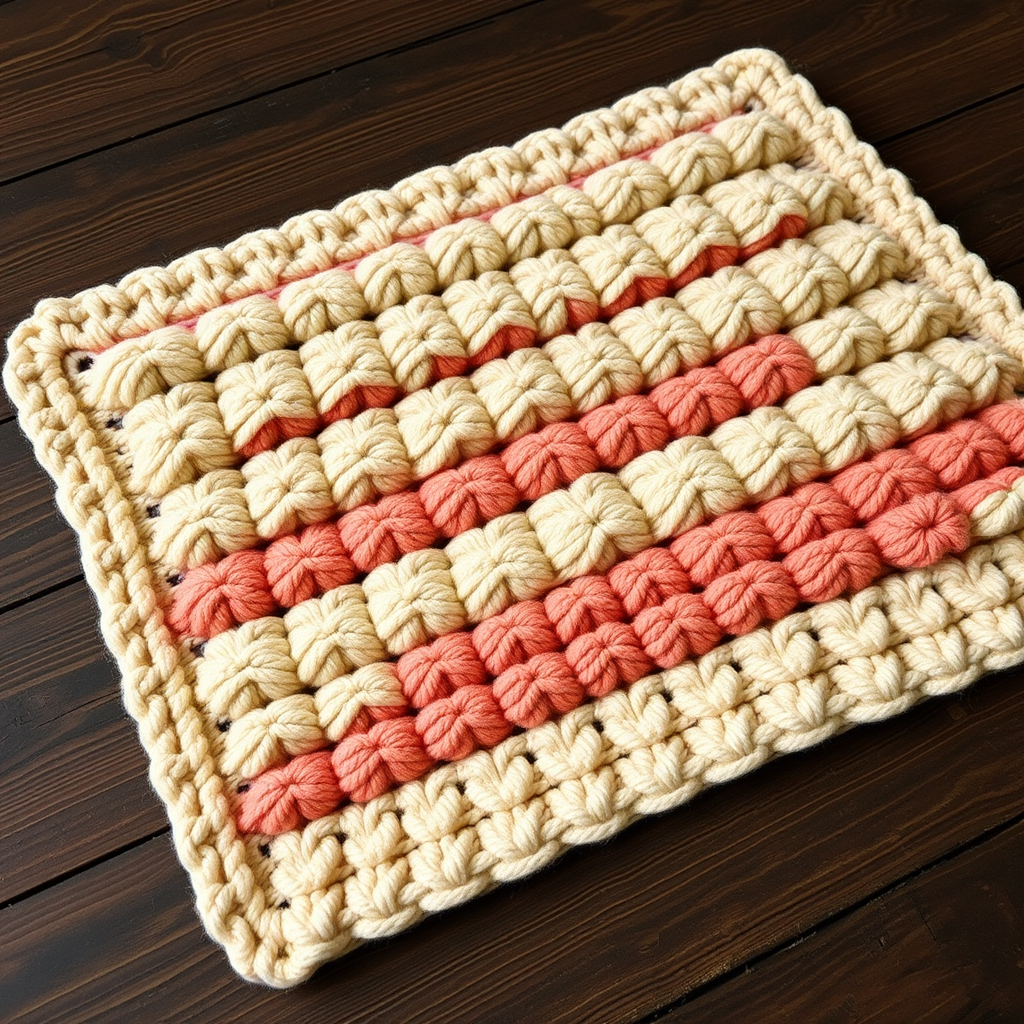
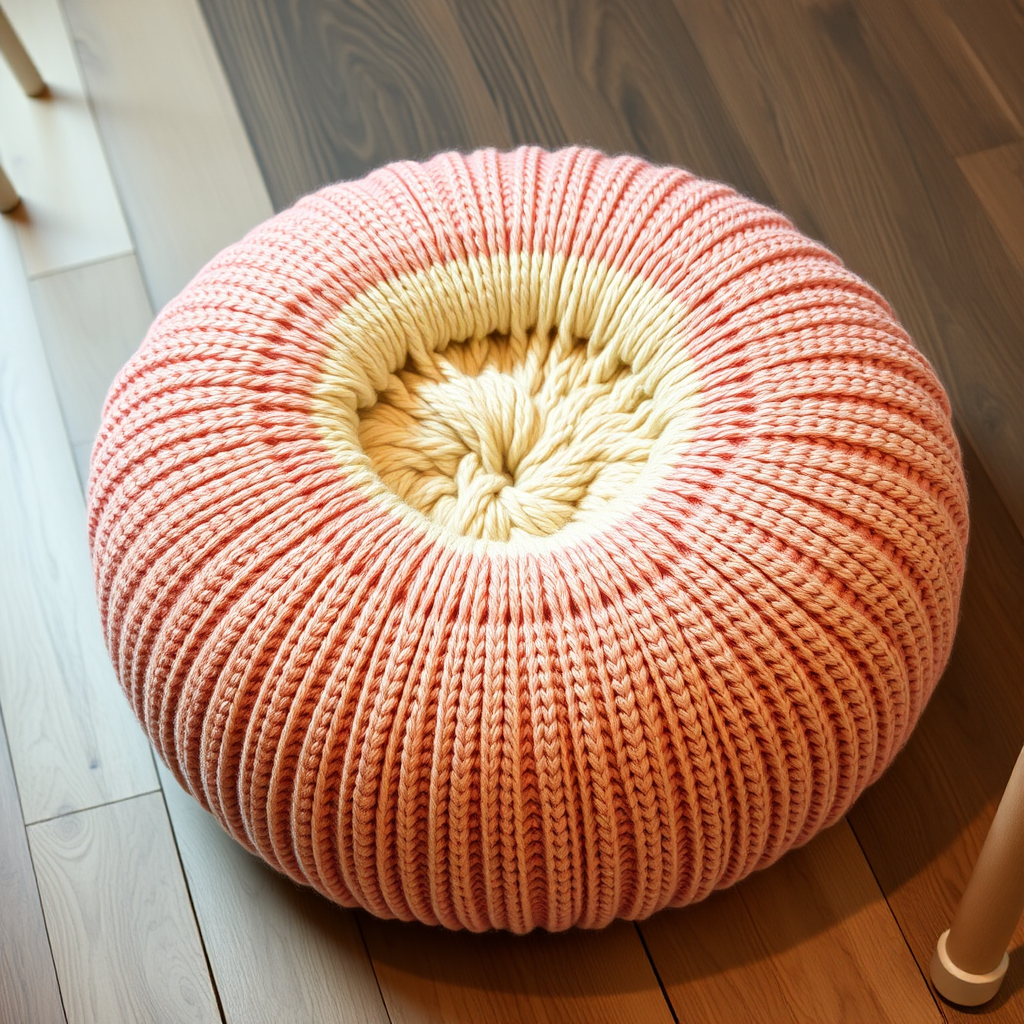
Harlequin Hearth Checkerboard Knit Chair Pad Free Pattern

Harlequin Hearth Checkerboard Knit Chair Pad – Free Pattern
Bring a cozy, modern farmhouse vibe to your dining set with this thick, plush knitted chair pad featuring a classic checkerboard motif. The two-tone design adds a touch of timeless charm while providing ultimate comfort for your seat. This pattern is perfect for beginners and experienced knitters alike, using simple slipped stitches to create a woven-like texture that looks far more complex than it is. The result is a substantial, cushiony pad that will make every meal feel a little more special.
This project works up quickly with super bulky yarn and large needles, making it a satisfying weekend make. The checkerboard pattern is created using slipped stitches, which means you'll only ever knit or purl with one color at a time—no stranding or carrying yarn across the back. The finished pad measures approximately 16 inches by 16 inches, perfect for standard dining chairs, and the thick, doubled-layer construction ensures lasting comfort.
Materials Needed
Before you begin, gather the following supplies. All items are readily available at your local yarn shop or online.
Yarn
- Super bulky weight yarn (size 6) in two contrasting colors:
- Color A (Cream): approximately 200 yards
- Color B (Charcoal Gray): approximately 200 yards
Tip: Choose a soft, machine-washable yarn for easy care. Wool blends or acrylic super bulky yarns work beautifully for this project.
Needles & Notions
- US 13 (9 mm) knitting needles – straight or circular (if using circular, work back and forth)
- Tapestry needle for seaming and weaving in ends
- Stitch markers (optional, but helpful for keeping track of pattern repeats)
- Cushion form or stuffing – approximately 16" x 16" x 2" thick, or polyester fiberfill for a softer pad
Gauge
10 stitches and 14 rows = 4 inches in stockinette stitch (unblocked).
Important: Always check your gauge before starting. If your swatch is too small, try larger needles; if too large, switch to smaller needles. This ensures your finished pad is the correct size.
Step-by-Step Instructions
This pattern is worked flat in two pieces: the main checkerboard top and a solid backing, then seamed together with a simple edge. The checkerboard is created using slipped stitches to form a woven-like texture. Follow along carefully—each row is clearly explained.
Main Checkerboard Panel (Make 1)
With Color A, cast on 40 stitches.
Row 1 (RS): With Color A, knit all stitches.
Row 2 (WS): With Color A, purl all stitches.
Row 3 (RS): Switch to Color B. *Knit 4, slip 4 stitches purlwise with yarn in back.* Repeat from * to * across, ending with knit 4.
Row 4 (WS): With Color B, *Purl 4, slip 4 stitches purlwise with yarn in front.* Repeat from * to * across, ending with purl 4.
Rows 5-6: Repeat Rows 3-4.
Rows 7-8: Repeat Rows 3-4.
Note: When slipping stitches, always slip them as if to purl (purlwise) to keep the yarn tension even. On RS rows, keep yarn in back; on WS rows, keep yarn in front. This creates the woven checkerboard effect.
Row 9 (RS): Switch to Color A. Knit all stitches.
Row 10 (WS): With Color A, purl all stitches.
Row 11 (RS): With Color A, *Knit 4, slip 4 stitches purlwise with yarn in back.* Repeat from * to * across, ending with knit 4.
Row 12 (WS): With Color A, *Purl 4, slip 4 stitches purlwise with yarn in front.* Repeat from * to * across, ending with purl 4.
Rows 13-16: Repeat Rows 11-12 twice more.
Row 17 (RS): Switch to Color B. Knit all stitches.
Row 18 (WS): With Color B, purl all stitches.
Row 19 (RS): With Color B, *Knit 4, slip 4 stitches purlwise with yarn in back.* Repeat from * to * across, ending with knit 4.
Row 20 (WS): With Color B, *Purl 4, slip 4 stitches purlwise with yarn in front.* Repeat from * to * across, ending with purl 4.
Rows 21-24: Repeat Rows 19-20 twice more.
Row 25 (RS): Switch to Color A. Knit all stitches.
Row 26 (WS): With Color A, purl all stitches.
Row 27 (RS): With Color A, *Knit 4, slip 4 stitches purlwise with yarn in back.* Repeat from * to * across, ending with knit 4.
Row 28 (WS): With Color A, *Purl 4, slip 4 stitches purlwise with yarn in front.* Repeat from * to * across, ending with purl 4.
Rows 29-32: Repeat Rows 27-28 twice more.
Row 33 (RS): Switch to Color B. Knit all stitches.
Row 34 (WS): With Color B, purl all stitches.
Row 35 (RS): With Color B, *Knit 4, slip 4 stitches purlwise with yarn in back.* Repeat from * to * across, ending with knit 4.
Row 36 (WS): With Color B, *Purl 4, slip 4 stitches purlwise with yarn in front.* Repeat from * to * across, ending with purl 4.
Rows 37-40: Repeat Rows 35-36 twice more.
Bind off all stitches loosely in pattern with Color B. To bind off in pattern, knit the first stitch, then knit the next stitch (or slip it if the pattern calls for a slip), then pass the first stitch over the second. Continue across, working the bind-off in the same stitch pattern as the row. Weave in all loose ends with your tapestry needle.
Backing Panel (Make 1)
With Color A, cast on 40 stitches.
Work in garter stitch (knit every row) for 40 rows, or until the piece measures approximately 16 inches long. Garter stitch creates a sturdy, flat backing that won't curl.
Bind off all stitches. Weave in ends.
Assembly
Now it's time to join the two panels into a plush, finished chair pad.
- Place the checkerboard panel and backing panel with wrong sides together, aligning all edges. The right side of the checkerboard (with the pattern) should face up, and the right side of the backing (the smoother side) should face down.
- Thread your tapestry needle with Color A yarn. Leave a long tail (about 18 inches) for weaving in later.
- Whip stitch around all four edges. Insert the needle through both layers, about 1/2 inch from the edge, and pull through. Bring the needle around and insert again, creating a diagonal stitch. Continue around the entire perimeter, keeping your stitches even and snug.
- Leave a 4-inch opening on one side. When you reach the last side, stop stitching about 4 inches before the corner, leaving the opening for stuffing.
- Insert a cushion form or stuffing through the opening. If using a pre-made cushion form, gently work it into the pad, smoothing out any wrinkles. If using fiberfill, stuff firmly but not so tightly that the pad becomes stiff—you want it plush and comfortable.
- Continue whip stitching to close the opening. Stitch carefully so the closure is invisible from the outside.
- Weave in all ends securely. Use your tapestry needle to thread the yarn tails through the inside of the pad, then trim any excess.
Your Harlequin Hearth Checkerboard Knit Chair Pad is complete! Place it on your favorite dining chair and enjoy the cozy, handmade touch it brings to your home.
Tips for Success
- Keep your tension even when slipping stitches—this is key to a clean checkerboard pattern.
- Use stitch markers at the beginning of each pattern repeat (every 8 stitches) to help you keep track of where you are.
- Block your pieces before assembly if desired. Lightly steam or wet-block the checkerboard panel to even out the stitches and set the pattern.
- Customize the size by adjusting your cast-on count in multiples of 8. Add or subtract 8 stitches to make the pad wider or narrower, and adjust the number of rows to change the length.
This pattern is a wonderful way to practice slipped stitches while creating something beautiful and functional for your home. The thick, chunky yarn makes it a quick knit, and the timeless checkerboard design will complement any decor. Happy knitting!