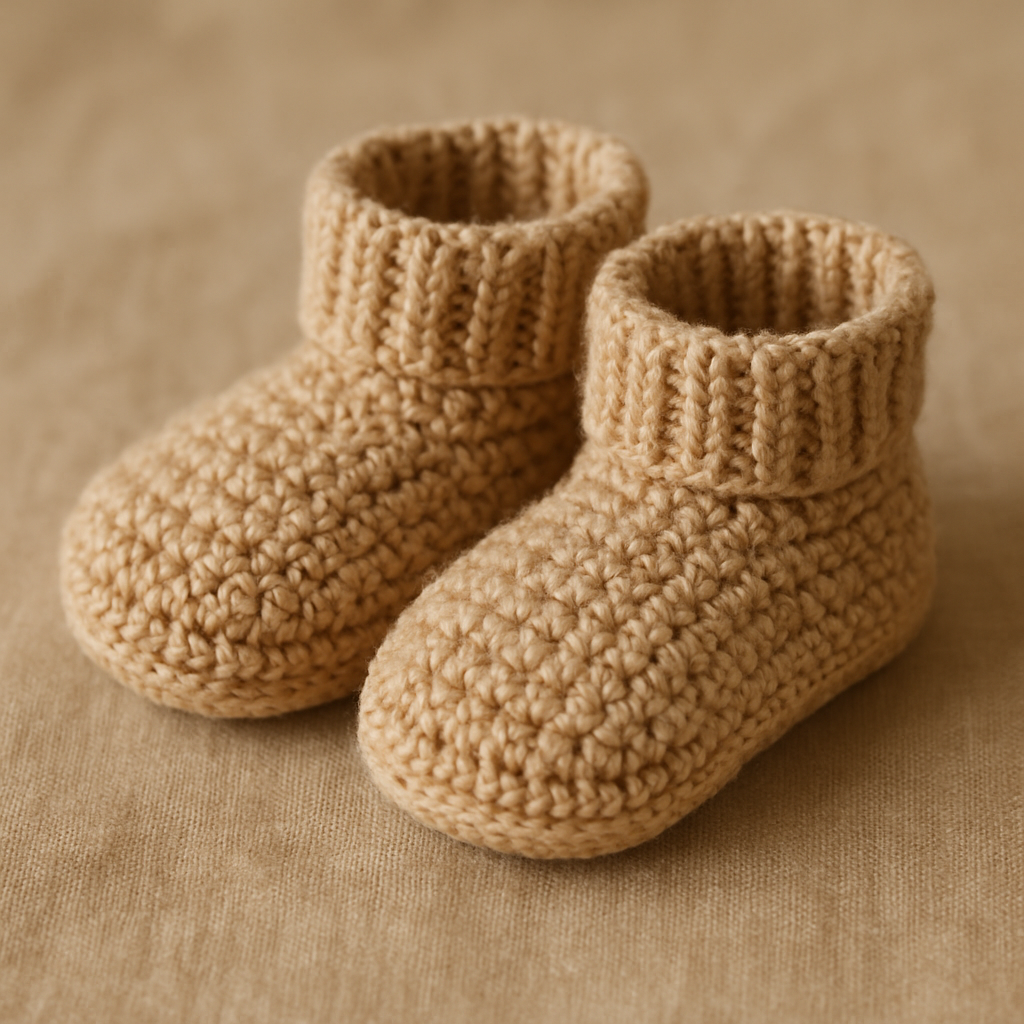
Frosted Fern Boot Cuff Free Crochet Pattern

Frosted Fern Boot Cuff: A Free Crochet Pattern for Cozy Autumn & Winter Style
Wrap your favorite boots in the cozy elegance of the Frosted Fern Boot Cuff. This quick-to-stitch accessory features a stunning, textured fern stitch that evokes crisp autumn walks and snowy evenings. The combination of a rich sage green main color with a crisp cream white edging creates a handcrafted, organic look that pairs beautifully with denim, wool coats, and everything in between. Whether you're a seasoned crocheter or a beginner looking for a rewarding project, this free pattern is designed to be simple, clear, and utterly satisfying to make.
This cuff is worked flat in rows, then seamed at the back to form a cozy tube that slips over the top of your boot. The fern stitch creates a beautiful, dimensional leaf-like pattern that stands out beautifully against the smooth cuff. Best of all, the size is fully adjustable—simply add or remove foundation chains in multiples of 6 + 2 to fit any boot height or width.
Materials Needed
Before you begin, gather the following supplies. All materials are readily available at your local craft store or online.
- Yarn: Worsted weight yarn in two colors:
- Main Color (MC): Sage Green (approx. 100-120 yards)
- Contrast Color (CC): Cream White (approx. 20-30 yards for edging)
- Crochet Hook: 5.5 mm (I-9) crochet hook
- Other Tools: Yarn needle for weaving in ends, scissors, and a tape measure (optional, for checking gauge).
Gauge: 14 stitches and 12 rows in half double crochet = 4 inches (10 cm). Gauge is important for achieving the correct fit, so take a moment to make a small swatch before starting.
Step-by-Step Instructions
This pattern is worked flat in rows, then seamed at the back. The fern stitch creates a beautiful, textured leaf-like pattern that stands out against the smooth cuff. Size is adjustable by adding or removing foundation chains in multiples of 6 + 2.
Getting Started: Foundation Chain
Foundation Row: With MC, chain 38 (or multiple of 6 + 2 for desired width). For a standard boot cuff, 38 chains will give you a width of approximately 10-11 inches, which fits most adult boots comfortably. If you need a wider or narrower cuff, adjust your chain accordingly—just remember to keep it a multiple of 6 + 2.
Row 1: Foundation Half Double Crochet
Row 1: Hdc in the 3rd ch from the hook and in each ch across. Turn. (36 hdc total)
Note: The first two chains count as your first half double crochet. At the end of this row, you should have 36 hdc stitches.
Row 2: Beginning the Fern Stitch
Row 2: Ch 2 (counts as hdc), hdc in next 2 sts, *skip 2 sts, (dc, ch 1, dc) in next st, skip 2 sts, hdc in next 3 sts; repeat from * across, ending with hdc in last st. Turn.
Detailed Explanation: After your initial ch 2 and 2 hdc, you'll skip 2 stitches. In the next stitch, work a double crochet, chain 1, and another double crochet all in the same stitch—this creates the "V" shape that forms the base of your fern leaf. Then skip 2 more stitches and work 3 hdc. Repeat this sequence across the row. You'll end with a final hdc in the last stitch.
Row 3: Building the Fern Pattern
Row 3: Ch 2, hdc in next 2 sts, *ch 1, skip the ch-1 space from previous row, (dc, ch 1, dc) in the center of the next 3-hdc group (the middle hdc), ch 1, skip next 2 sts, hdc in next 3 sts; repeat from * across, ending with hdc in last st. Turn.
Detailed Explanation: This row begins to build the leaf shape. After your ch 2 and 2 hdc, chain 1 and skip the chain-1 space from the previous row (the space between the two dc's). Now, find the middle hdc of the 3-hdc group from the previous row—this is the center stitch. Work (dc, ch 1, dc) into that center stitch. Chain 1, skip the next 2 stitches, and work 3 hdc. Repeat this pattern across the row, ending with a final hdc.
Row 4: Continuing the Fern Stitch
Row 4: Ch 2, hdc in next 2 sts, *skip the ch-1 space, (dc, ch 1, dc) in the next ch-1 space (the one between the two dc from previous row), skip next ch-1 space, hdc in next 3 sts; repeat from * across, ending with hdc in last st. Turn.
Detailed Explanation: Now the pattern becomes rhythmic. After your ch 2 and 2 hdc, skip the first ch-1 space you encounter. Then, work (dc, ch 1, dc) into the next ch-1 space—this is the space between the two dc's from the previous row. Skip the next ch-1 space, and work 3 hdc. Repeat this sequence across the row, ending with a final hdc.
Rows 5-16: Repeating the Pattern
Rows 5-16: Repeat Row 4. At the end of Row 16, fasten off MC.
Pro Tip: As you repeat Row 4, you'll see the fern stitch pattern emerge beautifully. The (dc, ch 1, dc) clusters will stack vertically, creating the leaf-like columns. Continue until you've completed 16 rows total, or until your cuff reaches your desired length. When you finish Row 16, cut your yarn and pull through the last loop to fasten off.
Edging Row: Adding the Cream White Border
Edging Row (with CC): Attach CC to the top edge (the long edge opposite the foundation chain). Ch 1, sc evenly across the top edge, working 1 sc in each hdc and 1 sc in each ch-1 space. Fasten off.
Detailed Explanation: With your cream white yarn, attach it to the top edge of your work—this is the edge where you finished Row 16. Chain 1 to begin, then work a single crochet into each stitch across the top edge. For the hdc stitches, work 1 sc in each. For the ch-1 spaces, work 1 sc in each space as well. This creates a neat, even border. When you reach the end, fasten off.
Repeat Edging on Bottom Edge
Repeat Edging on Bottom Edge: Attach CC to the bottom edge (foundation chain side). Ch 1, sc evenly across the bottom edge, working 1 sc in each hdc and 1 sc in each ch-1 space. Fasten off.
Detailed Explanation: Repeat the same process on the bottom edge—this is the side where you started with your foundation chain. Attach your cream white yarn, chain 1, and work a single crochet into each stitch across. Work 1 sc in each hdc and 1 sc in each ch-1 space. Fasten off when complete.
Seaming: Creating the Tube
Seaming: Fold the cuff in half with right sides together. Using MC, slip stitch or whip stitch the short ends together to form a tube. Weave in all ends.
Detailed Explanation: Fold your rectangular piece in half so the right sides (the sides with the fern stitch pattern) are facing each other. The short ends should meet. Using your sage green yarn and a yarn needle, sew the short ends together using a slip stitch or whip stitch. This will create a seamless tube. Once seamed, weave in all loose ends with your yarn needle to keep your work neat and secure.
Finishing: The Final Touch
Finishing: Turn the cuff right side out. The fern stitch pattern will naturally curl slightly, giving a beautiful dimensional effect. Slip the cuff over your boot and adjust as desired.
Detailed Explanation: Turn your cuff right side out so the textured fern stitch is on the outside. You'll notice the edges curl slightly—this is a natural and desirable effect that adds depth and dimension to your cuff. Slip the cuff over the top of your boot and adjust it to sit comfortably. The cream white edging will frame the top and bottom beautifully, creating a crisp contrast against the sage green.
Tips for Perfect Results
- Check your gauge: Taking a few minutes to make a gauge swatch will ensure your cuff fits perfectly. If your gauge is off, adjust your hook size accordingly.
- Count your stitches: The fern stitch pattern is easy to follow, but it's helpful to count your stitches at the end of each row to catch any mistakes early.
- Blocking (optional): If your cuff curls more than you'd like, you can gently block it by wetting it and laying it flat to dry, shaping it as desired.
- Customize your colors: While sage green and cream white create a beautiful frosty look, feel free to experiment with other color combinations—think burgundy and gold for autumn, or navy and silver for winter.
Your Frosted Fern Boot Cuff is now complete! This cozy, textured accessory will add a handcrafted touch to any pair of boots, keeping you stylish and warm all season long. Whether you're making one for yourself or as a thoughtful handmade gift, this pattern is sure to become a favorite. Happy crocheting!