Enchanted Meadow Bloom Coaster Set Free Pattern – Crochet a Whimsical Flower Garden

Bring a Touch of Whimsy to Your Table: The Enchanted Meadow Bloom Coaster Set
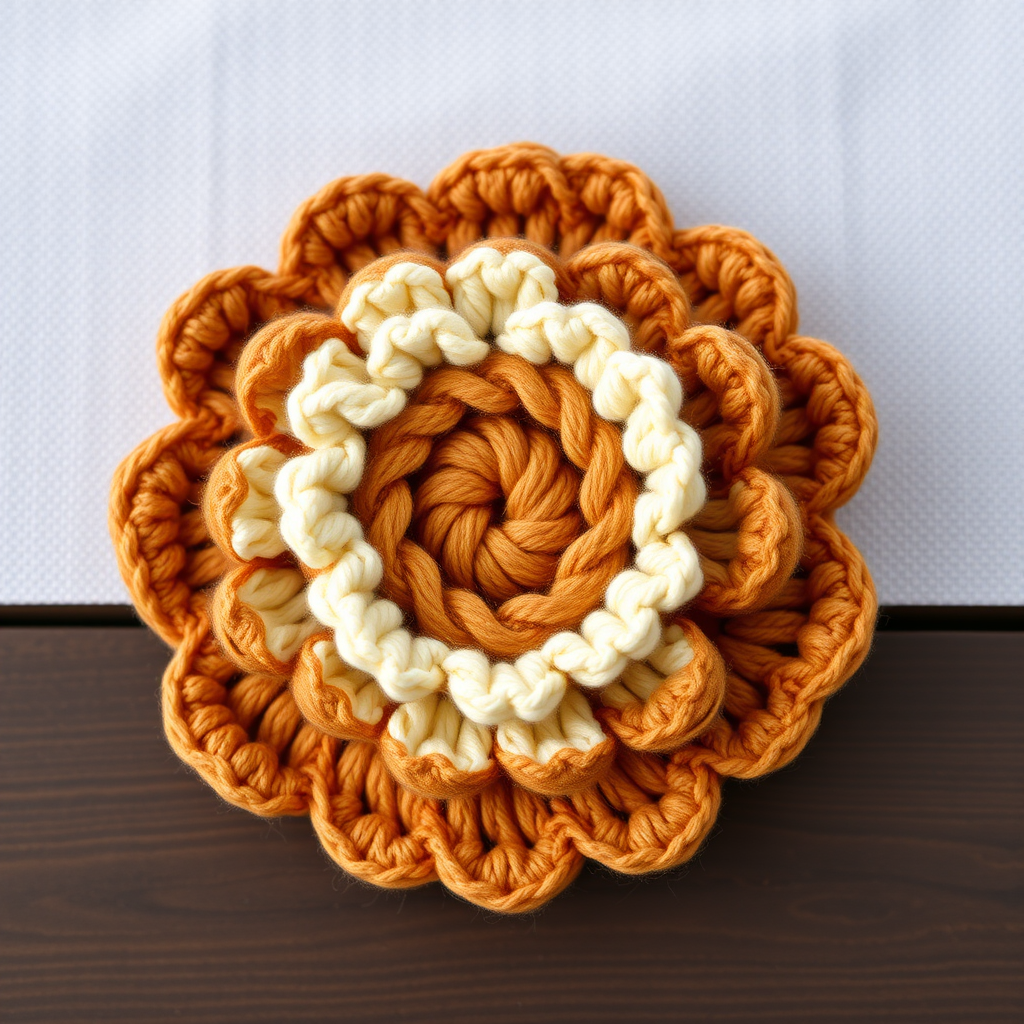
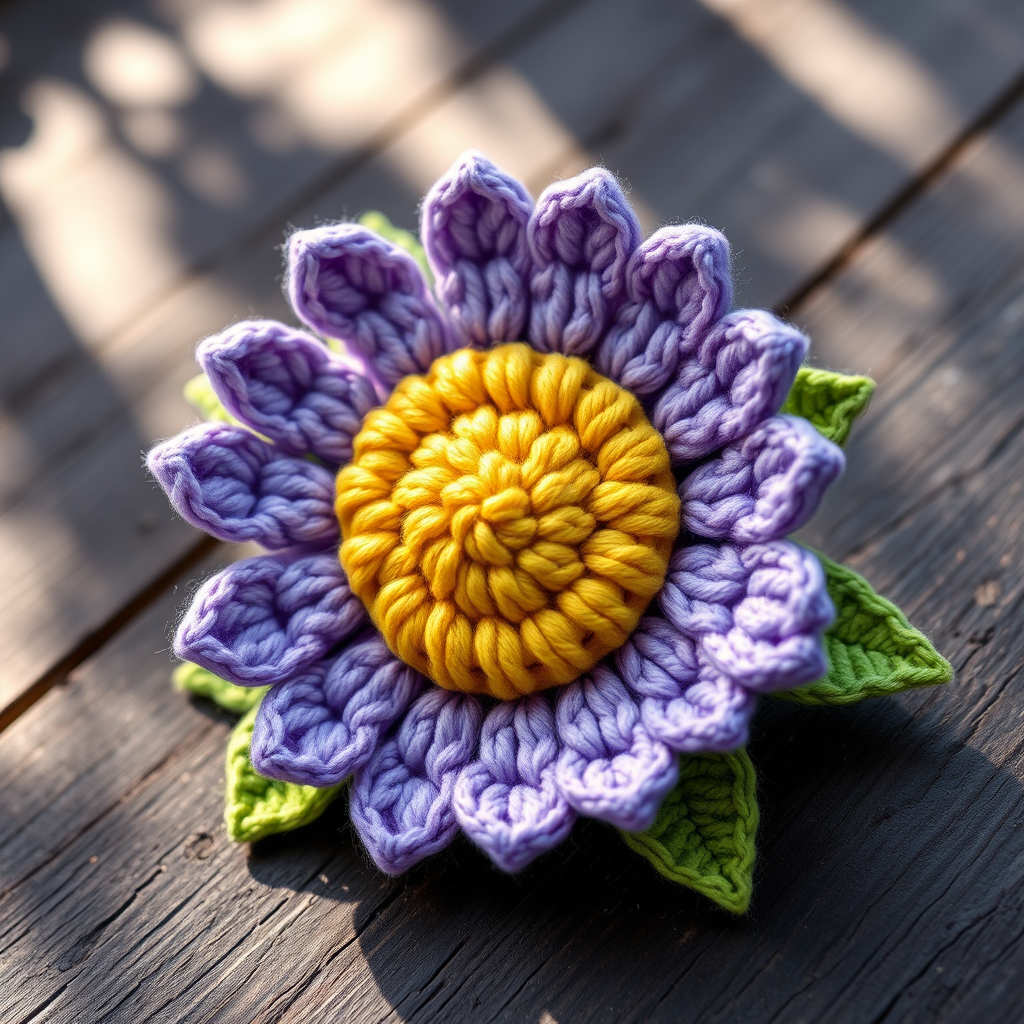
Imagine your morning coffee resting on a tiny, handcrafted meadow. That’s the magic of the Enchanted Meadow Bloom Coaster Set—a crochet project that transforms simple yarn into a garden of textured petals and delicate scalloped edges. Each coaster features a soft, puffy flower center surrounded by a lacy, square background, making it a stunning addition to your home decor or a heartfelt handmade gift.
This pattern is perfect for intermediate beginners who have mastered the basics and are ready to explore the delightful puff stitch. The result is a set of thick, plush coasters that protect your surfaces while adding a cozy, springtime charm to any room. Let’s dive into this whimsical crochet flower pattern and create your own blooming meadow.
Materials Needed
Before you begin, gather your supplies. This project uses worsted weight cotton yarn, which is ideal for coasters due to its absorbency and durability. Here’s your complete shopping list:
- Yarn: Worsted weight cotton yarn in 5 colors:
- Color A (Center): Butter yellow
- Color B (Petals): Blush pink
- Color C (Background): Sage green
- Color D (Accent): Lavender
- Color E (Border): Cream
- Hook: 5.0 mm (H-8) crochet hook
- Notions: Yarn needle for weaving in ends, sharp scissors
Gauge: The first 3 rounds of the flower center should measure 2 inches (5 cm) in diameter. This ensures your coaster finishes at the correct size—approximately 4 inches (10 cm) square.
Step-by-Step Instructions
Follow these detailed instructions to create your Enchanted Meadow Bloom Coaster. The pattern is written in US crochet terms. We’ll make one coaster at a time, repeating the process for a set of 4 or 6.
Abbreviations (US Terms)
- MR: Magic ring
- ch: Chain
- sl st: Slip stitch
- sc: Single crochet
- hdc: Half double crochet
- dc: Double crochet
- puff st: Puff stitch (see detailed explanation below)
- rnd: Round
- st(s): Stitch(es)
- sp: Space
How to Make a Puff Stitch: Yarn over, insert hook into the designated stitch, yarn over and pull up a loop (3 loops on hook). Repeat this process 3 more times in the same stitch (9 loops on hook). Yarn over and pull through all 9 loops on the hook, then ch 1 to close the puff. This creates a beautiful, textured bump.
Flower Center (Make 1 per coaster, using Color A)
This forms the heart of your flower. The center is worked in continuous rounds to create a flat, solid circle.
- Rnd 1: Start with a MR. Ch 2 (this counts as your first hdc). Work 11 hdc into the ring. Pull the tail to close the ring tightly. Sl st to the top of the ch 2 to join. (12 hdc total)
- Rnd 2: Ch 1 (does not count as a stitch). Sc in the same stitch as the ch 1. Work 2 sc in each of the next 11 stitches. Sl st to the first sc to join. (24 sc total)
- Fasten off Color A and weave in the ends securely.
Petals (using Color B)
This round creates the dimensional, puffy petals that give the coaster its name.
- Attach Color B with a sl st to any sc from Rnd 2.
- Rnd 3: *Ch 3, skip the next st, work a puff st in the following st, ch 3, sl st in the same st as the puff st, skip the next st, sl st in the next st.* Repeat from * to * around the circle. You will create 12 puff petals total. Fasten off Color B and weave in ends.
Background (using Color C)
Now we’ll transform the round flower into a square base. This section uses clusters of double crochet to build the corners.
- Attach Color C with a sl st to any sl st that sits between two petals.
- Rnd 4: Ch 3 (counts as a dc). Work 2 dc in the same space. Ch 1. *Work 3 dc in the next space between petals, ch 1.* Repeat from * to * around. Sl st to the top of the ch 3 to join. (You will have 12 groups of 3 dc).
- Rnd 5: Sl st into the next 2 dc to position yourself in the center dc of the group. Ch 3 (counts as dc). Dc in the same st. Ch 2. 2 dc in the same st (this forms your first corner). *Dc in the next dc, ch 1, dc in the next dc, ch 1, dc in the next dc. Work (2 dc, ch 2, 2 dc) in the next ch-1 sp (this is a corner).* Repeat from * to * around, omitting the last corner at the end of the round. Sl st to the top of the ch 3 to join. (You will have 4 corners and 3 dc between each corner). Fasten off Color C and weave in ends.
Accent Detail (using Color D)
This delicate lavender round adds a lacy, airy touch to the design.
- Attach Color D with a sl st to any ch-2 corner space.
- Rnd 6: Ch 1, sc in the same space. *Ch 3, sc in the next ch-1 sp, ch 3, sc in the next ch-1 sp, ch 3, sc in the next ch-1 sp, ch 3, sc in the next ch-2 corner sp.* Repeat from * to * around, ending with ch 3 and sl st to the first sc. (You will have 16 ch-3 loops total). Fasten off Color D and weave in ends.
Border (using Color E)
The final cream-colored border creates a beautiful scalloped edge, finishing the coaster perfectly.
- Attach Color E with a sl st to any corner ch-3 loop.
- Rnd 7: Ch 1, sc in the same loop. *Ch 3, sc in the next loop.* Repeat from * to * around, ending with ch 3 and sl st to the first sc. (16 ch-3 loops).
- Rnd 8: Sl st into the next ch-3 loop. Ch 1. Work (sc, hdc, dc, hdc, sc) in each ch-3 loop around. Sl st to the first sc to join. (This creates 16 beautiful scallops).
- Fasten off, weave in all ends, and gently block your coaster to ensure it lies flat.
Finishing Touches
Repeat the entire process to create a set of 4 or 6 coasters. Once complete, arrange them on your table and enjoy the whimsical, handmade charm they bring. These coasters also make wonderful, thoughtful gifts for housewarmings, birthdays, or just because. Happy crocheting!