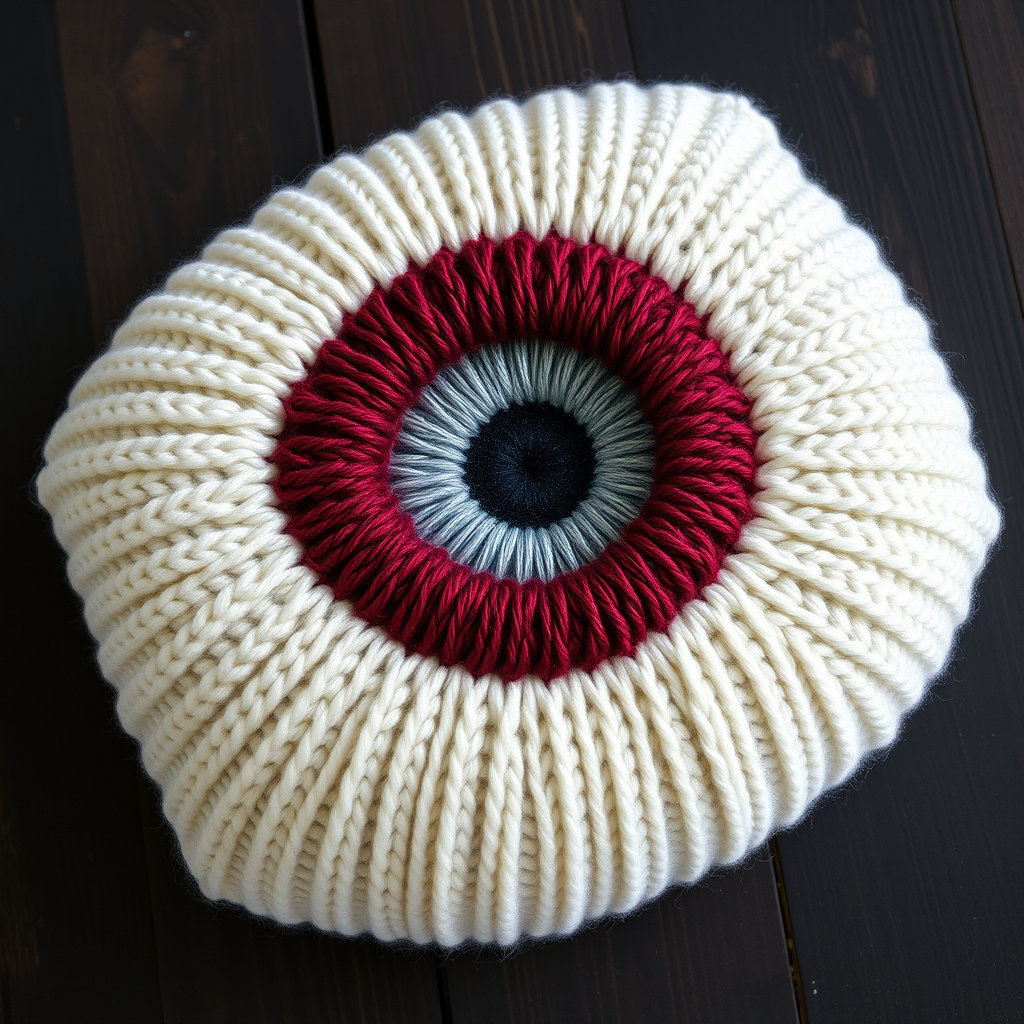
Enchanted Acorn Witch Hat Ornament Free Pattern – Knit a Whimsical Forest Charm

Enchanted Acorn Witch Hat Ornament Free Pattern – Knit a Whimsical Forest Charm
Bring a cozy, woodland twist to your Halloween decor with this enchanting knitted acorn witch hat ornament! This quick and charming project combines the rustic feel of an acorn with the magical silhouette of a witch's hat, complete with a delicate crocheted spiderweb band. Perfect for adding a touch of whimsy to any shelf, hanging on your Halloween tree, or attaching to a gift package, this handmade ornament is sure to become a seasonal favorite. Whether you're a seasoned crafter or a curious beginner, this pattern is designed to be accessible and enjoyable, resulting in a plush, 3-inch-tall treasure that evokes the magic of a forest on Halloween night.
Materials Needed
Before you begin, gather the following materials to ensure a smooth and enjoyable crafting experience. This project uses simple, readily available supplies.
- Yarn: Worsted weight yarn in the following colors:
- Deep Purple (MC) – for the hat body
- Burnt Orange (CC1) – for the brim
- Black (CC2) – for the spiderweb band
- Small amount of Brown – for the stem
- Knitting Needles: US 5 (3.75 mm) knitting needles
- Crochet Hook: US C/2 (2.75 mm) crochet hook
- Other: Yarn needle for seaming and weaving in ends, scissors
Note on Gauge: 22 stitches and 30 rows = 4 inches in stockinette stitch. Gauge is not critical for this project, as the ornament is small and flexible, but maintaining a consistent tension will help achieve the desired shape.
Step-by-Step Instructions
This ornament is knitted flat in two main pieces (the hat body and the brim) and then seamed together. A crocheted spiderweb band adds the final magical detail. Follow these detailed instructions carefully to create your own whimsical forest charm.
Part 1: Hat Body (Knit)
- Cast On: With your deep purple yarn (MC), cast on 30 stitches.
- Work Stockinette Stitch:
- Row 1 (Right Side): Knit all stitches.
- Row 2 (Wrong Side): Purl all stitches.
- Shape the Top of the Hat:
- Row 1 (RS): K2tog (knit two together), knit to the last 2 stitches, K2tog. (You will have 28 stitches).
- Row 2 (WS): Purl all stitches.
- Shape the Tip:
- Next Row (RS): K2tog across the row. (You will have 5 stitches).
- Next Row (WS): Purl all stitches.
Part 2: Brim (Knit)
- Cast On: With your burnt orange yarn (CC1), cast on 24 stitches.
- Work Stockinette Stitch: Work in stockinette stitch (knit on the Right Side, purl on the Wrong Side) for 6 rows, ending with a Wrong Side row.
- Shape the Brim Curve:
- Row 1 (RS): K2tog, knit to the last 2 stitches, K2tog. (You will have 22 stitches).
- Row 2 (WS): Purl all stitches.
- Finish the Brim: Cut the yarn, leaving a long tail (about 10 inches). Thread the tail through a yarn needle, slide the needle through all 10 remaining stitches, and pull tight to gather them. This creates the gathered, rounded edge of the brim. Set this piece aside.
Part 3: Stem (Knit)
- Cast On: With your brown yarn, cast on 6 stitches.
- Work Stockinette Stitch: Work in stockinette stitch (knit on the Right Side, purl on the Wrong Side) for 1 inch.
- Finish the Stem: Cut the yarn, leaving a tail. Thread the tail through the stitches on the needle and pull tight to gather. This forms a small, neat stem for the top of the acorn.
Part 4: Spiderweb Band (Crochet)
- Create the Foundation Chain: With your black yarn (CC2) and the crochet hook, make a chain long enough to wrap comfortably around the hat body just above the brim. This will be approximately 5 inches, but you can measure it against your knitted hat body to be sure. Join with a slip stitch to form a ring, being careful not to twist the chain.
- Round 1: Chain 3 (this counts as your first double crochet). Work 11 double crochets (dc) into the center of the ring. Join with a slip stitch to the top of the beginning chain-3. (You will have 12 dc total).
- Round 2 (Spiderweb Loops): Chain 5. Skip the next double crochet. Slip stitch into the following double crochet. Repeat from * (chain 5, skip 1 dc, slip stitch into next dc) around the ring. End by making a slip stitch into the base of the very first chain-5 to close the round. This creates a series of delicate loops that mimic a spiderweb.
- Fasten Off: Cut the yarn and pull it through the loop on your hook to secure. Weave in the end.
Part 5: Assembly
Now it's time to bring all the pieces together to create your Enchanted Acorn Witch Hat Ornament.
- Sew the Hat Body Seam: Using the yarn tail from the hat body, sew the side seam of the hat body together, leaving the bottom (cast-on edge) open. Turn the hat body right side out.
- Sew the Brim Seam: Using the yarn tail from the brim, sew the side seam of the brim together, leaving the gathered edge open. Turn the brim right side out.
- Join Hat Body and Brim: Insert the gathered end of the hat body into the gathered end of the brim, aligning the side seams. Using a yarn needle and a piece of matching yarn, sew them together securely with a whip stitch, going through both layers of fabric.
- Attach the Stem: Position the stem at the very top point of the hat. Sew it in place securely, using the yarn tail from the stem. Make sure it is centered and firmly attached.
- Add the Spiderweb Band: Slide the crocheted spiderweb band over the hat body, positioning it just above the brim. It should fit snugly. Sew it in place at a few points around the circumference to keep it from sliding.
- Create a Hanging Loop: Cut a 6-inch piece of yarn (any color, or matching the hat). Fold it in half to form a loop. Using a yarn needle, sew the two ends of the loop to the top of the hat, right near the base of the stem. Secure it firmly with a few stitches.
- Weave in All Ends: Use your yarn needle to carefully weave in any remaining loose yarn ends on the inside of the ornament to give it a clean, professional finish.
Your Enchanted Acorn Witch Hat Ornament is now complete! Admire your handiwork and hang it on a tree, doorknob, or anywhere you'd like a touch of magical forest charm this Halloween season.