Sweaters & Cardigans
Crochet Adorable Amigurumi Dolls Free Pattern
Anonymous
•
June 28, 2026
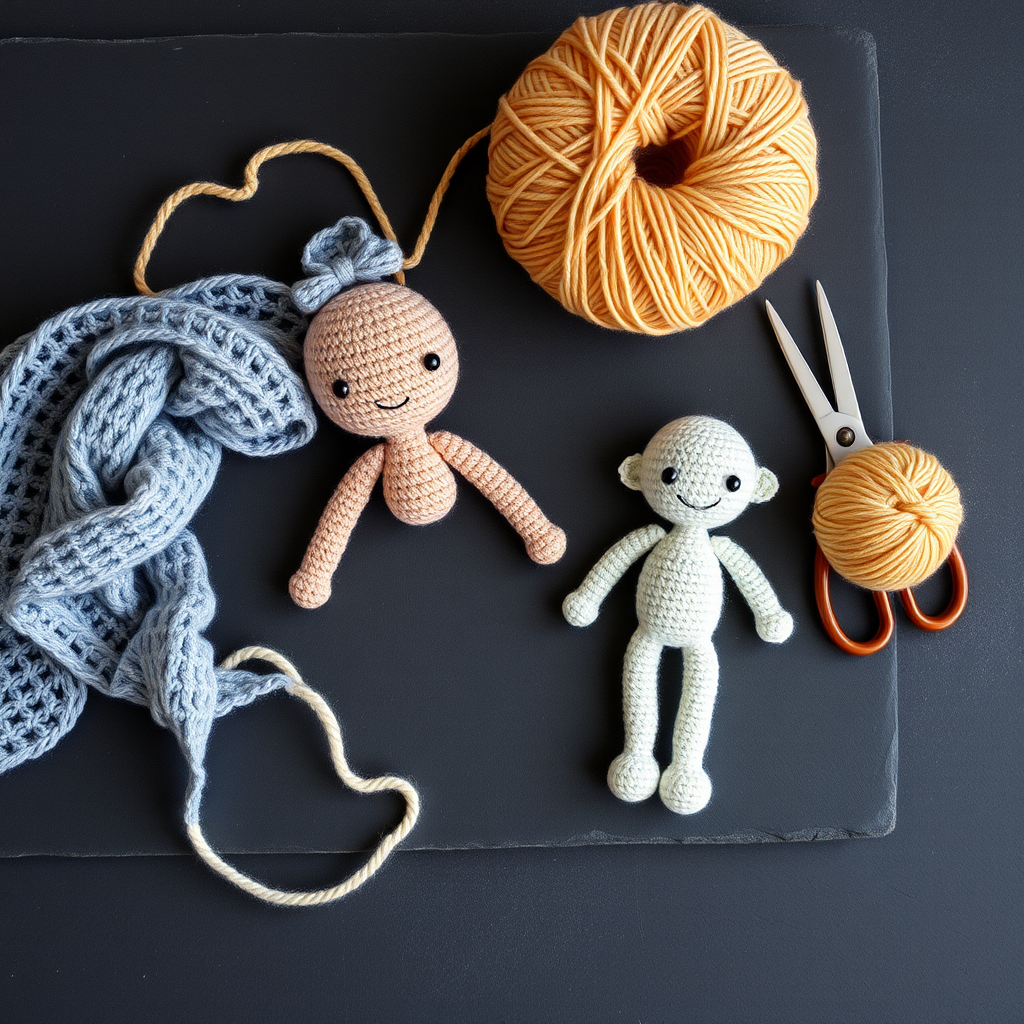
Crochet Adorable Amigurumi Dolls Free Pattern
Introduction
Welcome to the delightful world of crochet! In this blog post, we will guide you through creating your very own charming amigurumi dolls. This easy-to-follow crochet pattern is perfect for both beginners and experienced crafters. These adorable dolls make wonderful gifts or toys for loved ones, and they are sure to bring a smile to anyone's face. Let’s dive into the materials you’ll need and the step-by-step instructions to bring your amigurumi dolls to life!
Materials Needed
- Medium weight cotton yarn in the following colors:
- Peach (for the doll's body)
- Green (for the doll's clothing)
- Yellow (for the hair and facial features)
- 3.5 mm (E) crochet hook
- Fiberfill stuffing (for the head and body)
- Scissors (for cutting yarn)
- Tapestry needle (for weaving in ends and sewing pieces together)
Step-by-Step Instructions
Creating the Head
- Start with a magic ring. To do this, wrap the yarn around your fingers to create a loop, then pull the working yarn through the loop to secure it.
- Chain 2 (this does not count as a stitch). Work 6 single crochets (sc) into the magic ring. Pull the tail of the ring to tighten it (you should have 6 stitches).
- Round 2: Increase in each stitch around. This means you will work 2 sc into each of the 6 stitches, giving you a total of 12 stitches.
- Round 3: (sc in the next stitch, inc) repeat around. This means you will sc in one stitch and then increase in the next. You should have 18 stitches at the end of this round.
- Round 4: (sc in the next 2 stitches, inc) repeat around. You will end up with 24 stitches.
- Work even for 5 rounds (this means just sc in each stitch without increasing or decreasing).
- Round 10: (sc in the next 2 stitches, dec) repeat around. This will reduce your stitch count to 18.
- Round 11: (sc in the next stitch, dec) repeat around until you have 12 stitches left. Stuff the head with fiberfill to your desired firmness.
- Continue decreasing until the opening is closed. Fasten off and weave in the ends.
Creating the Body
- Chain 2 and work 6 sc into a magic ring, just like you did for the head.
- Increase similarly to the head: Round 2: inc in each stitch (12), Round 3: (sc in next stitch, inc) repeat around (18), Round 4: (sc in next 2 stitches, inc) repeat around (24).
- Work even for 6 rounds.
- Decrease as you did for the head: Round 10: (sc in next 2 stitches, dec) repeat around (18), Round 11: (sc in next stitch, dec) repeat around (12).
- Stuff the body with fiberfill and continue decreasing until closed. Fasten off and weave in the ends.
Creating the Arms and Legs
- For each arm and leg, chain 2 and work 6 sc into a magic ring.
- Work even for 5 rounds (just sc in each stitch).
- Fasten off, leaving a long tail for sewing. Repeat this process for all four limbs.
Assembling the Doll
- Attach the arms and legs to the body using the tapestry needle and the long tails left from fastening off. Position them as desired.
- Use yellow yarn to create hair. You can make strands and sew them onto the head, or create a simple wig by crocheting a small cap.
- Embroider facial features using yellow yarn or any other color you prefer. Create eyes, a nose, and a smile to bring your doll to life!
Conclusion
Congratulations! You have successfully created your own adorable amigurumi doll. Feel free to experiment with different colors and styles to make each doll unique. These charming creations are perfect for gifting or keeping as a delightful addition to your home. Happy crocheting!